Wondershare Dr.Fone
Flexibly Back up and Restore Android Data
· Back up Android data to the computer with just one click.
· Support backup of 10+ data types, such as photos, music, and contacts.
· Preview and restore backups to any Android/iOS devices.
· Restore iCloud/iTunes backup to Android devices.
· Supports 8000+ Android devices.
Watch the video guide

More Peace of Mind with On-Premises Backup
With a local backup by Dr.Fone, you can back up almost all Android phone data efficiently and have direct control over access to it. You can also preview and selectively export any data from a specific backup instead of the entire backup.
Local Backup
Protect backups from malware or cyberattacks

Preview
Preview all content in Android Backups

Selective
Restore Android backup data selectively
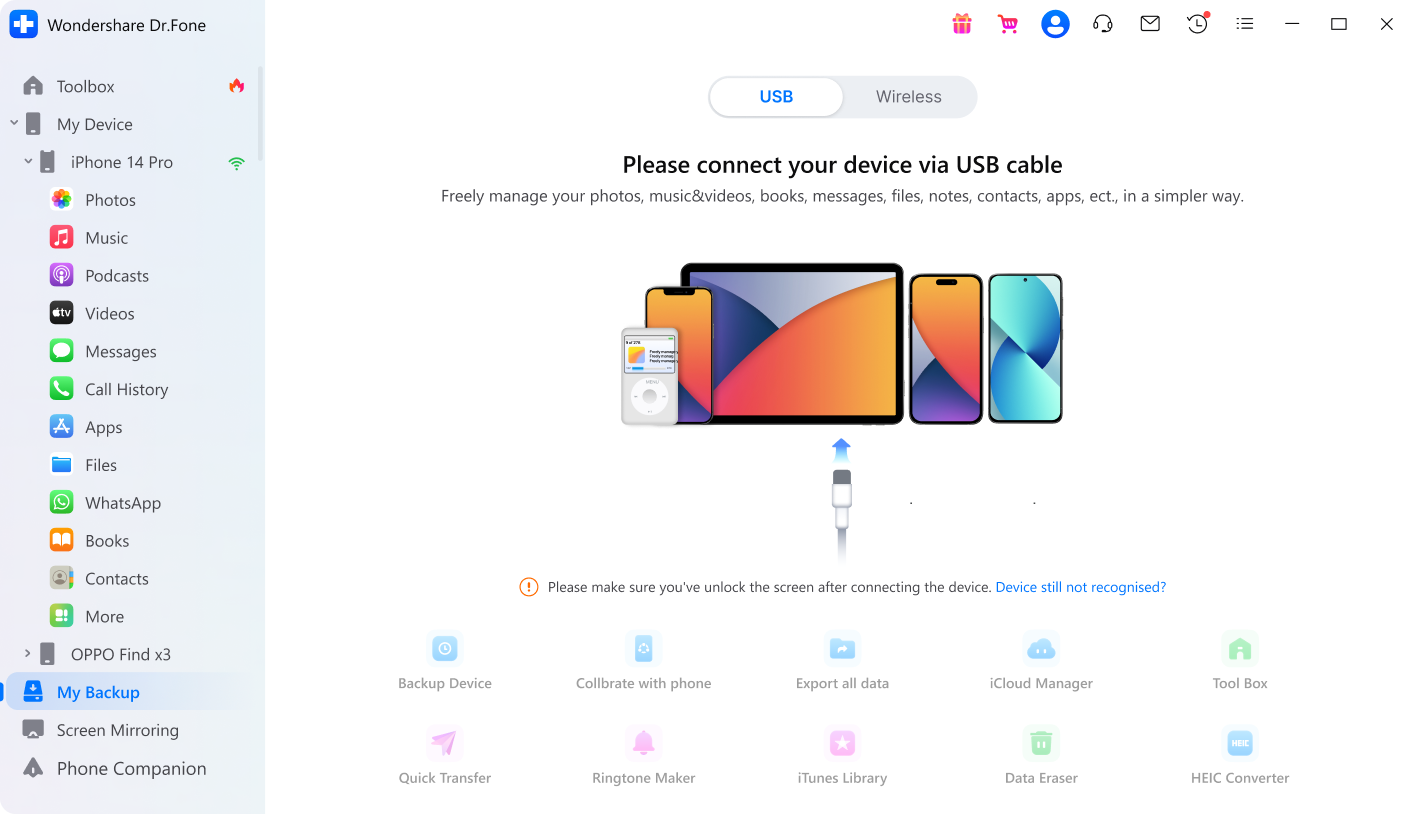
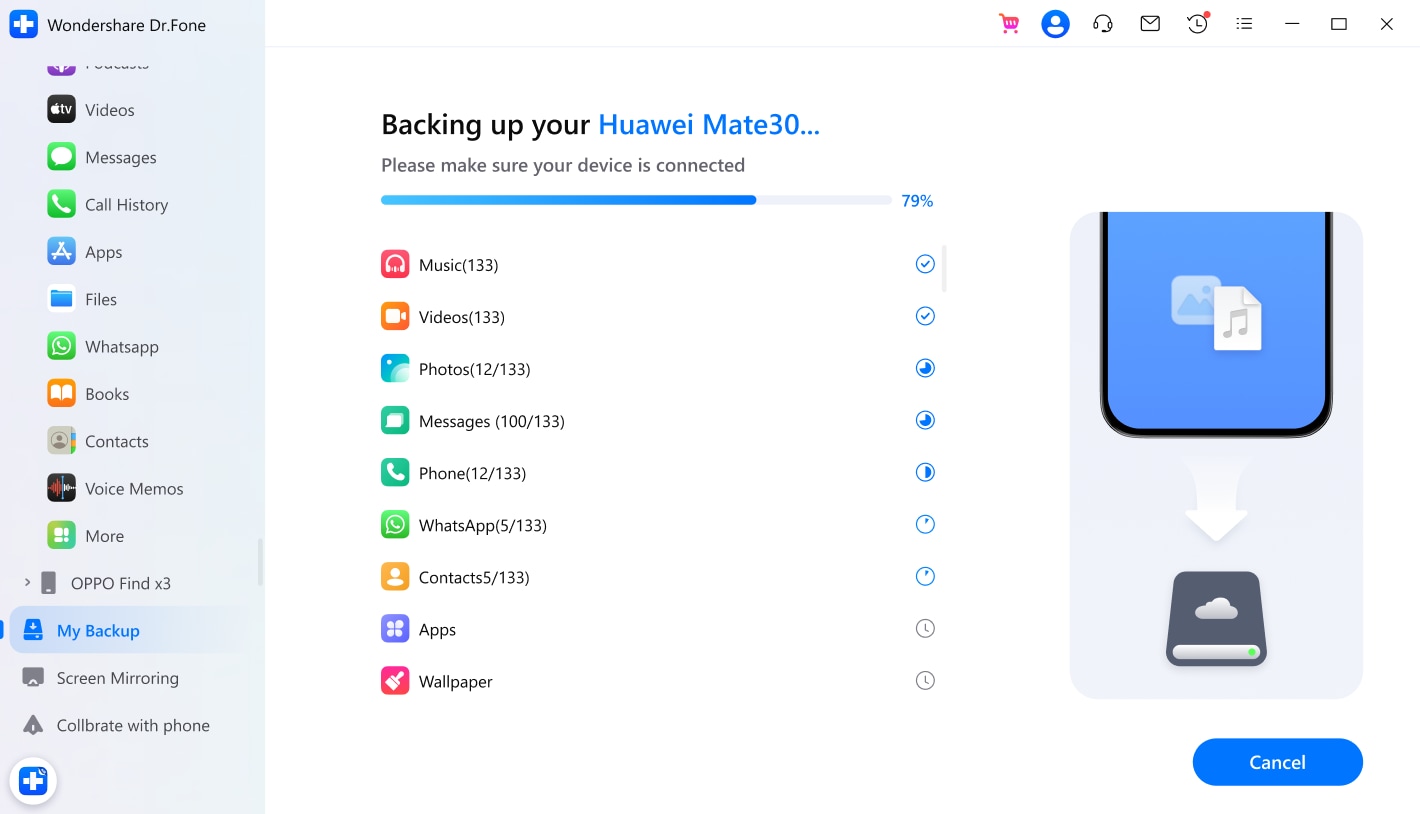
1 Click to Back up Your Android Phone
Dr.Fone provides professional solutions to back up your Android data and keep your important data safe. The whole backup process only takes just a few clicks. Once your device is connected and detected, the program allows you to back up your data from Android phone or tablet to local computer at any time, including photos, music, videos, contacts, blacklist, app list, and more.
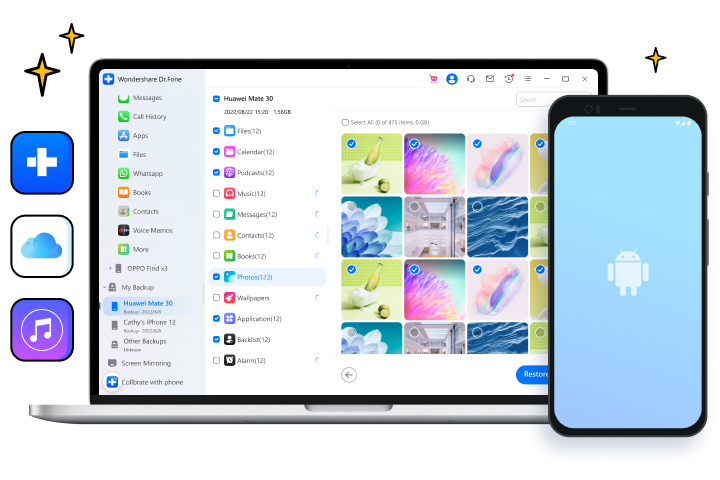
Restore Backup to Any Device Selectively
As for the backed-up files, you can preview and select the files and folders you want to restore and access them everywhere. Moreover, you can also restore the backup data to other Android/iOS devices. If you are moving from iOS to Android, Dr.Fone can help you easily restore your iCloud/iTunes backup content to the new Android phone.
Tech Specs
Processor
1 GHz or faster processor (Intel or AMD)
RAM
2 GB or more of RAM
Hard Disk Space
200 MB of available hard-disk space
Android OS
Requires Android OS 2.1 or later
Computer OS
Requires Windows 7 or newer
Requires Mac OS X 10.8 & higher
Requires Mac OS X 10.8 & higher
FAQs - You May Still Be Wondering
-
Does the backup & restore tool overwrite the previous backup with a later one?No, every backup is an independent package. You can preview all backups by clicking "View backup history". You can make a backup anytime you want, and all backup package files are secure and cannot be renewed in any way when you do an Android backup.
-
How to back up messages on Android?You can easily back up your photos, video, and music from Android to Cloud. But how to back up SMS on Android? Most cloud services do not support SMS backup, so you need to choose a third-party tool.
Here is a quick and free method for Android SMS backup:
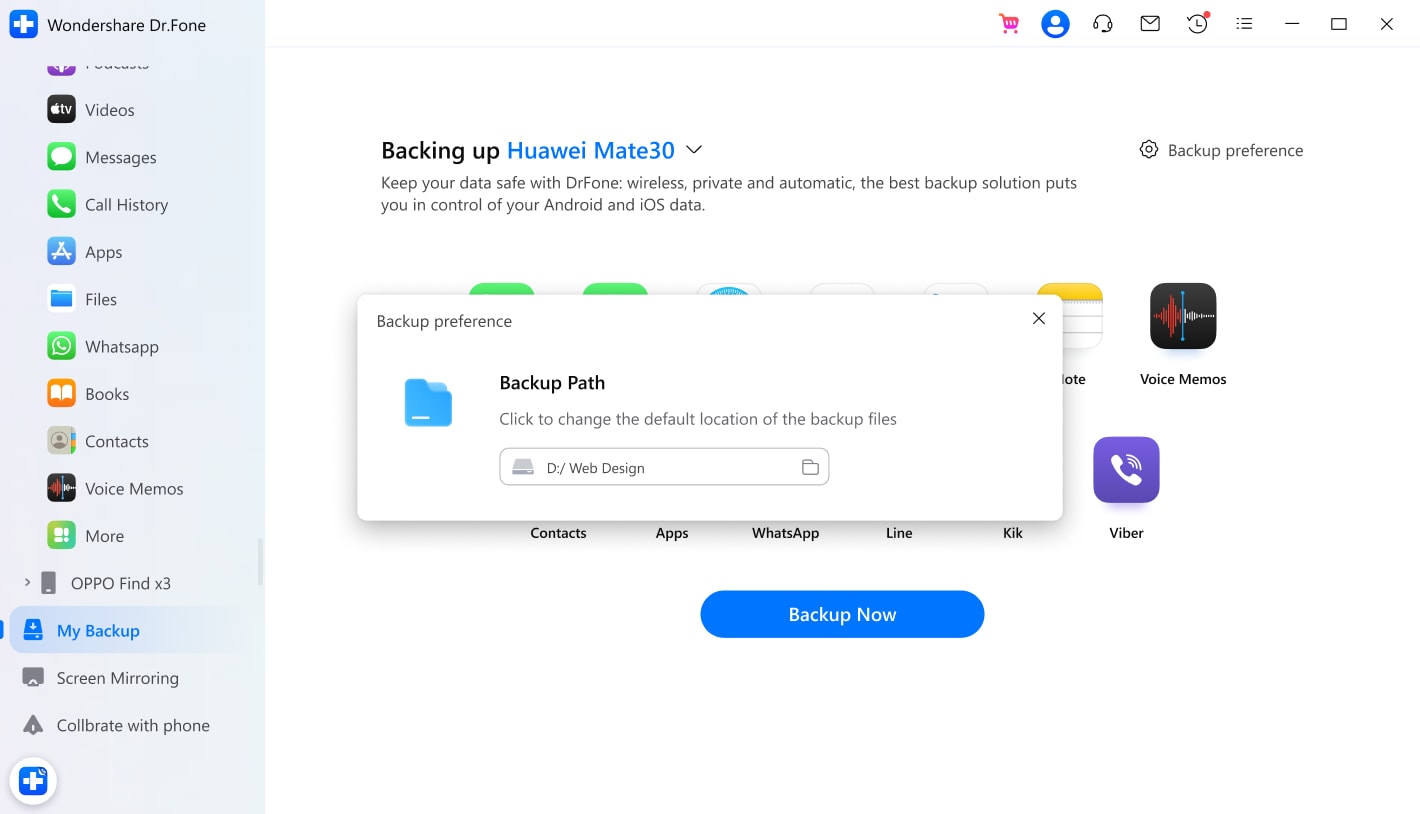
Step 1. Download Dr.Fone on your Windows PC or Mac.
Step 2. Select the "My Backup" option and connect your Android to your computer.
Step 3. Then click "Back Up Now". All your SMS messages will be backed up to your PC/Mac within a minute.
-
How to back up Android contacts?Android contacts mean a lot to us, and it is always essential to back up contacts on Android occasionally. To make you flexible in doing this, we now present several methods to help:
Method 1. Back up Android contacts with a Google account
You can go to Settings and choose Accounts to sync all the local contact data to the Cloud.
Method 2. Back up Android contacts to SD card
Export them to a vCard file and save them to the SD card. Simple stuff.
Method 3. Back up Android contacts to SIM card
You can also save all the contacts to your SIM card. But most SIM cards save up to 200 contacts.
Method 4. Back up Android contacts using a 3rd party backup program
Using a backup program like Dr.Fone. This program can save all the contacts data to your computer and release storage on Android. Most importantly, it's free for backup. -
How to back up your Android to the Cloud?Android supports the backup of contacts, calendars, app & chrome, docs, etc., to Google Cloud. Here is how:
Step 1. Go to Settings > Backup & reset Backup my data.
Step 2. Select the Set backup account option to set up your Google account.
Step 3. Go to Settings > Accounts and select the Google account you just set up.
Step 4. Switch on each item so that all the Android data can be backed up to Google Cloud.
Step 5. But for the backup of photos and videos, you need to use the Google Photos app to back up to Google Cloud.
All-in-One Data Manager Tool for Your Mobile Devices
When you need to transfer, manage, back up, restore data across devices, or mirror your screen to a PC, Dr.Fone helps you get it done—all in one place.
Phone Manager
Easily manage iOS/Android data and export to computer/iTunes/iCloud.
Phone Backup
Back up iOS/Android data to a PC and restore backups selectively.
Screen Mirror
Mirror, control, and record your mobile device screen on a Windows PC.