Backup & Restore Data
- 1. Backup Android Data+
-
- 1 Android Full Backup
- 2. Backup Android SMS
- 3. Backup Contacts on Android
- 4. Backup Music on Android
- 5. Backup Android App Data
- 6. Backup Android to USB Drive
- 7. Backup Photos on Android
- 8. Clone Android Phone
- 9. Backup Android Call Logs
- 10. Backup Samsung Galaxy S9/S8/S7/S6/S5
- 11. Backup Android SD Card
- 12. Backup Android Bookmarks
- 13. Backup Everything on Android
- 14. Backup Android Voicemail
- 15. Backup Android App Data Without Root
- 16. Backup Android Tablet
- 17. Backup Android Phone Number
- 18. Backup Samsung Galaxy S9/8/15
- 19. Android SMS Backup Apps
- 20. Backup Android APK
- 21. Old Facebook Messages
- Backup Android to Cloud+
- Backup Settings+
- Restore Data+
- Other+

• Filed to: Backup Android • Proven solutions
Basically, the EFS or Encrypting File System (EFS) partition on Android is referred to the folder location namely "/EFS" which is hidden in the deepest core of an Android device's internal file system. One must have an EFS backed up as this partition is responsible for holding and encrypting the very sensitive radio information which is required by the device to function properly, without this your smartphone is no better than a dummy phone.
When it comes to rooting or flashing ROMs, it is highly adviced to back up EFS partition in order to avoid ending up with turning your Android device in a useless hardware. Today this post will guide you how to backup EFS partition on Android.
Part 1. How to Backup EFS partition on Android
Why it is important to backup EFS before root or flashing ROMs?
Usually, the EFS partition is extremely guarded and being located in the root file system, this partition is untouched by the process of rooting or flashing ROMs. But in the real world, there is nothing that can actually be called as controlled domain. Sometimes, the process may hit the EFS partition and ends up corrupting the information within. Consequences are either you will no longer receive any network signal or may also result in making your device unrecognizable by your carrier. And Bob's your uncle, it bricks your device and you wouldn't be able to get it to normal, irrespective of the number of times you reinstall the ROM. The only way to get it to normal is to restore the contents of the EFS partition. It can be then referred as a clear case of "better safe than sorry". Hence, it is highly recommended that one must perform an EFS backup before rooting or flashing ROMs on their Android devices.
How to Backup EFS Partition on Android?
Well, performing an EFS backup is what we can call a "High Level Stuffs". Be careful and attentive while you are performing an EFS backup. Since, backing up EFS using a Windows Powered Computer is a bit tricky, so we are going to get familiar with a much simpler way to get your EFS backed up.
In this article, we'll back up EFS partition of your Android device with the help of an Android App namely "EFS IMEI Backup" developed by Wanam. It is an extremely well developed and powerful app that helps you with just a few clicks. It completely supports internal and external storage for saving EFS backups. The app makes sure to keep your IMEI out of harm's way to get corrupted followed by any severe ROM flashing problem. Additionally, it works with rooted devices only. Let's get to know how it works.
(**Everything has risks. we are not responsible for the following method. Please act with caution!)
Step 1. Download and install the EFS IMEI Backup App from the Google Play store. There is no fee you need to pay for downloading this app since it is free.
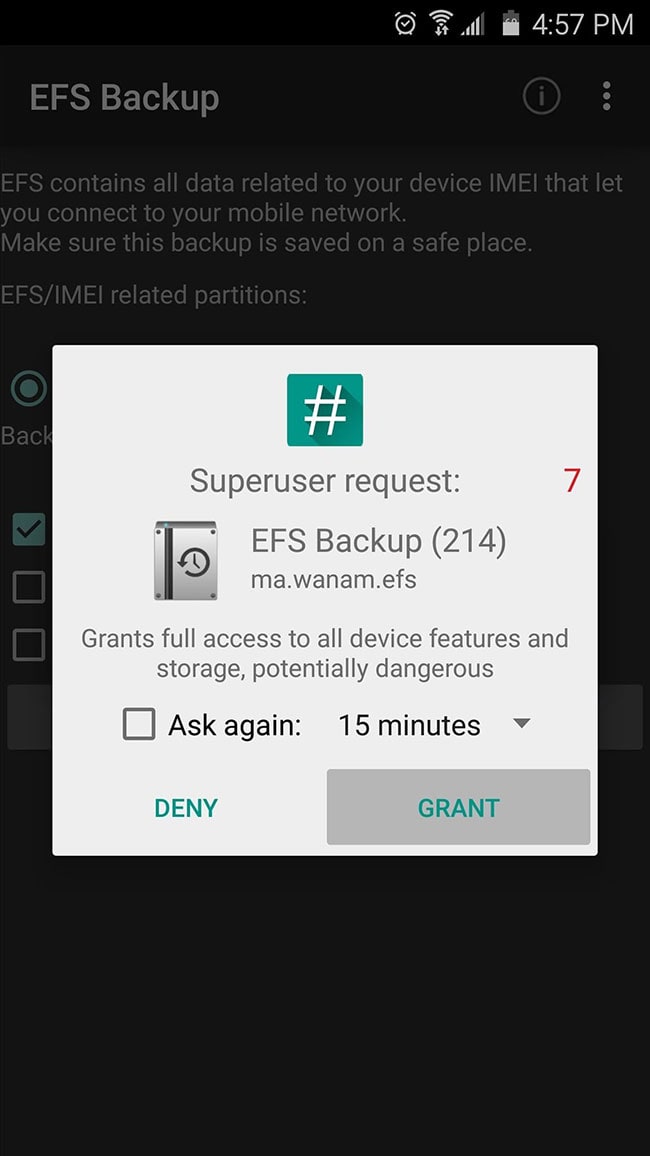
Step 2. Launch the EFS IMEI Backup app and grant the Superuser permissions to it.
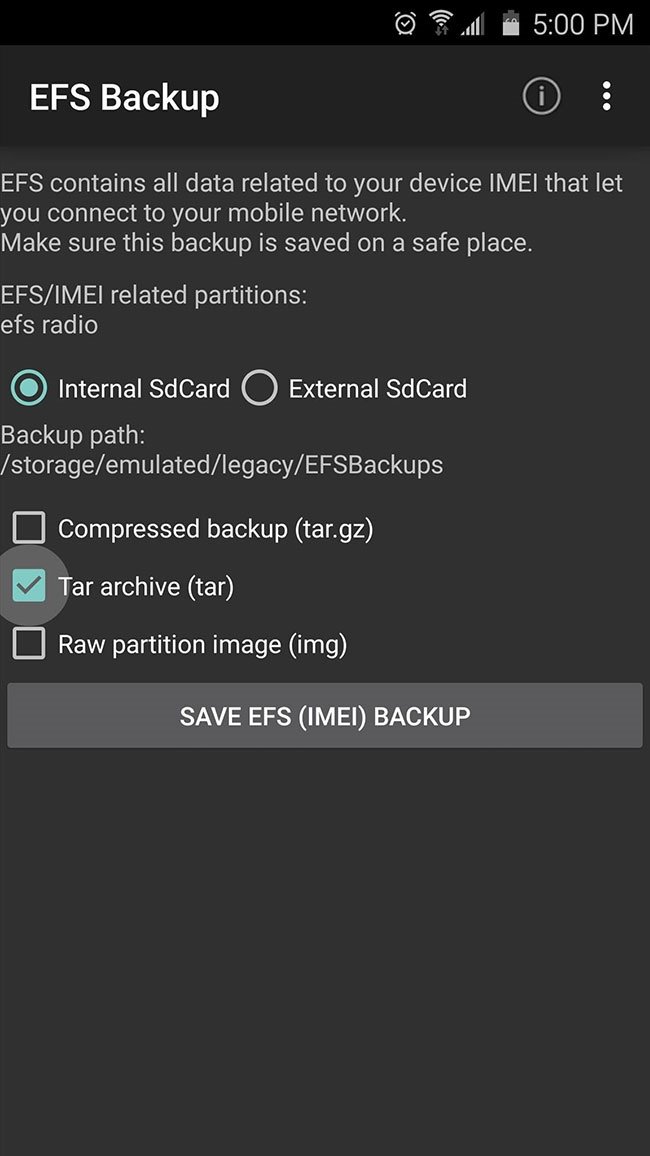
Step 3. Now, push on check box adjacent to "Compressed backup (tar.gz)" to deselect it and check on the option "Tar Archive (tar)".
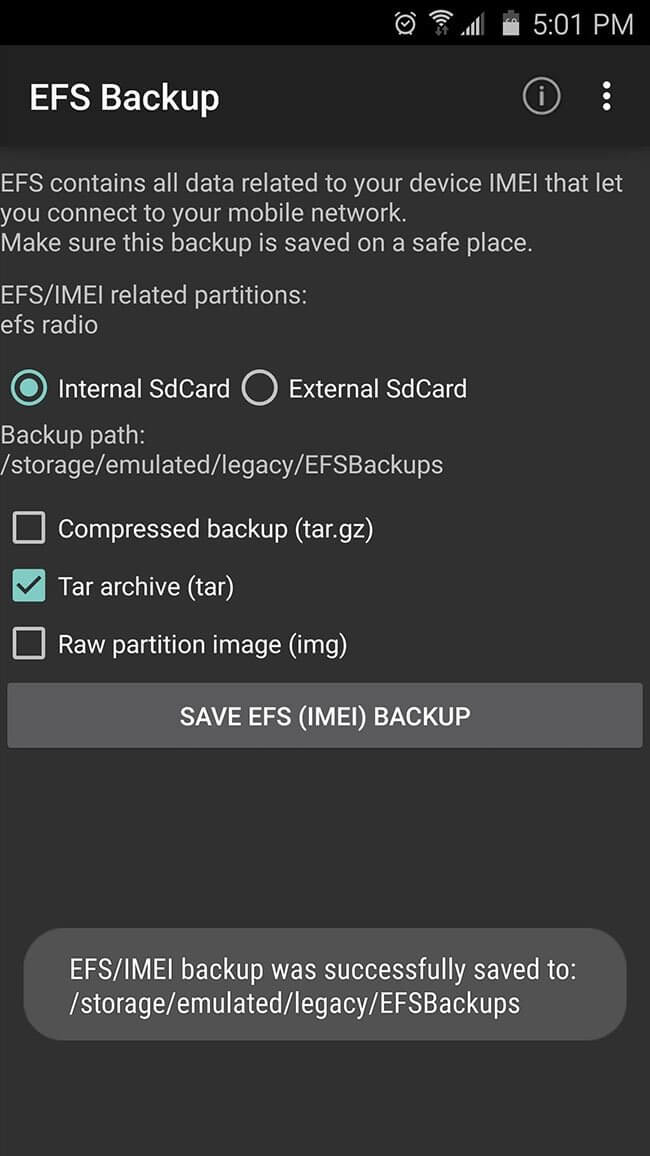
Step 4. Now, hit on "Save EFS (IMEI) Backup" and a toast message will appear on the screen within a couple of seconds, notifying you that the backup is successfully stored on the selected storage.
Part 2. How to Fully Backup Files on Android
dr.fone - Phone Backup (Android) is considered to be the best and recommended way to backup Android data that provides very good features. It is a trustworthy, free, successful and yes one-click software. In addition, it holds the highest success rate among its competitors.
dr.fone - Phone Backup (Android)
Key features of dr.fone - Phone Backup (Android)
- The software is fully compatible with EVERY Android device.
- Once can easily and selectively backup and restore Android data with this software.
- It provides the preview feature, which means the users can view the backup files and restore it.
- No replacement of old files with new is guaranteed.
- It also ensures to support multiple files like gallery, messages, call logs, calendar, videos, photos, application data, etc.
Steps to Backup Data using dr.fone - Phone Backup (Android)
Step 1. Open dr.fone on PC
First of everything, download dr.fone from the "Free Download" button. Install afterwards and launch it lastly on your computer. The first interface will bring several options from which you need to click "Data Backup & Restore". Now, connect your Android phone with the computer with the help of USB cable. Allow "USB Debugging" in the device. The device will be recognized by the software. Now click "Backup" button.

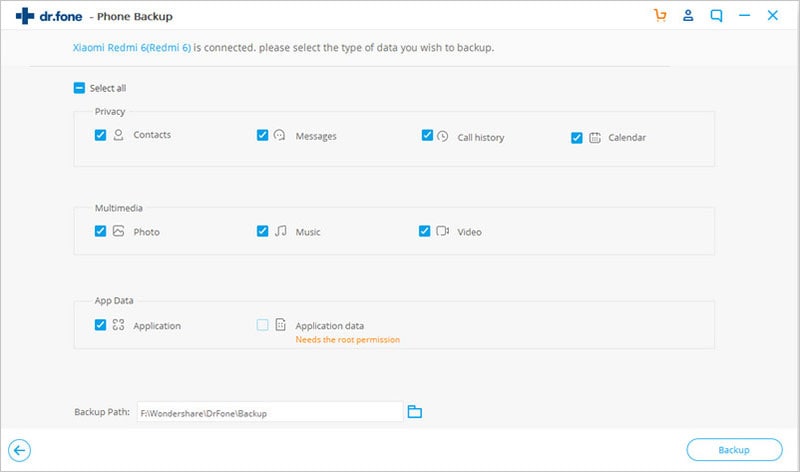
Step 2. Select Data to Backup
The software will start scanning the Android device and the users will be able to discover the various file types on the screen. The files will be arranged in different categories. Now, choose the files you want to backup by clicking the box beside each file type. Or you can "Select all" option when you want to backup everything. Now after selecting, click "backup" button.
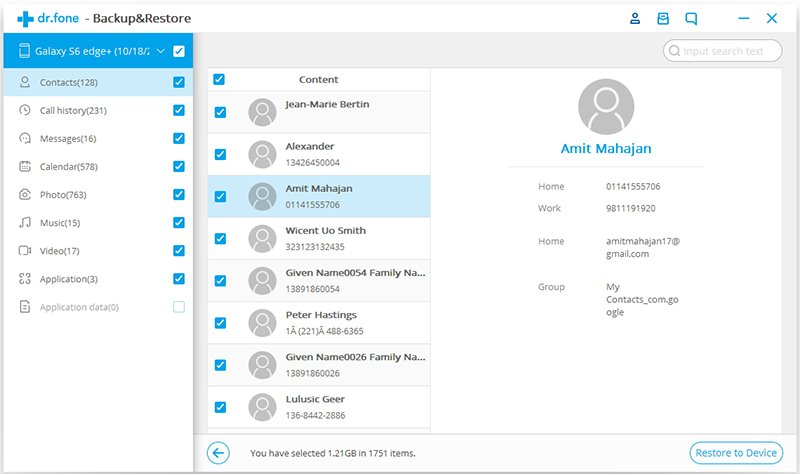
Step 3. Preview the Backup
Now the process of backup will initiate. Please make sure the well connection between PC and device till the process is completed. It will take time according to the size of the data your device contains. In other words, if the size of data in your device is more, it will take more time and less size will take less time. Lastly, click on "View the Backup" button to preview the data once.
Conclusion
The article shows you how important it is to backup EFS partition on Android. Consequencely, you are enlightened on how to do that. Considering that you may have the requirement on backup and recover other Android data, I HIGHLY recommend to adopt a mighty and relible program, called dr.fone - Phone Backup (Android), thus erasing any trouble on backing up Android.
Elva
staff Editor