Wondershare Recoverit
Data Recovery V13.5
Expert for Windows V13.5
- Proficient in recovering files from 2000+ storage devices, including cameras, SD cards, external drives, etc.
- A leading data recovery tool with success recovery rate of 99.5%
- Particularly excelling in video recovery and photo recovery
- 100% safe and secure for your data recovery

4.6 out of 5 based on 4095 reviews
|100% Secure

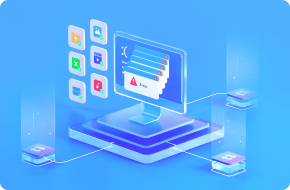
Recoverit file recovery software offers professional features to recover data efficiently. To recover lost or
deleted videos,
and files from crashed computer systems and other storage devices, you can make Recoverit your perfect choice.
Recover lost or deleted files from SD cards, USB drives, and external devices.

Support all brand SD card data recovery and external disk drive data recovery. 2000+ major devices data recovery is supported.


Safe and secure for your data recovery journey, with brand new user-friendly interface.

Recover your lost, deleted, or deeply hidden videos and photos, and retrieve all files from all devices.

Recover all kinds of video files, including home surveillance videos and driving recorder videos.

Apply deep scan technology to video defragmentation (patented). Recover the complete video by scanning the video format selected by the user. Check the patented video recovery process.

All photo formats can be recovered automatically, whether lost, deleted, or deeply hidden.

The Recoverit Advanced version is capable of aiding you in corrupted, truncated, and broken video repair. It provides you with two repair modes - quick and advanced repair, meeting different needs and improving the repair quality.

Recording after a crash, water damage, shaking, falling, battery dead, unexpected shutdown during video recording, etc.

The lost video was recovered but failed to play for some unknown reasons.

Support to fix videos from various devices like Cannon, Nikon, Sony, Panasonic, GoPro, DJI etc.


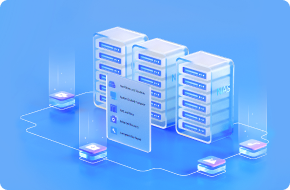
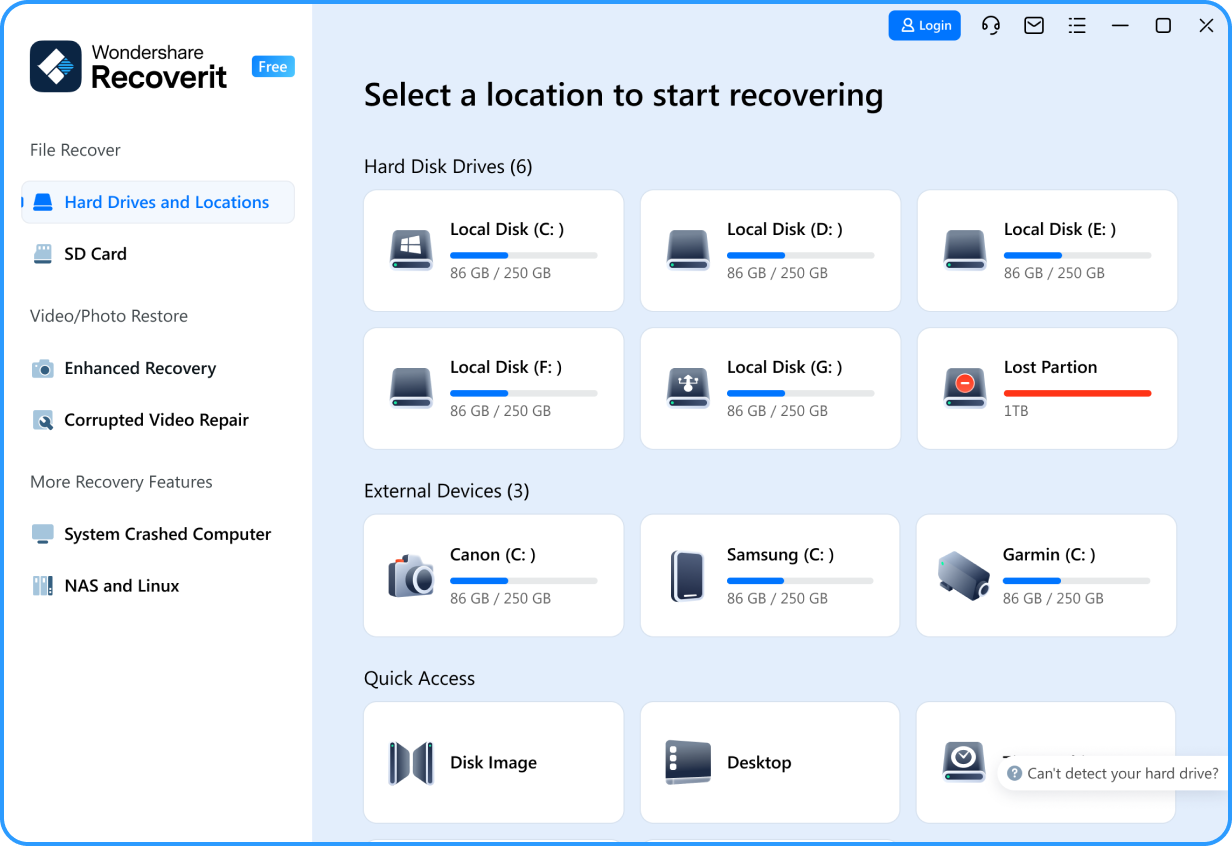
Locations Data Recovery
Recover data from hard drives or external storage devices like USB flash drives and SD cards. The memory card data recovery and disk image recovery is also supported!
Computer Recovery
Create a bootable USB flash drive to access your crashed computer data recovery with Recoverit file recovery software.
Data Recovery
Recover data from NAS hard drives by establishing a remote connection without dismantling the NAS server.

Data Recovery
Easily retrieve deleted files from Linux devices. The Linux Recovery is highly compatible with EXT4, BTRFS, XFS, and BFS file systems.
Losing data can be frustrating. If this happens to you, please troubleshoot the possible
causes to better recover deleted files.


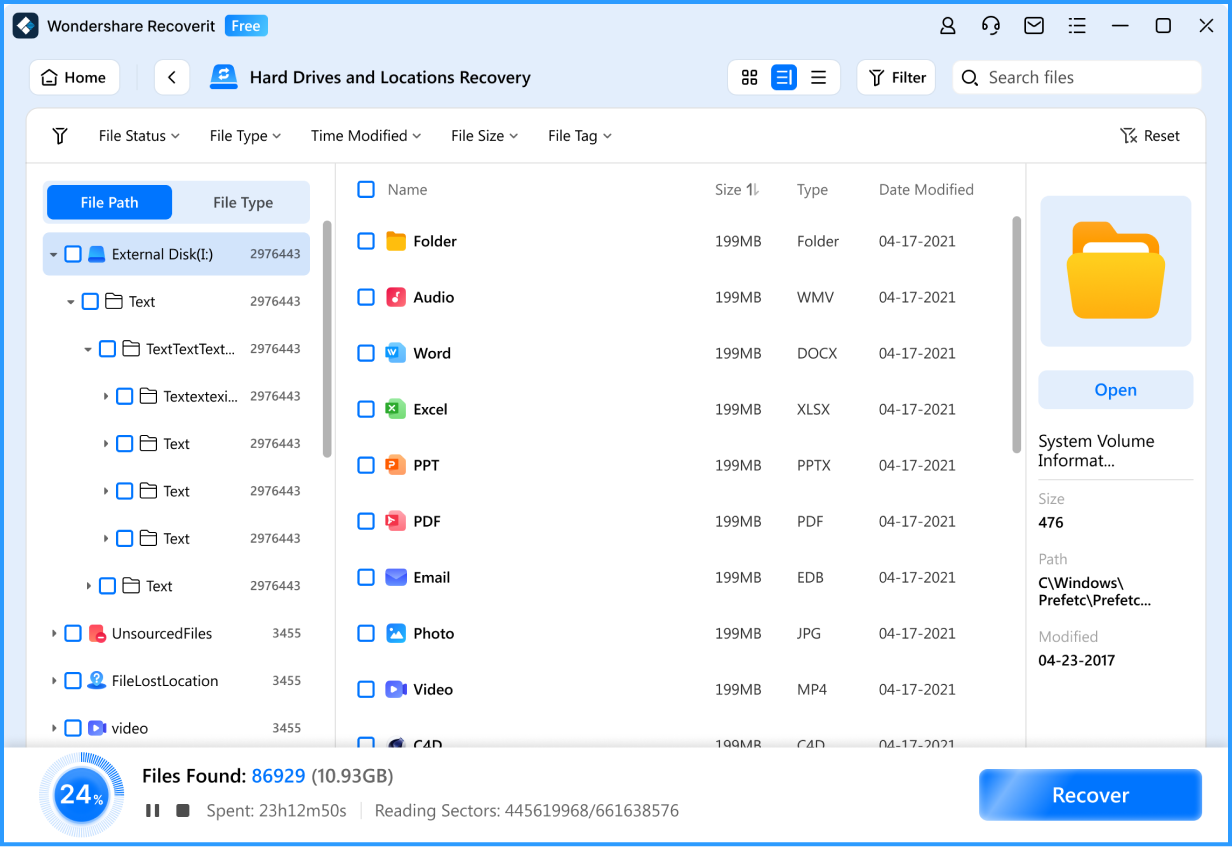
Recoverit is dedicated to more straightforward, secure, and intuitive technology for data recovery.
Thus, you can bring back all your videos and files in 3 steps.


Reliable Data Recovery Solution For Everyone
Photo Gallery / Raw Footage / Edited Footage / Audio Recording / Scripts ...
- Recover accidentally deleted photos or videos;
- Storage device accidentally damaged, resulting in photos or videos damaged or lost;
- Accidentally format storage device, like a formatted hard drive;
- Lost or damaged files due to virus or malicious software attacks;
- Data loss or damage due to power outage;
- Files accidentally lost or damaged during data migration.

Student Reports / Presentations / Dissertations / Case Studies / Questionaries / Materials
- The file storage - SD card, USB drive, and hard drive problems like being old or damaged, which causes the data loss;
- The document export process terminates abnormally;
- The storage device is mistakenly formatted;
- A finished but uncopied article file is mistakenly deleted;
- The laptop shuts down or restarts unexpectedly;
- The reference list is interrupted before completion.

Protable Documents / Word processing files / Spreadsheet files / Image files / Source code files
- Damaged or missing photos on secure digital SD card;
- Lost documents or videos or images due to sudden power outrage;
- Accidentally deleting completed documents;
- Lost project files due to design software stalling or crashing;
- Inability to find saved files due to storage device damage.

Digital Audio / Lossless music / Uncompressed audio file / Song demo
- Hard drive failure resulting in the loss of recorded music files;
- Original files need to be restored due to recorder damage;
- Master recording files are lost;
- Music damage or loss caused during transmission.
- The digital files, photos, and profession videos on the SD card have been damaged unexpectedly and cannot be restored.

- Upgraded external device recovery (CF card/USB/hard drives etc.)
- Compatible with Win On ARM devices.
- Improved scan quality & scan strategy, and supports consecutive scan from breakpoint.
- Leading scan speed & recovery quality.
- More intuitive & user-friendly UI.
Computer Operating Systems
- Windows11/10/8.1/8/7/Vista/XP
- Windows Server 2003-2022
- macOS10.13-macOS15
Computer File Systems
- ExFAT. FAT16. FAT32. NTFS. ReFS. Raid. RAW. ext4 and BTRFS under the Linux OS, etc.
Storage Device Types
- MacBook, iMac, include M1/2/3 Chips
- Hard Drive, Memory Card, USB Drive
- Camera, GoPro, Drone
- SD Card, SSD, SDHC Card, Micro SD, miniSD
- iPod, MP3, MP4, Video Player, Camcorder etc.


?
Can files be recovered from a failed hard drive?
?
Can I recover a specific kind of data?
?
How does the Recoverit file recovery program work?
?
Why it’s NOT suggested to recover the files back to the original drive?
- Get video tutorials on Recovery YouTube Channel
- Check Your 2023 Data Recovery Annual Report 📧
- Celebrate World Backup Day and Backup Data 🔒


