
10 Best Free Phone Cleaners for Android: Remove Junk and Boost Speed

Aug 15, 2025 • Filed to: Data Wipe Solutions • Proven solutions
Over time, Android devices accumulate junk files and cached data that can impact performance. A reliable phone cleaner app helps remove clutter, free up storage, and optimize RAM usage. Furthermore, it helps ensure smoother performance and longer battery life. The abundance of cleaner apps makes it difficult to choose the right one.
Some focus on clearing junk files, while others offer features like battery optimization and security fixes. This extensive guide will explore the ten best free phone cleaners for Android to keep your device running efficiently. Follow along to find an app to maintain your phone’s performance and free up valuable storage space.
Part 1. What Are the Benefits of Using an Android Phone Cleaner App?
You might be wondering why you need to use such an app on your device. Mobile cleaner tools empower Android users to optimize device performance and reclaim storage space. Following are some of the key advantages of using a free phone cleaner app:
1. Removes Junk and Unnecessary Files
Over time, Android devices accumulate cached data, residual files, and temporary app files that take up storage space. A cleaner app helps remove these unwanted files, freeing up valuable memory.
2. Boosts Device Performance
Clearing background processes and optimizing RAM usage lets you improve speed and responsiveness. This is especially helpful for older devices that slow down due to excessive resource consumption.
3. Extends Battery Life
Many phone cleaner apps include battery optimization features to aid you further. These identify power-draining apps and limit their background activity, helping extend battery life.
4. Enhances Storage Management
With built-in file management tools, cleaner apps help organize large or duplicate files. That makes it easier to manage storage without manually searching for unnecessary data.
5. Improves Overall Device Health
Regular cleaning prevents system lag, overheating, and crashes. It does that by keeping the phone free from digital clutter, ensuring a smoother user experience.
Part 2. 10 Best Free Phone Cleaners for Android in 2025
Choosing the right app can significantly improve your mobile device’s performance. It can help you remove junk files, optimize storage, and boost speed. With so many options available, finding a reliable cleaner without excessive ads is essential. Explored below are the top 10 choices when answering a question like Can I clean my phone for free?
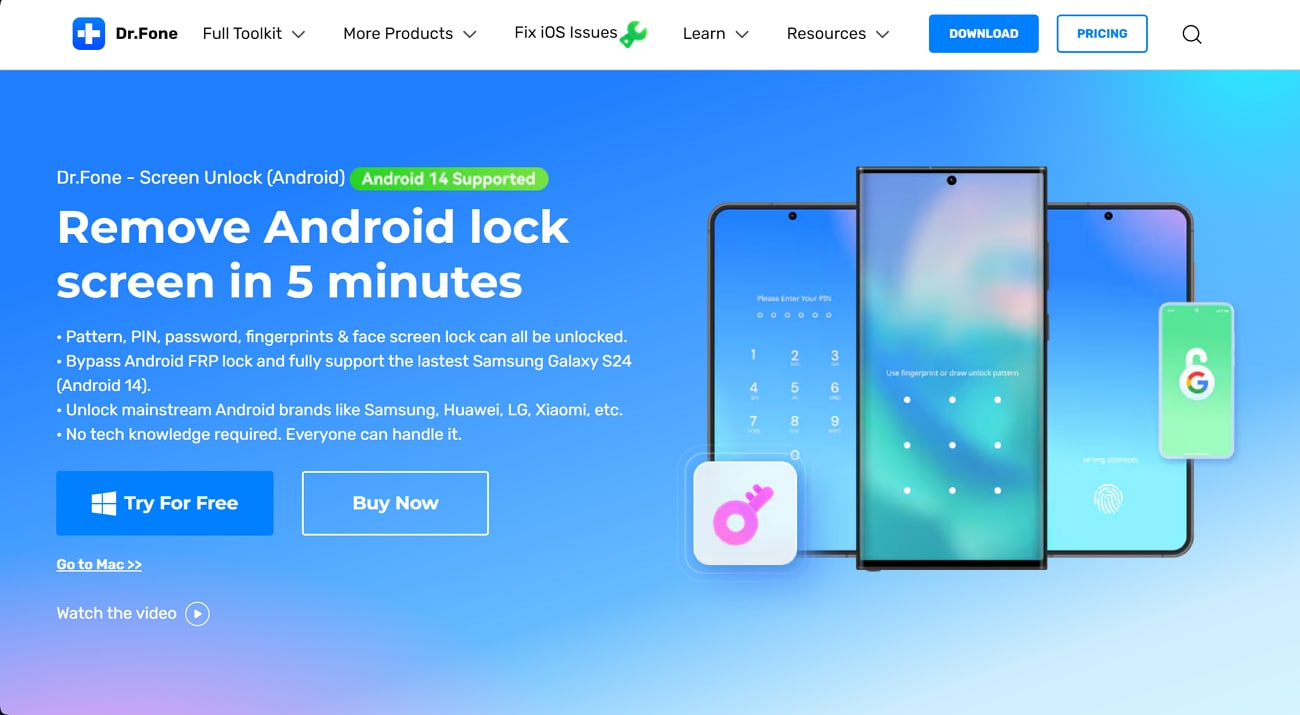
1. Dr.Fone - Data Eraser (Android) - The Most Advanced Cleaner App for Android
When it comes to cleaning your Android device, not all apps offer the same efficiency level. Some just clear cache files, while others offer deep cleaning features to ensure maximum optimization. Dr.Fone - Data Eraser (Android) stands out as the most powerful option if you're looking for an advanced solution beyond basic junk removal. It offers a comprehensive removal of junk files and permanently erases private data.
Unlike standard phone cleaners, it ensures that deleted files cannot be recovered. With its ability to clean app caches, system junk, and residual files, it helps free up significant storage space. This best phone cleaner app helps you maintain device performance and secure its content to ensure privacy. In addition to its deep-cleaning capabilities, it also offers a dynamic interface to make the process simpler.
Key Features
- Erases sensitive app data, including login credentials and personal information.
- Identifies and deletes oversized files that take up excessive storage space.
- Ensures that deleted files cannot be recovered, preventing data leaks.
- Completely deletes files to let you gift or sell the device, ensuring privacy and security.
- Provides a detailed erasure report to provide you with all relevant details about the procedure.
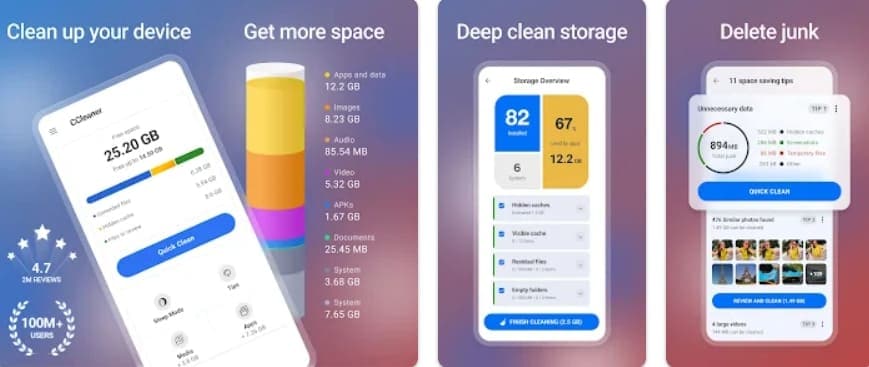
2. CCleaner – Phone Cleaner
Developed by Piriform, it offers a comprehensive solution for optimizing your Android device. This app efficiently removes junk files, residual data, and unnecessary applications. Doing so lets you free up valuable storage space and enhance device performance. With over 100 million downloads, this free phone cleaner app has established itself as a trusted choice.
Key Features
- Safely deletes application caches, browser history, clipboard content, and residual files.
- Identifies and uninstalls unused or resource-draining apps, streamlining your device's performance.
- Finds and removes similar or low-quality photos, optimizing your photo library and saving space.
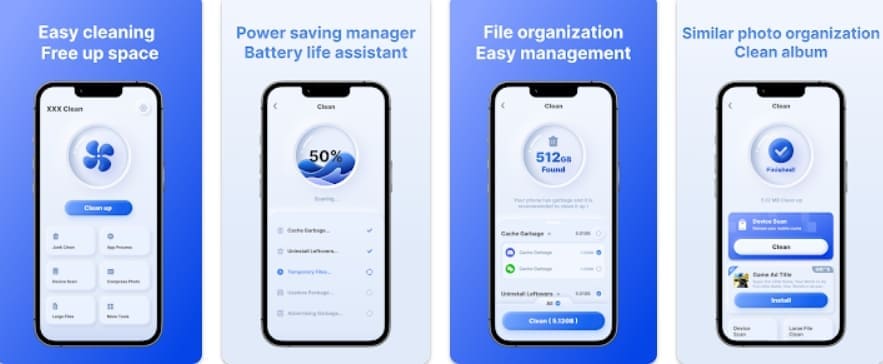
3. Phone Cleaner - AI Cleaner
It is a robust Android app designed to optimize your device's performance by efficiently managing storage. Leveraging advanced AI technology, it identifies and removes unnecessary files. Besides, this cleaner app for Android simplifies the cleaning process, making it accessible for users of all experience levels.
Key Features
- Scans your device to identify and remove duplicate files, ensuring efficient storage management.
- Helps locate and delete large files that consume significant storage, optimizing performance.
- Allows you to view and manage installed apps, enabling the removal of unused or unnecessary ones.
4. Cleaner Antivirus VPN Cleaner
Working to enhance your phone's performance, this robust app offers both security and privacy. By merging cleaning, antivirus, and VPN functions, it offers a holistic approach to mobile optimization. This free phone cleaner for Android has over 10 million downloads and a 4.7-star rating. It also offers tools to customize your device's settings and appearance.
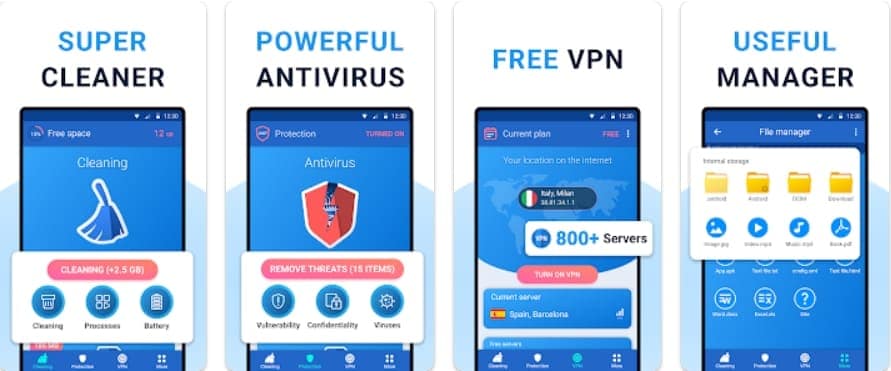
Key Features
- Organizes and manages files and folders, allowing for easy sharing and efficient use of storage.
- Enables secure and private browsing via robust-grade internet connection encryption.
- Scans for and eliminates viruses and malware to ensure your mobile's safety.
5. Avast Cleanup – Phone Cleaner
A comprehensive app, it is designed to increase your phone's performance by efficiently managing storage and enhancing speed. Developed by Avast, this option offers a suite of tools to keep your phone running smoothly. It has established itself as a reliable choice for users with questions like which tool can clean my phone for free.
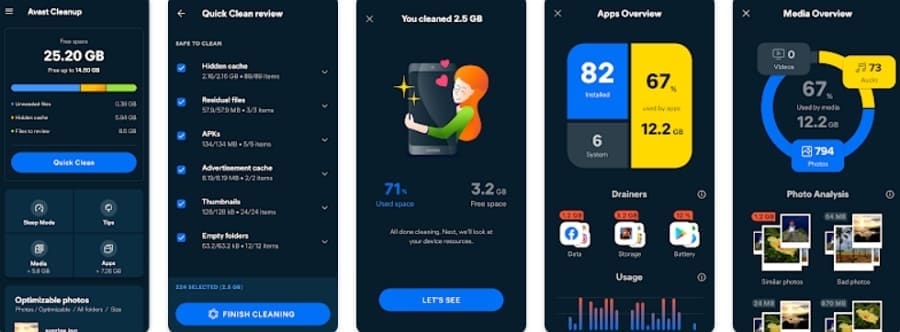
Key Features
- Analyze your phone's storage space to identify and clear unnecessary data, freeing up valuable space.
- Helps clean your photo library by identifying and removing unwanted or similar photos.
- Offers a one-tap solution to stop all background apps, enhancing your device's responsiveness.
6. AVG Cleaner – Storage Cleaner
Designed to help users declutter their Android devices, this app optimizes storage space for better performance. It streamlines the entire cleaning process, making it easy to maintain a smooth-running phone. This best free phone cleaner for Android uses a smart scanning system to detect unnecessary files and duplicate images.
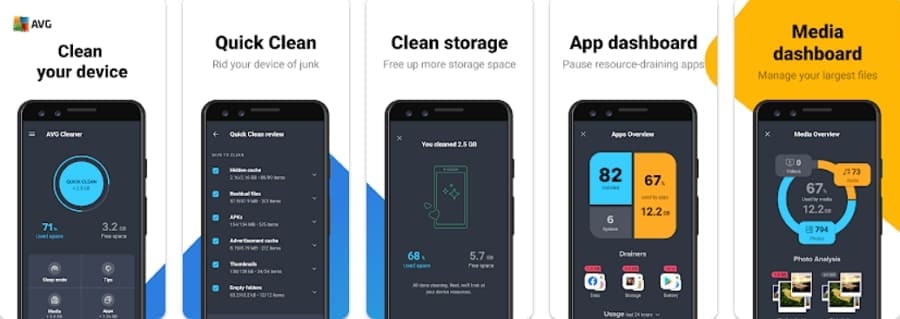
Key Features
- Identifies the largest files, media, apps, and junk on your device, enabling you to manage them effectively.
- Helps identify power-hungry apps and provides tips to improve battery life.
- It targets specific app caches, allowing you to clean individual apps without affecting performance.
7. ASTRO File Manager & Cleaner
To streamline file management and optimize device storage, it is a favorite choice. This robust app combines these capabilities with cloud integration and security features. ASTRO File Manager & Cleaner lets you navigate and manage files with ease due to a clean design. Overall, this cleaner app for Android is recommended for efficient storage management.
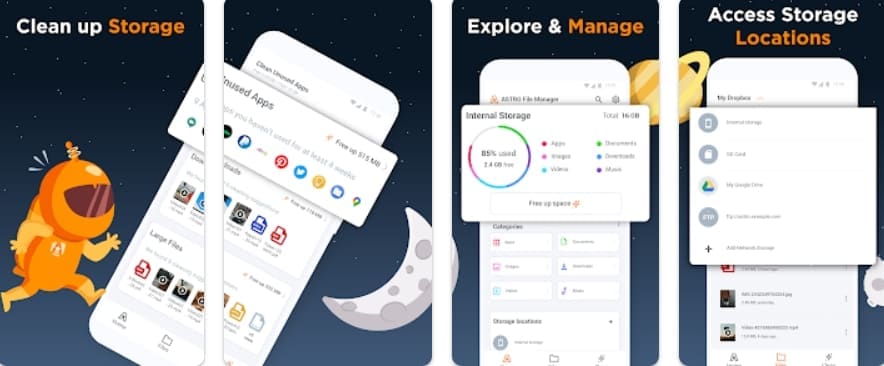
Key Features
- Hide and lock sensitive files in a secure vault, accessible only via PIN or biometric authentication.
- Identify and remove unused apps and files, and sort files by size to free up valuable storage space.
- Effortlessly move, copy, share, and rename files across your phone's internal storage.
8. Blue Clean
You can utilize this advanced and free phone cleaner to optimize your mobile’s storage and speed. Blue Clean combines essential cleaning and management tools to ensure a smooth phone experience. It offers a user-based approach for easy navigation and management of your device's resources. This app also identifies and removes large files and unused apps with ease.
Key Features
- Analyzes installed applications to help you manage and optimize your device's performance.
- Provides comprehensive information about your device, like storage usage, battery health, etc.
- Removes unnecessary files like app data and residual junk to free up valuable storage space.
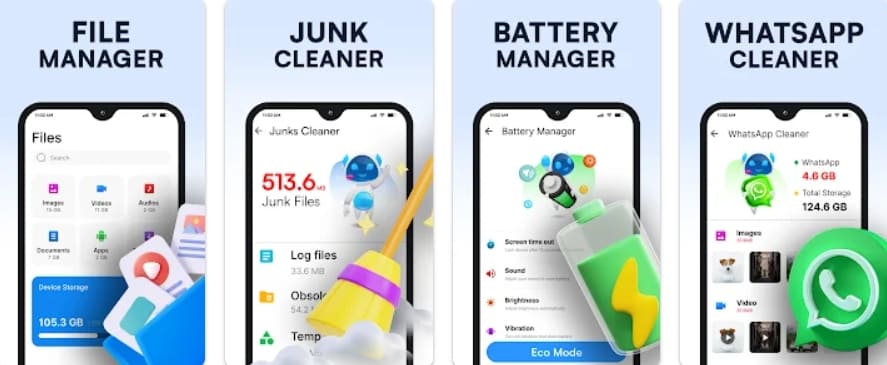
9. Express Cleaner: Clean Phone
With its dynamic and clean interface, the app simplifies the process of cleaning up your mobile with a few taps. Express Cleaner: Clean Phone is an efficient and free phone cleaner app to optimize device storage. When your mobile is slowing down or you're running low on space, it emerges as the ideal solution.
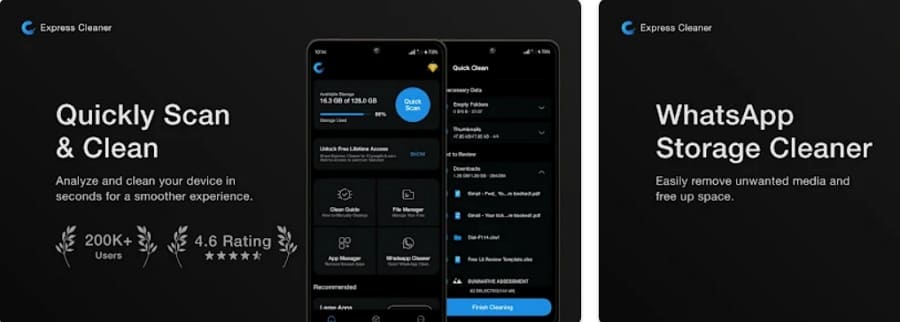
Key Features
- Reclaim storage on your phone by removing unnecessary WhatsApp files.
- Choose a color theme that matches your style for a customized experience.
- Monitor which apps consume the most storage or data, aiding in better device management.
10. IO Cleaner - Phone Cleaner
Considered to be the best free phone cleaner for Android, this app is a recommended option. Its smart scanning system makes it easy to free up space and improve speed with minimal effort. In addition, IO Cleaner-Phone Cleaner is a powerful optimization tool to keep your Android device running smoothly.
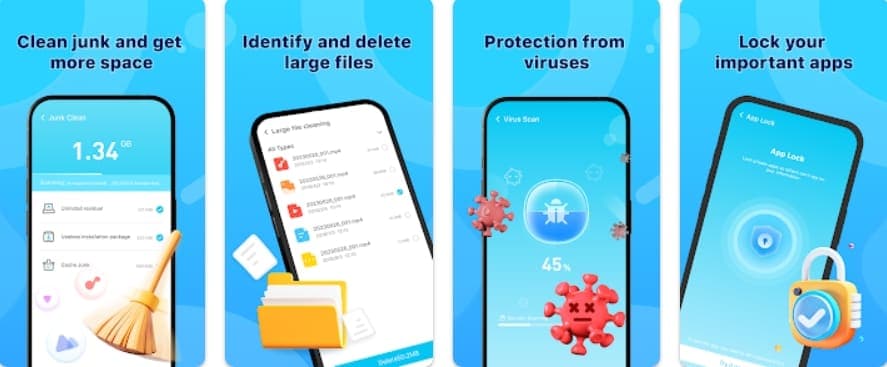
Key Features
- Clears unwanted notifications to reduce clutter and enhance user experience.
- Detects and eliminates duplicate images and offers compression options to save space.
- Manages app permissions, provides an app lock feature, and includes a virus scan.
Part 3. How to Utilize the Best Free Phone Cleaner for Android
With a plethora of choices, finding the right one is a challenge. Although all the tools mentioned have great features, some are more efficient. To help you choose the best phone cleaner app, a detailed comparison of all discussed apps is below:
| Phone Cleaner | Junk & Cache Cleaning | Deep Data Erasure | Storage Optimization | Privacy Protection | Ease Of Use | Additional Features |
| Dr.Fone - Data Eraser | Best in Class | Secure & Permanent | Full Removal of All Issues | Strongest Security | Highly User Intuitive | Extra Security Tools |
| CCleaner | ✔ | ✖ | ✔ | ✖ | ✔ | ✖ |
| Phone Cleaner - AI Cleaner | ✔ | ✖ | ✔ | ✖ | ✔ | ✔ |
| Cleaner Antivirus VPN Cleaner | ✔ | ✖ | ✔ | ✔ | ✔ | ✔ |
| Avast Cleanup | ✔ | ✖ | ✔ | ✔ | ✔ | ✔ |
| AVG Cleaner | ✔ | ✖ | ✔ | ✔ | ✔ | ✔ |
| ASTRO File Manager & Cleaner | ✔ | ✖ | ✔ | ✔ | ✔ | ✔ |
| Blue Clean | ✔ | ✖ | ✔ | ✖ | ✔ | ✖ |
| Express Cleaner | ✔ | ✖ | ✔ | ✔ | ✔ | ✔ |
| IO Cleaner | ✔ | ✖ | ✔ | ✔ | ✔ | ✔ |
While these apps offer excellent cleaning, Dr.Fone - Data Eraser (Android) stands out as the most advanced. It clears junk files and ensures permanent data erasure, preventing any chance of data recovery. Unlike other cleaners, it focuses on deep privacy protection to declare itself as the ideal choice.
How to Use Dr.Fone - Data Eraser (Android) to Erase Unnecessary Data From Your Mobile?
Follow these elaborate instructions to utilize this robust cleaner app for Android to delete your device content:
Step 1. Attach Your Mobile to the System and Run the Software
To initiate the operation, launch Dr.Fone on your computer and approach the “Toolbox” section to opt for “Data Eraser.” Now, utilize a high-quality USB cable to link your Android mobile to the system and wait for the program to detect it.

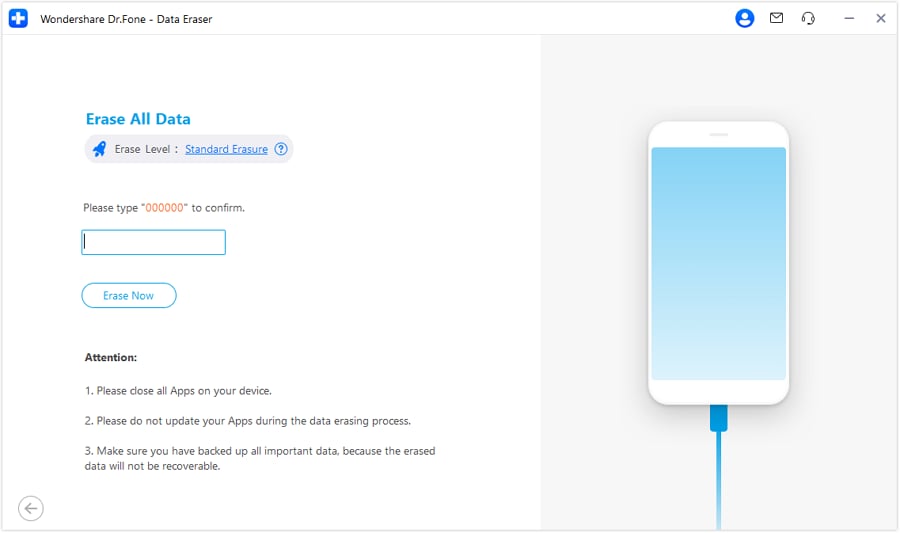
Step 2. Provide the Confirmation to Delete All of Your Phone Content
Once the phone is loaded, hit the “Start” button on the “Erase All Data Screen” to proceed. Following that, enter the provided code to confirm your intent and click “Erase Now” to start the process.
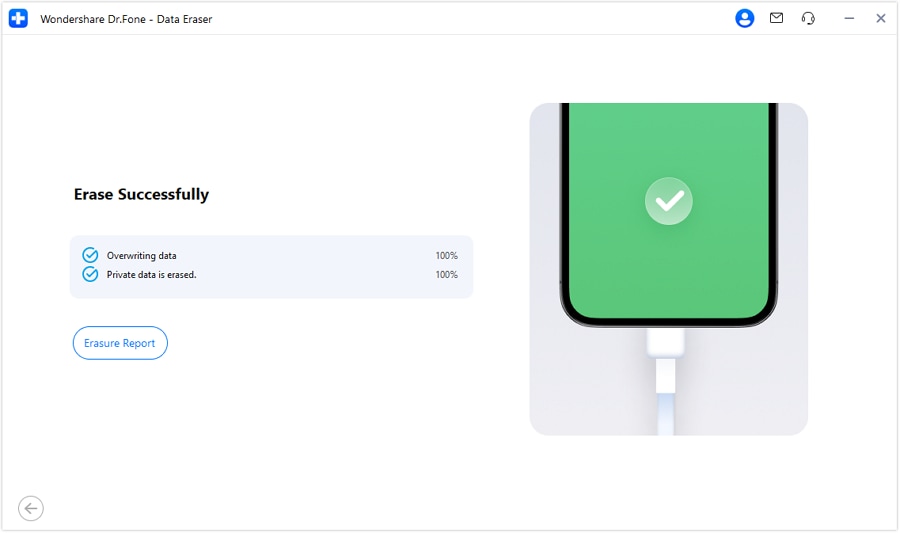
Step 3. Access the Provided Report to View the Details
Now, wait for the data erasing procedure to complete and tap the “Erasure Report” option when it does. In this report, you will be able to see all the relative details of the procedure and your device.
Conclusion
In summary, choosing the right free phone cleaner for Android ensures optimal mobile performance. While all the tools listed offer useful features, Dr.Fone - Data Eraser (Android) stands out as the most advanced solution. It goes beyond basic cleaning by providing permanent data erasure, ensuring no traces of sensitive files remain. You can also use the Dr.Fone Basic Phone Backup to secure the content before erasing the phone.


Android Erase


Daisy Raines
staff Editor