How to Remotely Wipe Android When It's Lost?

Jun 10, 2025 • Filed to: Data Wipe Solutions • Proven solutions
With the digitisation and smart-phone in hands, our life has become easy, flexible, and collaborative. Not only our personal but also our work life. Android making a way for us to use thousands of applications and features has become one of the most important necessities of our life and day-to-day activities. However, when an Android phone is lost or has been stolen, it puts all our private data and documents at risk. Such a condition is most undesirable when the lost Android phone was used majorly for corporate purposes or for official work.
But, relax! You own a smart-phone. Let me introduce that how you can smartly ‘remote wipe Android’. Remote wipe Android is an approach to lock, delete or completely erase data on your Android phone. Not only you can lock or delete but also you can find the approximate location of lost or stolen Android phone. This way, before you remote wipe Android, you will not go for wrong decisions taken in haste, in order to maintain the privacy of the data on your lost or stolen the Android phone.
Let us then see that how you can remote wipe Android phone with the help of the Android Device Manager.
Part 1: How to remotely wipe Android with Android Device Manager?
As said earlier, you can not only remote wipe Android but can ring, lock, and find the accurate location, too. This method of remotely wiping Android is easy. What you need is just an account for Android Device Manager (at its official website). By creating an account here, you can SYNC your Android device with Google and its related services. So, whenever your Android phone is lost, you just sign-in to your Android Device Manager account in order to first have an approximate location or ring your Android phone. Once it is found that the phone has been stolen or lost, then to keep all the data and documents safe, you can opt to remote wipe Android. Remote wipe Android will set your lost Android phone to FACTORY RESET mode. So, all your data and documents will be deleted with this. And, safe and secured, too; as now no one will be able to access and more importantly recover data.
In a nutshell, Android Device Manager is your virtual phone. You can access or control your Android phone virtually but with limited functionalities. But as said earlier, you need to perform the below perquisite to remote wipe Android i.e. setting up Android Device Manager.
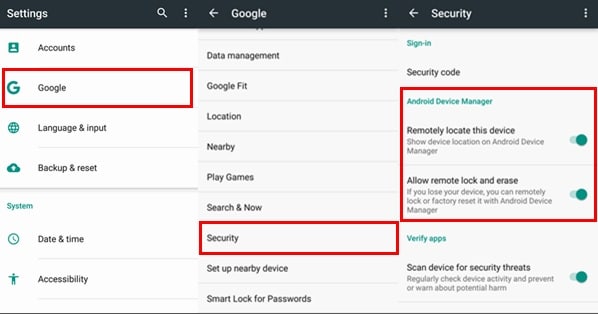
1. Open “Settings” of your Android phone.
2. Here, you will find settings for "Personal". Go for it and click “Google”.
3. Having done that go to "Services" and click on “Security”.
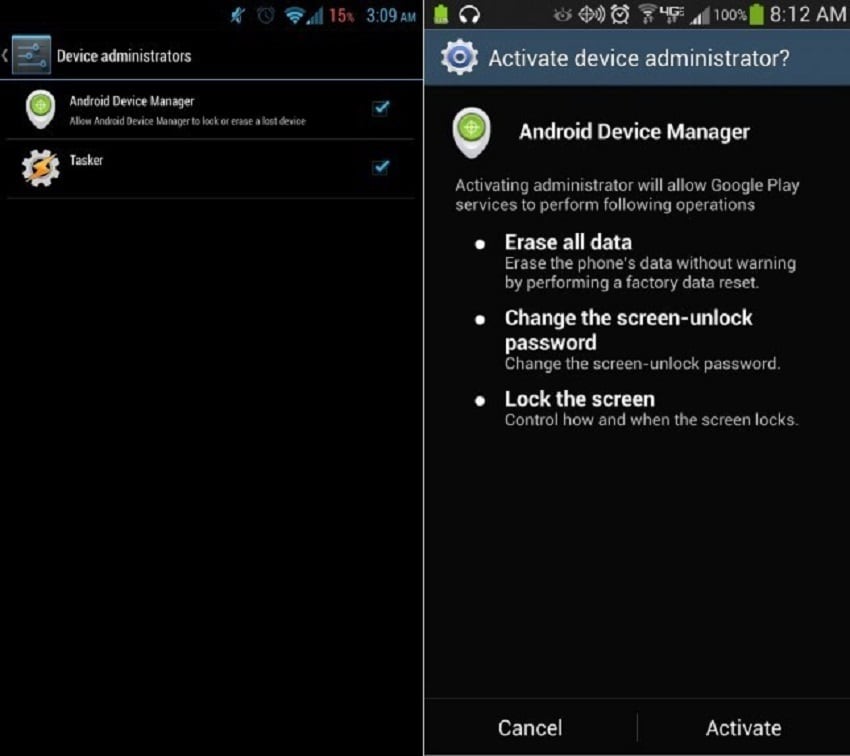
4. After performing above steps, now go to "Android Device Manager," and switch-on “Remotely locate this device” and “Allow remote lock and erase”.
Do note that to leverage Android Device Manager, your Android phone’s device location is in ON mode. Follow below steps to make location on.
1. Open your Android phone’s “Settings” and find "Personal".
2. Here, you will find “Location”.

3. By just clicking on On/Off switch, you enable your Android phone’s location service.
Having done that it’s time to test the Android Device Manager. Here’s how you do it.
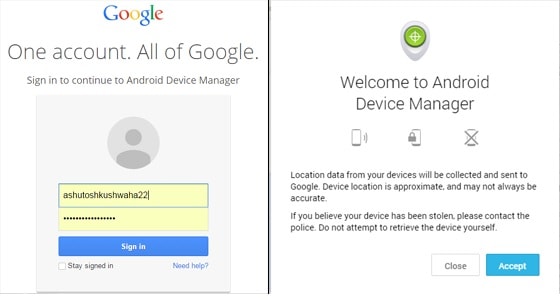
1. Visit official website: - www.Android.com/devicemanager
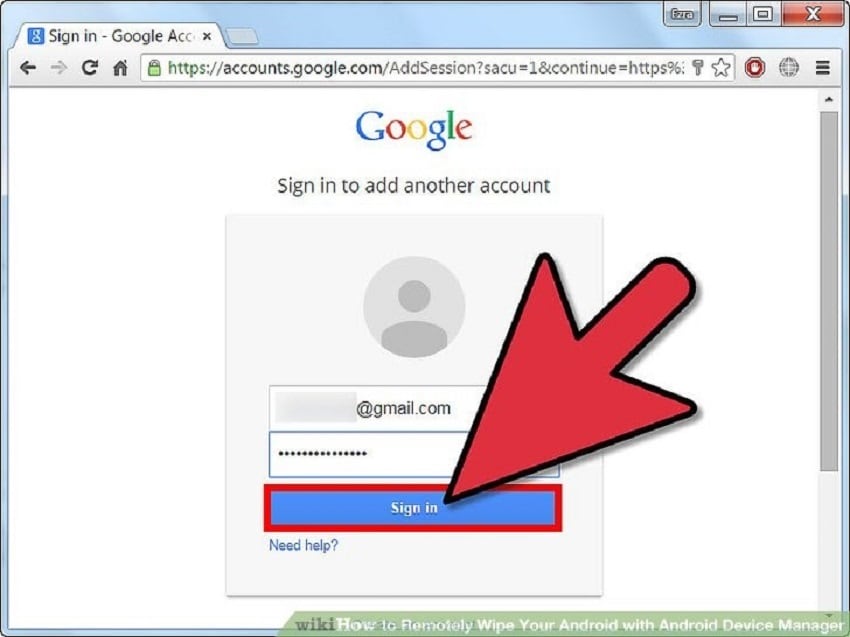
2. Here, just sign in with your Google Account.
3. Just see that whether your device is showing up or not.
If you can’t find your Android device, then you need to recheck for the following:
1. You are signed-in to your Google Account.
2. Location setting of your Android phone is on.
3. In Google settings (in your Android phone), make sure that Android Device Manager is in ON mode.
Now, let us see quickly how to remote wipe Android phone when it’s actually lost or stolen. Follow below steps to do it.
1. On the first basis, you need to visit Android Device Manager’s official website. Here, sign-in with your Google Account.
2. As soon as you log in, find or select your Android phone that has been stolen or lost. Note that if in earlier time you had not synced your Android phone at ADM’s website, then you are not able to find it.
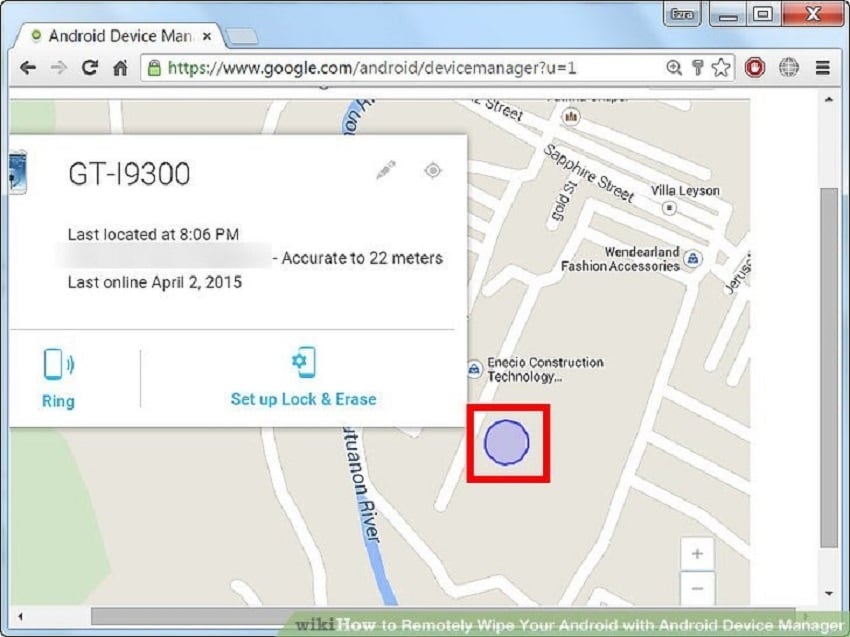
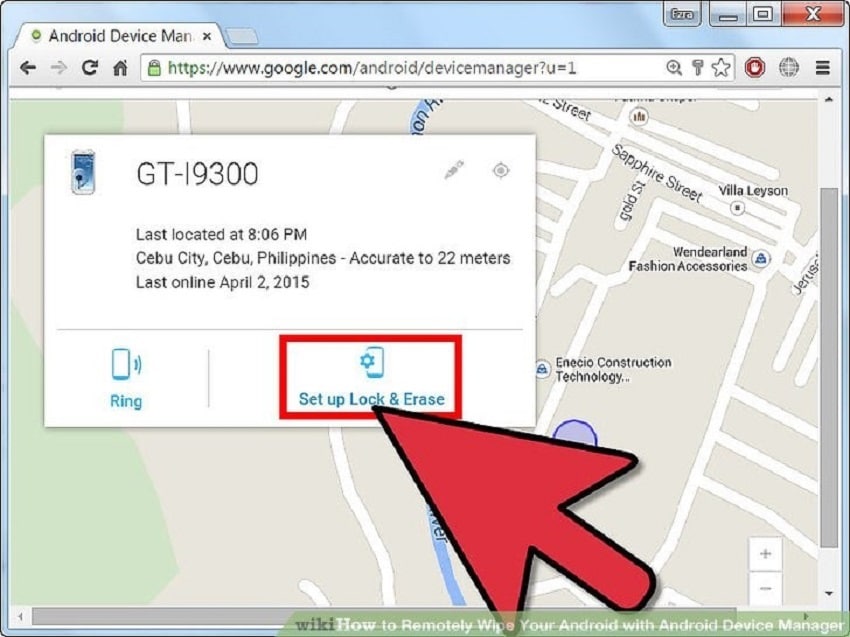
3. Now, just select your Android phone. On selecting it, you will see the accurate location along with the menu at top left corner that shows location details, last time of detection, and distance from your location.
4. Having found the exact location of your Android phone, you can proceed to remote wipe Android. Just click on “Wipe your Android remotely”.A confirmation window will pop up; click on “Agree.” With this, you had remote wipe Android phone of yours and saved it from dirty brains.
Having said all the above, I just want to bring in the light that sometimes it is possible that ADM may not be able to show you the exact location of lost phone. And, sometimes an error can also occur. Let us quickly see how to fix such error.
Part 2: How To Fix Location Unavailable Error In Android Device Manager?
Do note that this procedure has to be performed along with the above steps to enable ADM and sync your Android phone with it.
Before following below steps, make sure that your Android phone is well connected to the internet. Having done that, follow below steps to fix location unavailable error in ADM.
1. Set your location to “High Accuracy Mode”. Follow this path to do it:Settings > Locations > Mode > High Accuracy.
2. Now, it’s time to go to Google Play Services. It is must to have thelatest version and clear cache memory. So, update it.
3. Having done that, reboot your phone.
4. Now, check to see that whether unavailable error still exists or not. For this, just start Android Device Manager.
Alternatively, you can also go for “Mock Locations” feature to fix location unavailable error. You can do it via Settings > Developer Options. If the problem still persists, avail a professional expertise.
Remote wipe Android is one of the latest and desired functionality. It helps us the most at the times of critical situations when it is very important to safeguard the data from wrong hands. However as we can’t safeguard it, we just completely delete it by setting it to FACTORY SETTING mode. Android Device Manager helps or to say assist you in such. The more features made available like a lock, ring, and finding accurate locations are also very helpful. So now, having the knowledge on how to remote wipe Android phone with Android Device Manager, pass it on this knowledge to others too. It will help others too in the situations of Android phone thefts.


Android Erase


Alice MJ
staff Editor