Erase Data
- 1. Erase iPhone+
-
- Wipe iPhone Clean
- Delete iPhone Bookmarks
- Delete iPhone Reminders
- Delete iPhone Calendars
- Delete iPhone Photos
- Delete iPhone Messages
- Delete iPhone Contacts
- Delete iPhone Notes
- Delete iPhone Call Log
- Top iPhone Data Eraser
- Tips for Stolen iPhone
- Reset iPhone to Sell
- Lock iPhone Messages
- Delete Facebook Messages on iPhone
- iOS 11 Free Up Space

• Filed to: Erase iPhone • Proven solutions
When you decide to delete emails on your iPad, they are automatically sent to the Trash folder , which is regarded as the recycle bin for deleted emails. There are separate Trash folders for each of your email accounts. These folders can become jam-packed overtime and the deleted emails may limit your iPad's storage space. The only way to free up some space is to empty trash the folder. This process ensures that these emails are completely removed from your device. Below is an easy guide on how to empty trash on iPad.
Part 1: How to Empty Trash on iPad Permanently
If you own an iPad, you should know how to delete trash on iPad. Thankfully, there is professional data destroyer software known as dr.fone - Data Eraser (iOS) You can use it to empty trash on iPad and clear other data as well. This includes Music files, videos, logins, banking information, calendar, messages and more.
dr.fone - Data Eraser (iOS)
Delete trash from iPhone in One Click Permanently
- It has the ability to erase all data and deleted data completely. These data includes contacts, calendar, messages, passwords, call history, emails, reminders, weather, safari history and more.
- It secures personal information. Third parties data recovery tools cannot access your data after you delete them.
- It clears the unnecessary files such as junk files and ensures that the speed of your device is boosted.
- There are 5 data erasing modes which you can use to clear data. This includes erase all data, erase deleted data, Erase private, iOS Optimizer and space saver.
Steps on How to Empty Trash on iPad
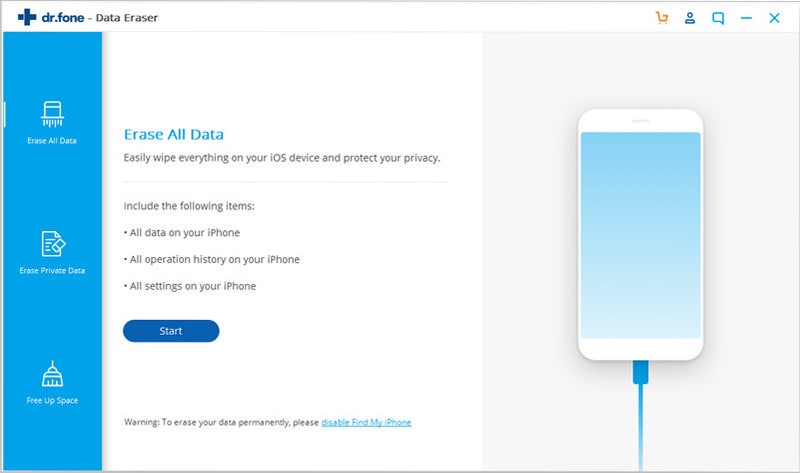
Step 1. Run the dr.fone
Download dr.fone, install it on your computer and then launch it. Now connect your iPad to your PC with the USB cable. dr.fone will detect your iPad and show its details in the main interface. Then please click "Erase" in the program.

Step 2. Select a Deletion Mode
You will be directed to the specified data erasing mode. Click the "iOS Optimizer" button in order to scan for the junk files.
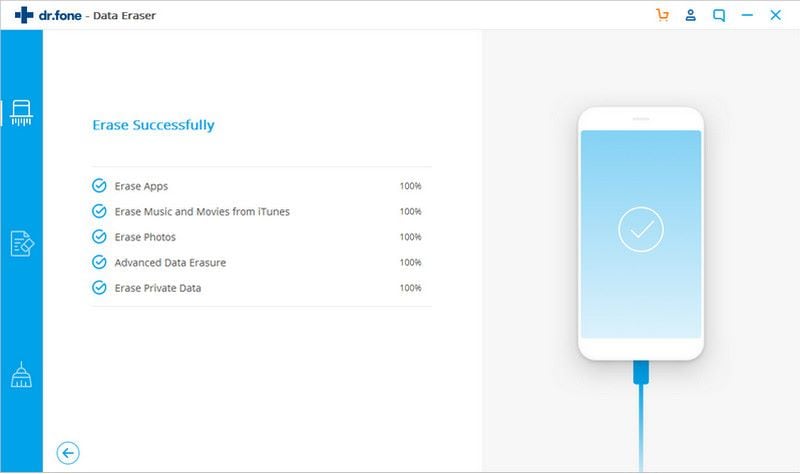
Step 3. Start erasing all the data on iPad
Hit the "Cleanup" button and clear all the junk files. After that, you will get a confirmation window showing you how much space you have saved.
Part 2: How to Delete Trash Folder on iPad Email
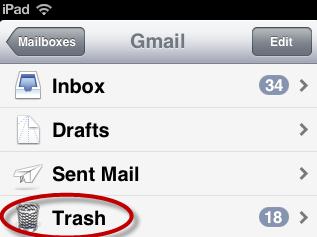
Step 1. Open your iPad’s mail app located on your home screen and click on the "Mailboxes" located at the top of your screen.
Step 2. Scroll to "Accounts" and select your email Account (If you have more than one email account). However if you have one account, the "Trash" folder will appear in the first set of folders.
Step 3. Click the "Trash" folder in your account’s folder to open it.
Step 4. Tap the "Edit" button at the top right corner of your screen.
Step 5. Tap the "Delete All" button at the bottom right corner of your iPad.
You can also avoid this process and use the second alternative on how to delete trash on iPad.
Step 1. Tap the settings icon on your iPad home screen, and then select the Mail, Contacts, Calenders.
Step 2. Tap on your account name and then tap the "Advanced" button.
Step 3. Under the "Deleted Messages", you can select Remove and choose the appropriate time frame for automatic deletion.
Step 4. Your iPad will be empty trashed automatically according to your settings. This can either be daily, weekly or monthly.
Note that the emails deleted through these two methods can still be recovered by data criminals using the latest data recovery software. To be on the safer side, you use dr.fone - Data Eraser which ensures that the deleted data are unrecoverable.
Part 3: Cannot Remove Email/Messages to Trash on iPad? Fixed
If you have tried to delete the emails on your iPad and received error messages indicating that the device is unable to move the email to the trash folder, then you should try the following in your attempt to solve the problem.
1. Tap the settings icon on your iPads home screen.
2. Choose the Mail, Contacts, Calendars located on the left side of your screen.
3. Select websavers hosted account, which appears in the account names listed.
4. Click account email address and then the advanced button at the bottom part of the page.
5. For IMAP Path Prefix, ensure that you change the setting to INBOX, all in capitals.
6. Go back by clicking the Account arrow and choose Done twice from the upper right corner.
7. This process may not be effective immediately. You can restart your iPad by holding down the power button and then it will work perfectly.
Conclusion
Why do we retain the useless and annoying trash in our device and get it run slowly? Previously we may fail to find a good way to delete them. Now you must know how to do. Just download dr.fone and begin your trash-removing trip with a few simple steps presentsed in this article.
Basil Rathbone
Editor