Dr.Fone - System Repair (iOS) 
Repair your iOS system issues at home
- · Repair 150+ iOS system issues like Apple logo, boot loop, 1110 error, etc.
- · Downgrade and update iOS without jailbreak.
- · Enter/exit DFU and Recovery Mode for FREE.
- · Fix most issues without data loss. No tech skills required.
- · Work for all iPhone/iPad/iPod Touch, running on all iOS versions.
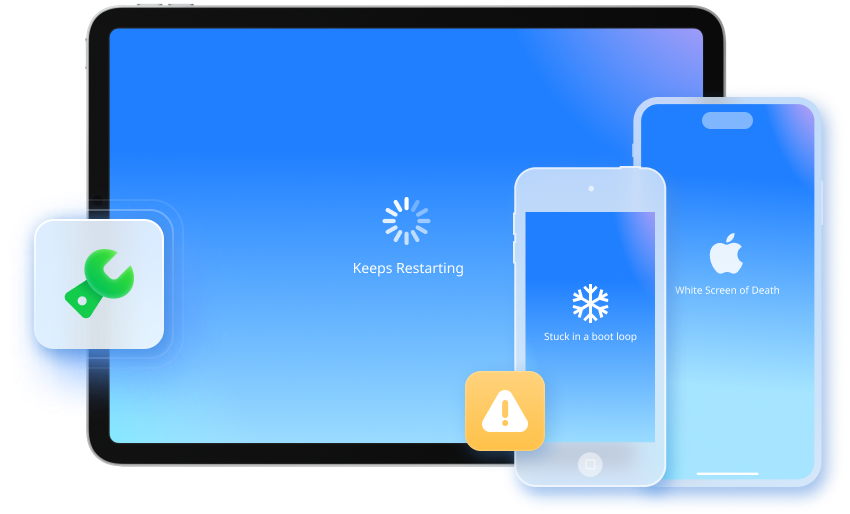
Fix All iOS Problems Like a Pro
Stuck in Recovery Mode

White Screen of Death

iPhone Black Screen

iPhone Frozen

iPhone Keeps Restarting

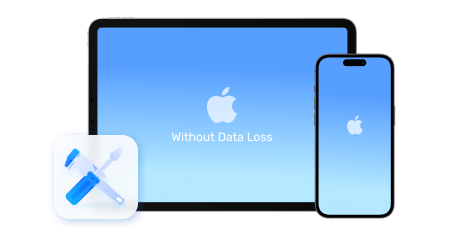
Fix iOS and Keep Your Data Intact
Upgrade and Downgrade iOS Without iTunes
Dr.Fone is able to upgrade and downgrade iOS without jailbreaking. And most importantly, this upgrade process will not cause data loss on your iOS device. Please also note that downgrading to a previous iOS version only works when Apple still signs the older iOS version.


Explore iOS Beta Features
Repair iOS System with Different Modes
Standard Mode
Retain User's Data: With this Standard Mode, we can quickly fix almost all system issues without data loss, including crashes, black screens, and getting stuck on the Apple logo or in the Recovery Mode.

Advanced Mode
This mode helps when Standard Repair fails. It supports deep scan to repair in relatively complex scenarios and resets your iDevice to factory settings. Please note that it will erase all your data after recovery.
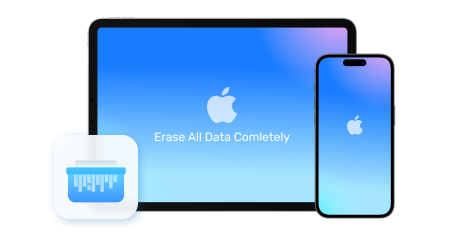
Anti - Recovery Mode
We recommend this mode if you want to sell your iDevice or want to destroy the data inside the iDevice. It can fix complex iOS system issues and perform deep data erasure on your iDevice, including formatting hard drive chips.
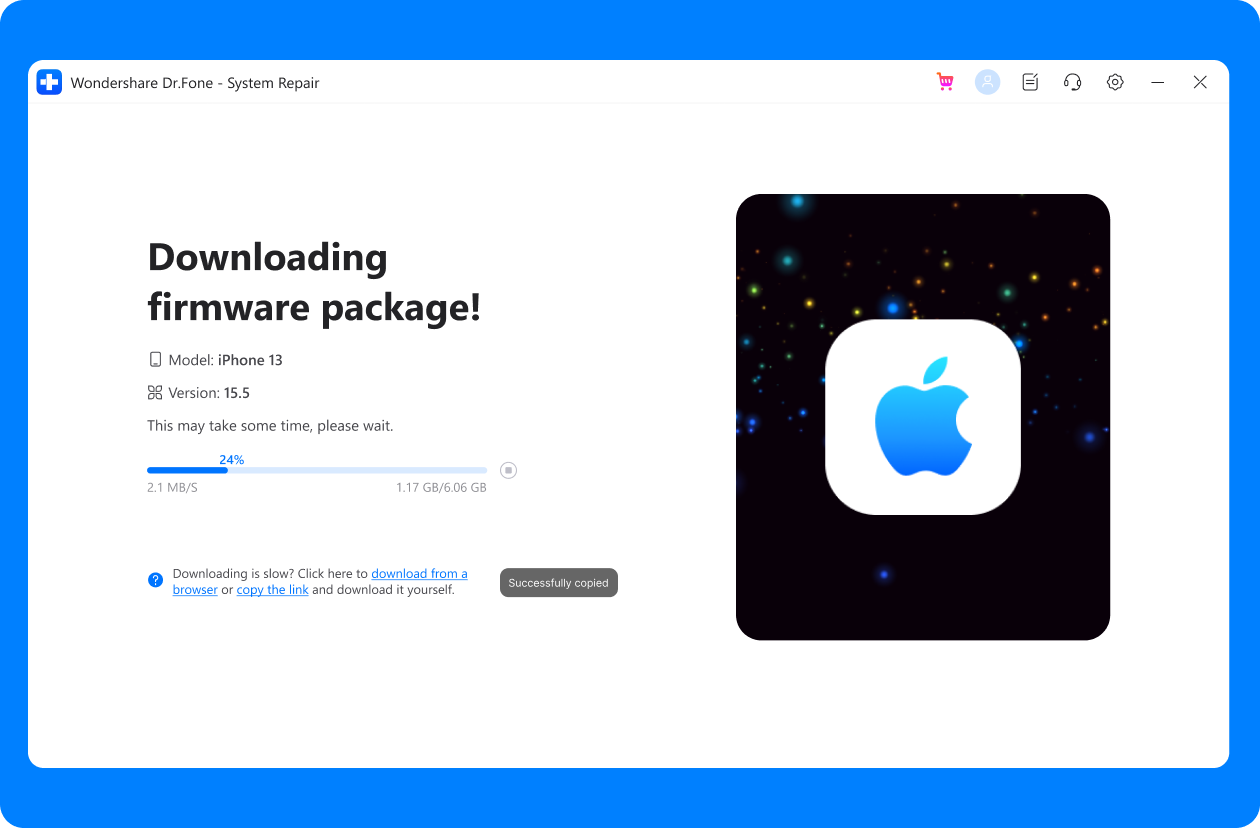
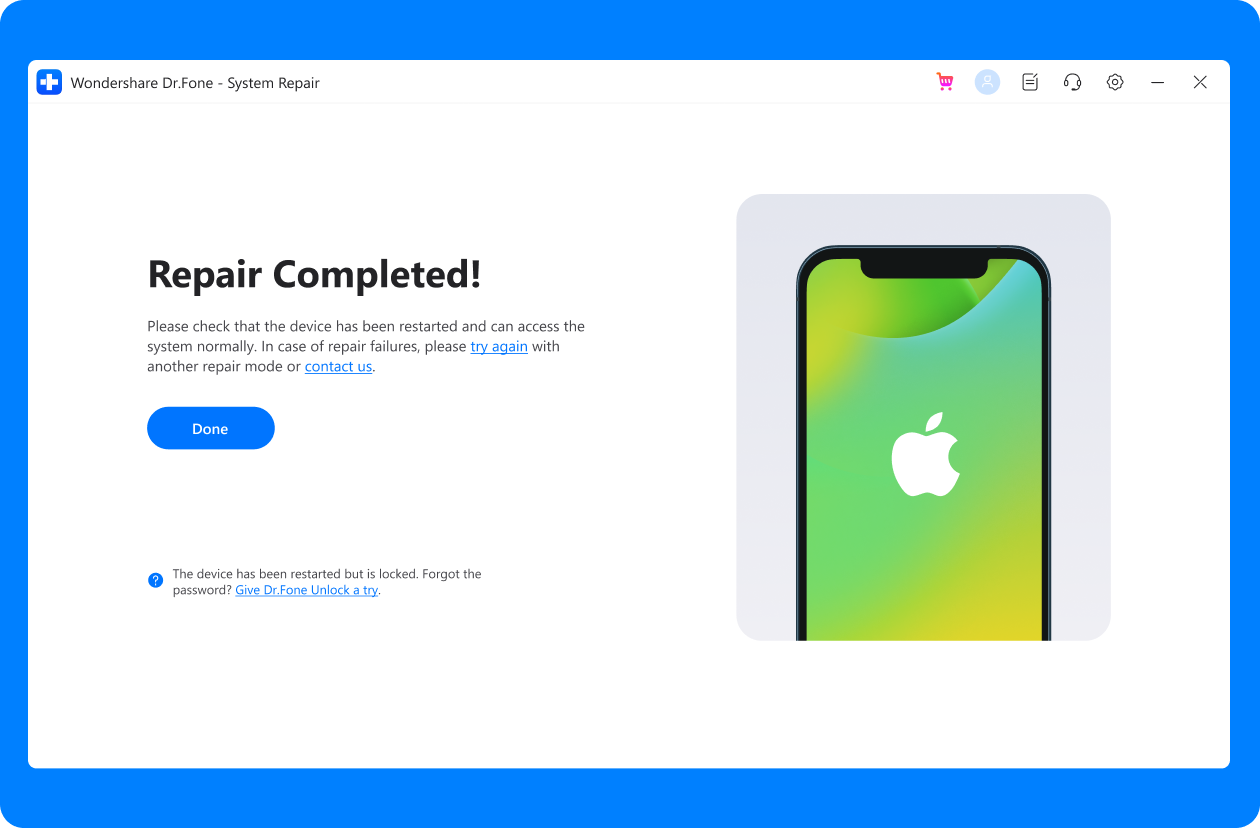
Steps for Using iOS System Repair

Tech Specs
Processor
1 GHz or faster processor (Intel or AMD)
RAM
2 GB or more of RAM
Hard Disk Space
200 MB of available hard-disk space
iOS
Support all iOS versions, including the latest iOS version
Computer OS
Requires Windows 7 or newer
Requires Mac OS X 10.8 & higher
FAQs - You May Still Be Wondering
-
What is Recovery Mode and DFU Mode on iPhone?
iOS users may often hear about Recovery Mode and DFU Mode. But probably most users don't know what exactly is Recovery Mode and DFU Mode. Now, let me introduce what they are and their differences.
Recovery Mode is a failsafe in iBoot that is used to revive your iPhone with a new version of iOS. It uses iBoot to restore or upgrade your iPhone.
DFU Mode, which is known as Device Firmware Update, allows iOS devices to be restored from any state. It is a port of the SecureROM which is built into the hardware. So it can restore the device more thoroughly than the Recovery Mode.
-
Is iOS system repair safe?
When your iPhone won't turn on, you can try the steps below to restart it.
- Charge your iPhone. This can solve a small part of the issues.
- Hard reset your iPhone. Press and hold the Power button and the Home button for about 10 seconds. Release them when the Apple logo appears.
- Use Dr.Fone to fix iPhone won't turn on without data loss. Connect your iPhone to computer and follow the instructions to download the firmware using Dr.Fone. It will then fix your iPhone automatically.
- Restore iPhone using iTunes.
- Restore iPhone in DFU Mode. This is the ultimate solution to fix iPhone problems. But it will erase all data on iPhone.
-
Why did my iPhone go black?
When an iPhone screen goes black, we should firstly determine whether it's caused by software issue or hardware issue. An corrupted update or unstable firmware can also the iPhone malfunction and turns into black. Usually this can be resolved by a hard reset or restore. You can follow the solutions here to fix iPhone black screen for software reasons.
If none of them fix the issue, the chance is your iPhone black is caused by hardware problems. There usually isn't a quick fix. So you can visit the Apple Store nearby for further help.
-
How do you restore an iPhone to factory settings?
A factory reset wipes all the information and settings on the iPhone. It can help you resolve some system issues when the device malfunctions or protect your privacy when you sell the device. Before we proceed on, remember to back up your data first.
- Tap Settings > General > Reset > Erase All Contents and Settings.
- Enter your screen passcode if it asks.
- Enter your Apple ID password on the popup.
- Then tap in Erase iPhone to confirm it. The reset process can take a few minutes. Then your iPhone will restart like a brand new device.
-
What should I do if my iPhone is stuck on the Apple logo?
If you see your iPhone stucks on the Apple logo screen, try these steps:
- Force restart your iPhone. This is the basic solution and it won't cause data loss.
- Fix iPhone system with Dr.Fone. This is the fastest and easiest way to fix iPhone system problems without data loss.
- Restore iPhone with iTunes. If you don't have an iTunes backup, it will erase all your data.
- Restore iPhone in DFU mode. This is the most thorough solution to fix all iPhone system issues. It will also erase all your data completely.
Find step by step instructions to fix iPhone stuck on Apple logo here.
-
Is any iOS system repair free?
Dr.Fone – System Repair (iOS) provides some iOS system recovery tools completely for free. The free version can get your device into, and exit Recovery mode, DFU mode, and General Reset your iOS device.
No longer worry about fixing iPhone
With Dr.Fone - System Repair, you can easily fix any kinds of iOS system issues and get your device back to normal. Most importantly, you can handle it by yourself within less than 10 minutes.

Keep Your Mobile at 100% with Our Complete Mobile Solution

Recover lost or deleted contacts, messages, photos, notes, etc. from iPhone, iPad, and iPod touch.

Erase iOS SMS, contacts, photos & video, etc., selectively. 100% wipe 3rd-party apps: WhatsApp, LINE, Kik, Viber, etc.

Integrated data management solution. Manage and back up your phone data, and mirror your phone screen to your PC.