The Real Fixes to iTunes Error 2001 When Restoring iPhone

iPhone could not be restored. An unknown error occurred 2001. If you meet this notice when restoring your iPhone, here are the solutions for you to fix it!.

• Filed to: Fix iPhone System • Proven solutions

"Hey, while restoring my iPhone, I came across 'iPhone could not be restored error 2001'. I'm unable to proceed any further. Please help."

Have you been jerked out by the iTunes error off lately? Disappointed? Well, there are several factors that results in error 2001 on iPhone or iPad. And if you've been experiencing such problems then you've come to the right channel. We will be discussing today, 8 fruitful methods that would certainly curb the iTunes error 2001 problem quite easily. Without much waiting, let's now understand the reasons behind the occurrence of iPhone error 2001 and then will unveil those 8 possible methods right after.

Why Do iTunes error 2001 Occurs?

When it comes to the fact that why does one has to witness iTunes error 2001 amidst restoring device? Well, there is no single driving force. There are several of them and one must need to address them. So, to understand and take a quick action on it, we've collated the list below.

1. In case you are working on an older version of iTunes, it can be the major possible reason for error 2001 on iPhone.

2. Using an ingenuine, faulty USB cable that may disrupt the connection between iPhone and PC is yet another major cause for iTunes error 2001.

3. Other than that, the software glitches like system unable to read the iTunes file or iTunes misbehaving, is also a considerable cause.

4. In case, you've jailbreaked your iPhone, the possibility of iPhone getting error 2001 is quite certain.

Part 1: The safest way to fix iTunes error 2001 (No data loss)

While restoring your iPhone via Recovery mode, you got stuck with a message iPhone could not be restored error 2001. Now, what would be your next move? Well, in such scenarios where error 2001 is troubling you or any other iOS related issue is creating a mess, then your search ends with dr.fone - System Repair (iOS). This powerful tool can do wonders for you by repairing almost all sorts of iOS related issues in no time. To name a few, dr.fone - System Repair (iOS) can resolve iPhone clung to white screen, black screen, frozen iPhone or iPhone in boot lap in just a couple of minutes.

What's more? Here are its quick highlights!

toolkit-for-ios

dr.fone - System Repair (iOS)

Best iPhone/iPad system recovery tool

  • Guaranteed repairing of almost all iOS related problems without incurring any data loss on the system.
  • The software is specifically built to work smoothly with Mac and Windows systems.
  • With a 100% successful record, it can even restore iPhone stuck in the Recovery or DFU mode.
  • dr.fone - System Repair (iOS) supports fixing of almost all iOS devices, including the latest iPhone XS Max/XS/XR variants.
  • While fixing iOS issues, this powerful tool automatically updates your iOS device to the latest compatible version of iOS firmware of your device.
4,290,481 people have downloaded it

Let's now uncover the step by step tutorial to fix iOS issues using dr.fone - System Repair (iOS).

Step 1: Download dr.fone - System Repair (iOS)

First of all, carefully install dr.fone - System Repair (iOS) on your Windows/Mac PC. Once the program is loaded, ensure to select the 'Repair' tab from the main interface.

toolbox home win

Step 2: Opt for the apt error scenario

To fully resolve iPhone error 2001, select the apt scenario enlisted in the modules and tap on 'Start'. Now, connect your device with computer via lightning cable and hit 'Next'

ios repair choose a problem

Step 3: Enable DFU Mode (if needed)

If your device syncs with the system then you have the liberty to skip this step. Or else, follow the on-screen guide to run your device into DFU mode to allow detection of your device.

ios repair enter device into dfu mode

Step 4: Fetch Firmware Package

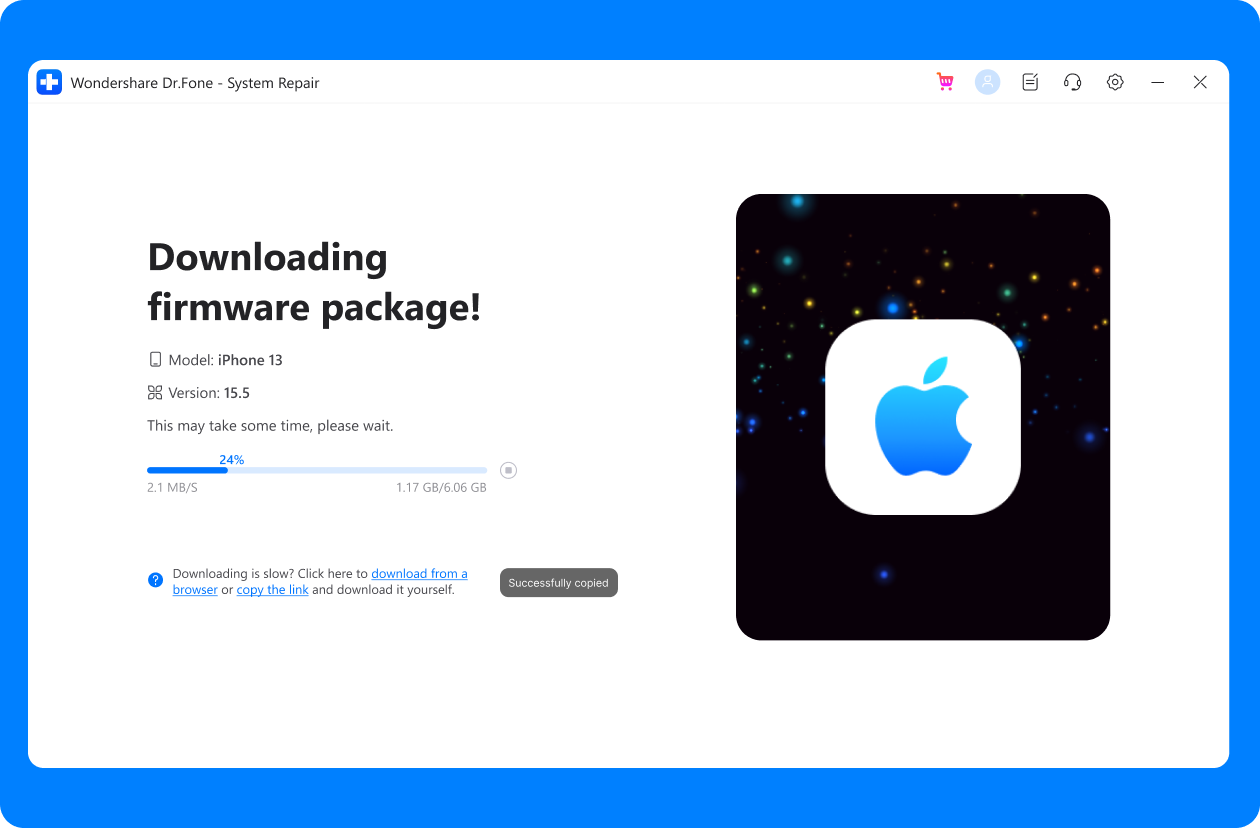
Once your device is firmly drawn with PC, the next step is to download the suitable iOS firmware package. Just push the 'Download' button and wait for the package to get downloaded.

ios repair confirm the detected model

Step 5: Do the fixes

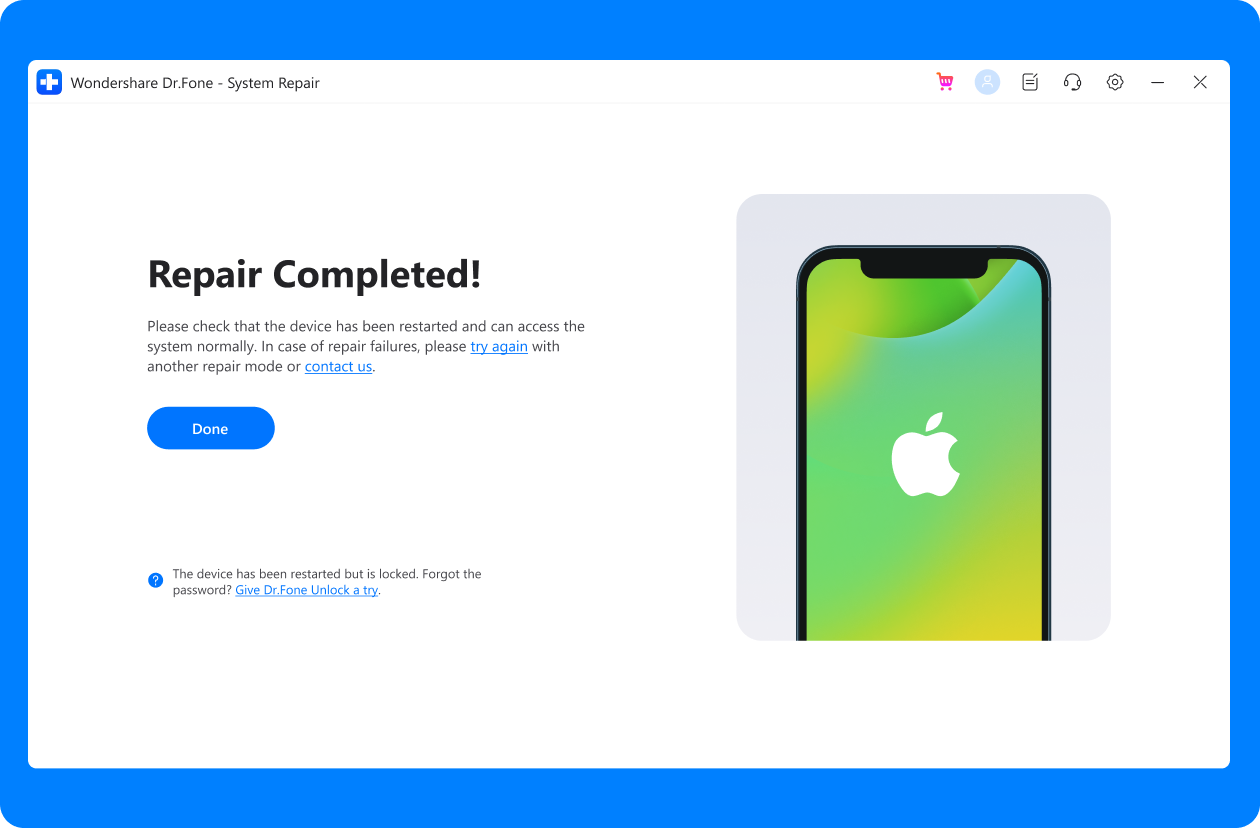
After downloading completes, you are all set to fix iOS system! Just ensure the 'Retain native data' checkbox is selected already and then head on with 'Fix Now' button.

ios repair start fix now

Part 2: Replace the battery (The highest success rate)

Have you come down to several years of using your iPhone? And while you are trying to resort to updating your iPhone, the 2001 error occurs in your iPhone. Do you know why? It can be your iPhone's battery getting worn out. As each thing has an expiry period, your battery can be no exception to it. Hence, you must purchase a new iPhone battery toolkit which is readily available from Amazon. You can sort to change it by yourself and examine whether iPhone is able to restore or is stuck to 2001 error yet again.

Part 3: Try a hard reset to fix error 2001

One of the promising methods of resolving any error is to perform hard reset to your device. Hence, one can try his/her hand out and get the iTunes error 2001 fixed. Find in your model and execute the steps in said order.

iPhone 6/6S and below models:

For these models, you need to push 'Home' button simultaneously with 'Sleep/Wake' button and hold them for about 10 seconds. Do not let them lose until the Apple logo glows over the screen.

hard reset iPhone 6

iPhone 7/7 Plus models:

In case you have iPhone7/7 plus simply push the 'Sleep/Wake' and 'Volume Down' button simultaneously till Apple logo surfaces on your iPhone's screen.

hard reset iPhone 7

iPhone 8/8 Plus /X/XS/XR/XS Max models:

As the latest iPhones are home button-free, one has to smartly use the key combinations. Hence, start with tapping 'Volume Up' button and then quickly release it. Then, quickly repeat it with 'Volume Down' key. Lastly, press 'Sleep/Wake' key until Apple's logo is displayed over device.

hard reset iPhone X

Part 4: Restart your computer and disable your security software

For resolving down any kind of issue, be it error 2001 or what-so-ever, you can always look on to restart your computer. You can unwind this issue just by forcing a restart on your PC. Before doing so, shut down all kinds of network connection and exit iTunes. Simply, hold down power button for a couple of seconds to switch off your PC. Hit the power button again to reboot it.

At times, it's the Anti-virus software that poses problems and pathways to iPhone error 2001. So, to get rid of this problem, you must disable the services of your respective anti-virus program. Reboot your computer again and see if the issue has resolved or not.

Part 5: Use a different lightening cable

Fed up of 'iTunes could not be restored error 2001'? The fault can be in your lightning cable that is unable to draw a firm connection with your iPhone. Thus, you must ensure to switch to an authentic lightning cable only. Here are some possible considerations for the same.

1. Keep your charging slot dirt-free by brushing away the content by carefully using a thin pin or an old toothbrush.

Keep your charging slot dirt-free

2. Don't aim to save bucks and sacrifice on the original quality. Make use of an Apple certified lightning cable or the best is to opt for an original lightning cable.

original lightning cable

3. For avoiding interrupted connection, plug your device directly into the USB port instead of a USB hub.

Part 6: Update iTunes to fix iPhone error 2001

To compete with this dynamic world, the applications whether it is in-built or third party are constantly revised. So, is the case with iTunes app too. And, if you are unknowingly running an older version the chances of getting stuck to error 2001 becomes variably high. So to compete with this stubborn issue, one must update iTunes on your respective PC. The following method will guide you how.

Mac:

On your Mac computer, quickly launch iTunes and switch on to the 'iTunes' menu option. From there-on, select the 'Check for updates' option. It will direct iTunes to draw a connection with Apple's servers and search for any forth coming updates.

Check for updates on Mac

Windows:

For the Windows users out there, the first step is to load iTunes. Then, tap on 'Help' menu followed by 'Check for Updates' option. You will view iTunes trying to establish connect with Apple's servers and progress on looking out for any updates.

Check for updates on Win

Part 7: Uninstall and Reinstall iTunes

Despite several other factors, one cannot overlook that iTunes can be disruptive too. Maybe due to any internal technical error, which is the driving factor why you view 'iPhone could not be restored error 2001'. Hence, one can try their luck out by shredding away the components available in iTunes and then reinstall it. In order to do so, make use of the following step by side manual.

Uninstall iTunes

Step 1: Visit 'Control Panel' and locate 'Program and Features'.

Step 2: Now, type in 'Apple' in the search field and click on 'Enter'. By doing so, iTunes and its related software will be displayed.

Step 3: Right after that, select iTunes and then hit on the 'Uninstall' button.

hit on the Uninstall button

Step 4: Repeat the Step 3 for all other iTunes related components in the given order.

1. iTunes

2. Apple Software Update

3. Apple Mobile Device Support

4. Bonjour

5. Apple Application Support 32-bit

6. Apple Application Support 64-bit

Note: As stated above, these components are to be removed in the said order or remove few of them. Otherwise, these might invite another set of problems.

Reinstall iTunes

After removal, quickly restart your PC and proceed with reinstalling iTunes. Here is how-

Windows:

1. Get the most recent version of iTunes application from the Apple's website.

2. Locate the setup file over your PC and then right-click on the file, followed by opting for 'Properties' option.

3. Now, ensure to select the 'Run this program in Compatibility mode' under the 'Compatibility' section.

Run iTunes in Compatibility mode

4. Hit 'Apply' and then launch the set up to proceed with installation.

Mac:

1. Visit the 'App Store' on your Mac computer and get into the 'Update' section.

2. Now, search for 'iTunes' entry on the list of apps. Hit on the Update button available next to it and wait for it to install the most recent version over your Mac PC.

Part 8: Check USB Connections

While, establishing connection of your iPhone with system, there are acute chances of getting iTunes error 2001 unexpectedly. This can be any technical jargon leading to disruptive connection. The prime most reason can be severely bad USB connection, faulty cable, using a broke USB port. So, to ensure whether it's the USB connection irking 2001 code in your iPhone, check the following points.

1. First things first, if your cable is not working with the system then you can try out new USB cable. We strongly suggest you to use a genuine cable or the original variant.

2. Plug your iPhone to a different USB port or maybe a new computer.

3. You can even try to slide away all the other USB connections. You can keep mouse, keyboard and your iPhone connected and unplug others, like removable devices (if there is any). Now try to restart your computer to examine whether iTunes error 2001 is occurring or not.

If you cross-examined no faults in USB connection, then error 2001 on iPhone might be irking due to your firewall restrictions on that matter. After turning down the firewall, reboot your PC and device. Check again whether iPhone 5 is prevailing error 2001 or not.

Conclusion

We know how troublesome iPhone error 2001 can get. Especially in situations where you aim is to restore your device and fetch it back to normal state. So as to get your phone into working condition, we've touched upon several methods. Most of them are hit any try in nature. But if you do not intend to spend your precious time then dr.fone- Repair iOS is just the best option for you. It assures to resolve all kinds of problem and free your iPhone from error 2001 by fixing it in a super-duper speed. One needn't to worry about the data loss too!

Elva

staff Editor

Hot Articles

The Right Technique to Edit and Unsend Messages on iOS 16
Do you want to know how to unsend and edit text messages on your iPhone? Read this article to learn about iOS 16 new Messages features.
What To Do If iOS 16 Battery Life Drains Faster?
Have you ever thought about why is my iPhone battery draining so fast? Read this article to fix this issue with efficient solutions.
All Upcoming News and Expectations for the All-New iOS 16
Are you an iPhone user who gets excited about new software updates? This article will reveal the iOS 16 release date and the iOS 16 features.
Fix iPhone Not Connecting to WiFi Problems in 10 Ways
iPhone not connecting to WiFi is a common problem for iPhone users. Here we collect the top 10 ways to fix iPhone WiFi connection problems.
How To Fix If iPhone X/XR/XS Stuck On Apple Logo?
Is your iPhone X stuck on the Apple logo? Whether you have iPhone X/XR/XS, here are reasons for this issue and ways in easy steps to fix this issue.
How To Fix If Your Phone Is Stuck On Apple Logo Storage Full?
You will quickly learn how to fix if your iPhone is stuck on Apple logo with storage full logo in this article.
Why Is Your iPhone Black And White? Easy Ways To Fix This Issue
Is your iPhone’s colors black and white? Here are common reasons for this issue and four ways in easy steps to fix this issue.
How to Fix iPhone 12/13 Stuck on Apple Logo? 5 Easy Methods
Is your iPhone 12 or 13 stuck on the Apple logo? Here are common reasons for this issue and five easy steps to fix this issue.
Home > > Resource > Fix iPhone System > The Real Fixes to iTunes Error 2001 When Restoring iPhone