Fix all the iTunes errors/issues. No data loss
- · Repair 200+ iTunes errors and issues
- · Only fix your iTunes to normal, no data loss at all
- · Only in one click, boost your iTunes in seconds
- · Fully compatible with all the iTunes versions
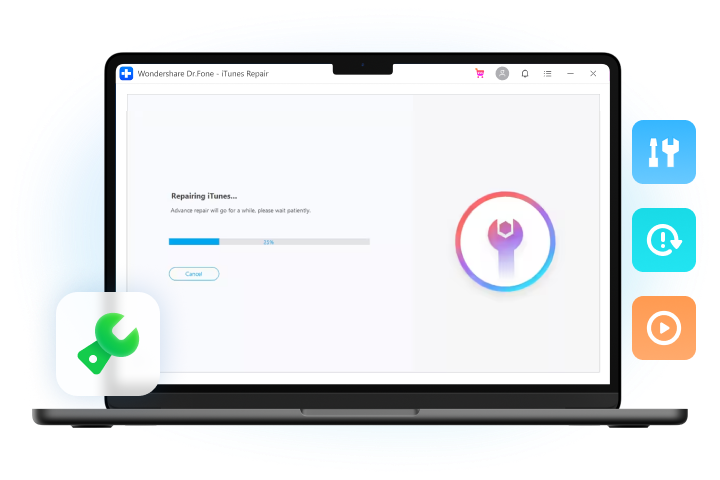
Repair iTunes Errors
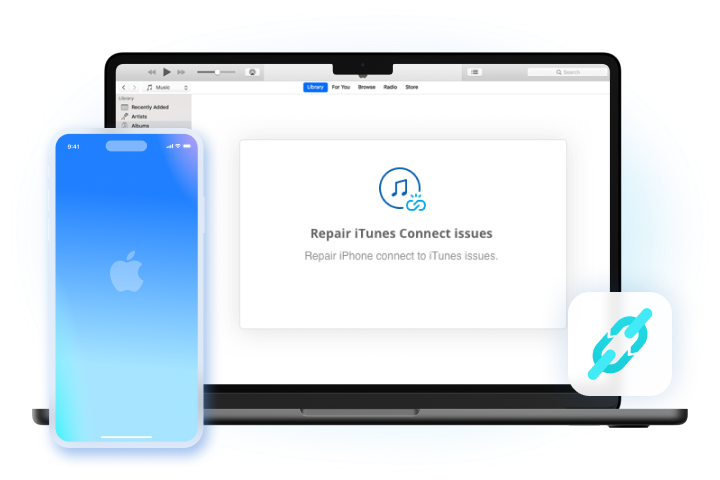
Repair iTunes Connection Issues
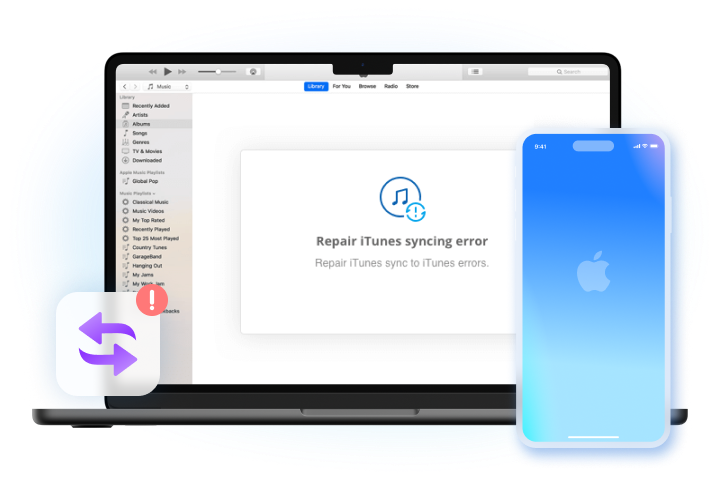
Repair iTunes Syncing Error
One-Stop iTunes Repair Solution

High Success Rate
Fix iTunes to normal with the highest success rate.

No Data Loss
Retain iTunes data intact when fixing iTunes issues.

All iTunes Errors
Over 100 iTunes issues/errors can be fixed.

1 Click Fix
Select the right option and repair iTunes in one click.
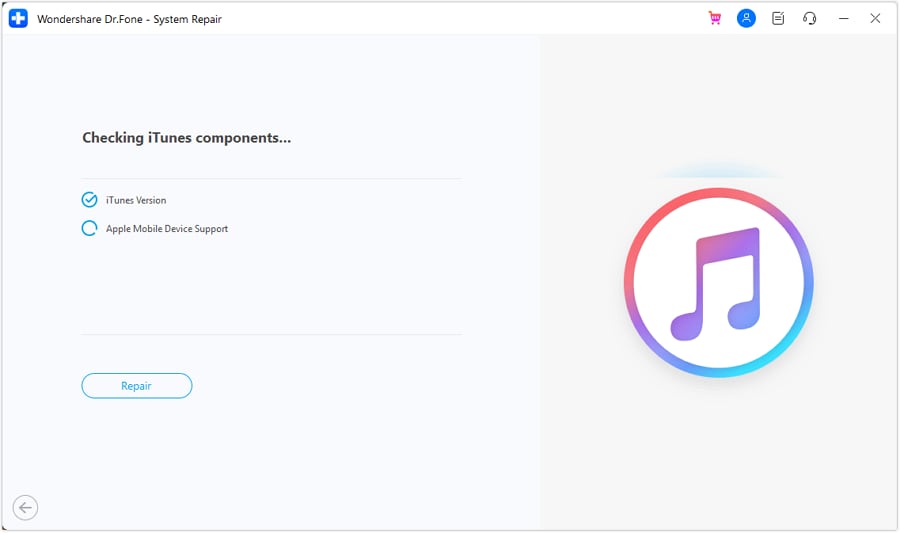
Steps for Using iTunes Repair


Tech Specs
Processor
1 GHz or faster processor (Intel or AMD)
RAM
2 GB or more of RAM
Hard Disk Space
200 MB of available hard-disk space
iOS
Support all iOS versions, including the latest iOS version
Computer OS
Requires Windows 7 or newer
FAQs - You May Still Be Wondering
-
What are iTunes install/update/startup errors?iTunes Installation Errors & Update Errors are those related to corrupted iTunes components, which include:
- Problem with windows installer package iTunes
- Can't install iTunes on Windows system
- iTunes error 0xc00007b windows 8
- iTunes the application was unable to start correctly (0xc00007b) windows 7
- iTunes won't update to the latest version
- Errors occurred during installation iTunes
- iTunes error 3194 when restoring or updating iPhone, iPad, and iPod
- iTunes error 14 when upgrading your iPhone/iPad
-
What are iTunes connection issues?iTunes connection issues happen when you attempt to connect your iPhone to the computer, but iTunes cannot recognize the iPhone. Such issues include:
- iPhone cannot connect to iTunes store on the computer
- iTunes cannot read content on iOS devices
- iTunes network connection timed out & error 3259
- iTunes error 14
- iTunes error 13010
- iTunes won't play music
- Cannot connect to iTunes iOS 13
-
What are iTunes syncing issues?When iTunes cannot sync with iOS devices, you often find the following errors pop up:
- iPhone won't sync with iTunes
- iTunes match not syncing
- iTunes gets stuck on the "waiting for items to copy"
- iTunes Wifi sync with iPhone not working for iOS user
- iTunes could not sync photos/contacts/calendar/audiobooks to the iPhone
- iTunes crash while syncing to device/apps/access the iTunes store
-
What are the other iTunes errors that can be fixed with this tool?You can always try to fix other iTunes errors/issues with this tool:
- iTunes backup error 54
- iTunes backup error 50
- iTunes backup error about iPhone disconnected
- iTunes backup error 5000
- iTunes backup error that "cannot be saved to this computer"
- iTunes could not backup iPhone
- iTunes error 23
- iTunes error 37
- iTunes error 56
- iTunes error 310
- iTunes error 1667
- iTunes error 2005
- iTunes keeps asking restore error
- iTunes error 14
- iTunes error 13010
- iTunes won't play music
- iCloud error in iTunes
- iTunes has an invalid signature
- iTunes error 7
- iTunes crashing on windows
- iTunes freezing on windows
- iTunes helper issues
- iTunes error 53
- iTunes error 3259
- iTunes error 2
- iTunes error 9006
- iTunes error 2324
iTunes Repair
With Dr.Fone - iTunes Repair, you can easily fix any kinds of iTunes errors and get your iTunes back to normal. Most importantly, you can handle it by yourself within less than 10 minutes.

Keep Your Mobile at 100% with Our Complete Mobile Solution

Unlock any iPhone lock screen when you forget the passcode on your iPhone or iPad.

Transfer contacts, SMS, photos, music, video, and more between your iOS devices and computers.

Backup and restore any item on/to a device, and export what you want from the backup to your computer.