How to Recover Data from HFS+ File System using Recoverit (IS)
The HFS+ file system is quite complicated and unique. Using a Quick Scan may not give you the best results when scanning for lost data. It is advisable that you use the Deep Scan mode, although this may take a while to be completed.
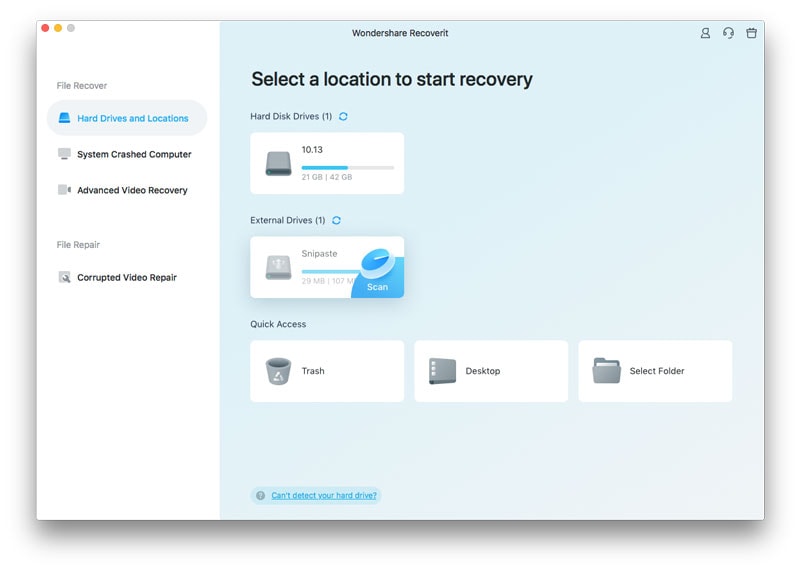
Step 1: Select a location
If your Mac uses the HFS+ file system, simply look for the hard drive or partition that has the HFS+ label and then click on “Start” to proceed with scanning for lost data.
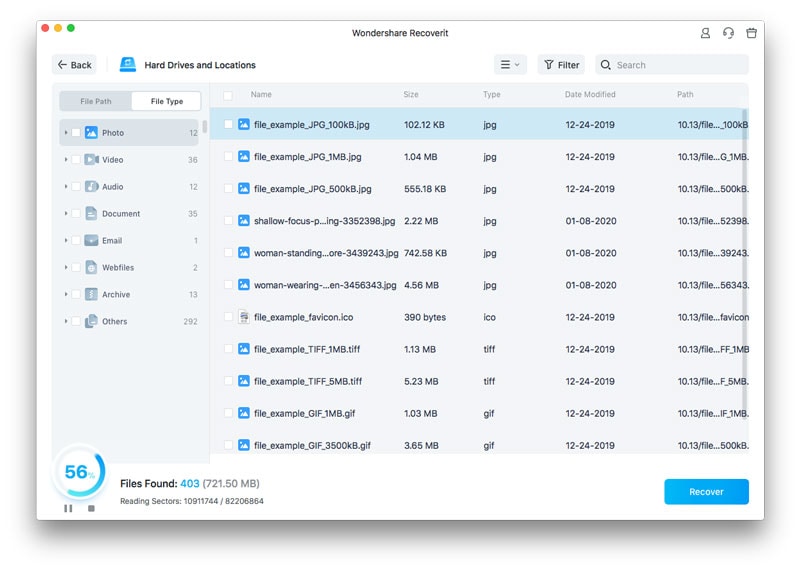
Step 2: Scan the location
You can recover lost data on a HFS+ Mac hard disk using two scanning modes, namely the Quick Scan and Deep Scan. The Quick Scan feature is fast but may not fid files buried deeper into the structure of the hard disk.
If the Quick Scan does not yield your desired results, you may now try the “Deep Scan” mode, which can be found at the bottom of the scan screen. The Deep Scan mode goes deep into the HFS+ disk and finds files which are buried there.
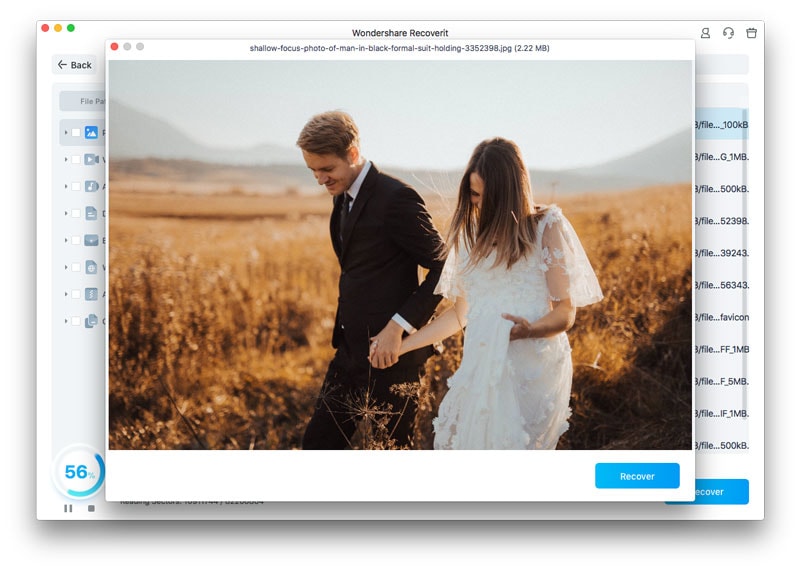
Step 3: Preview and recover your data
When the scan process is complete, you will be presented with a list of files that have been recovered. Proceed to use special filters in order to preview the files listed. The preview feature allows you to have a peek into the contents of the file before you recover it.
Once satisfied with your selection, click on “Recover” and get your lost files back.