How to Recover Data from Recycle Bin Using Recoverit (IS)
Recoverit (IS) can recover files from any location on your computer - the hard drive, partitions, sectors, external storage devices and even the Recycle Bin.
When you empty your Recycle Bin, any data that you seek to recover will require a full, deep scan of your computer. This process is quite deep and can take a while to be completed so you should be patient.You can greatly reduce the scanning time by selecting “Quick Scan” instead of “Deep Scan”. If the Quick Scan does not give you results, proceed with the Deep Scan to recover the lost data.
Here are the steps to follow when performing the scan:
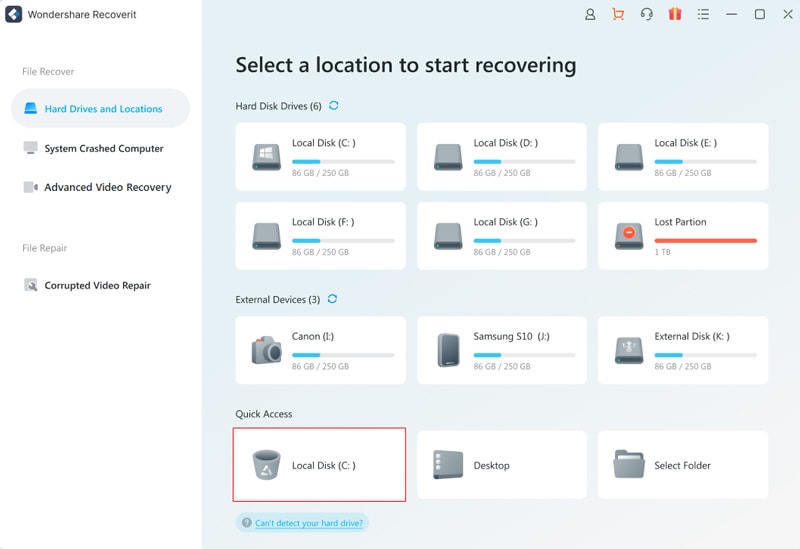
Step 1: Select the Recycle Bin
Go to “Select Location” and then choose “Recycle Bin”. Click on “Start” and let the Quick Scan proceed.
Step 2: Scan the Recycle Bin
Once the Quick Scan is complete, go to the “File Type” categories found on the left panel and filter through the results presented.
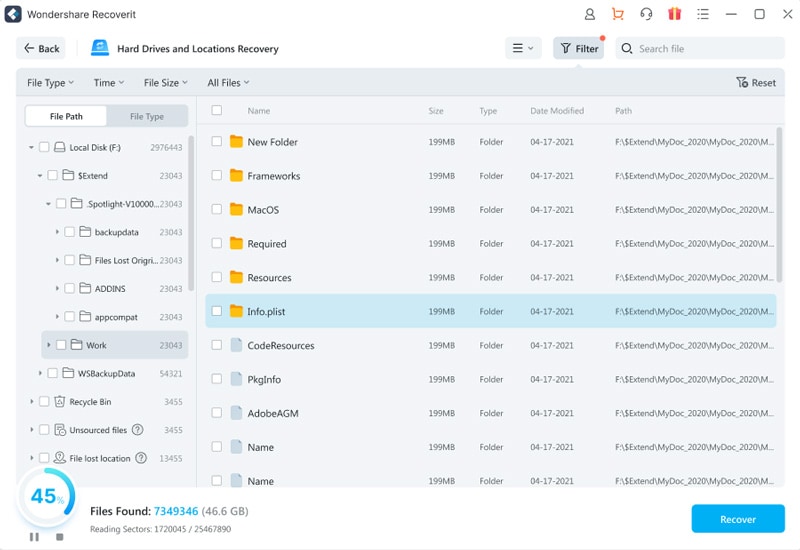
Should the Quick Scan fail to give you any results, go to the bottom left of the screen and select “Deep Scan”. This will perform a deeper scan of the Recycle Bin and will take a considerable amount of time to complete.
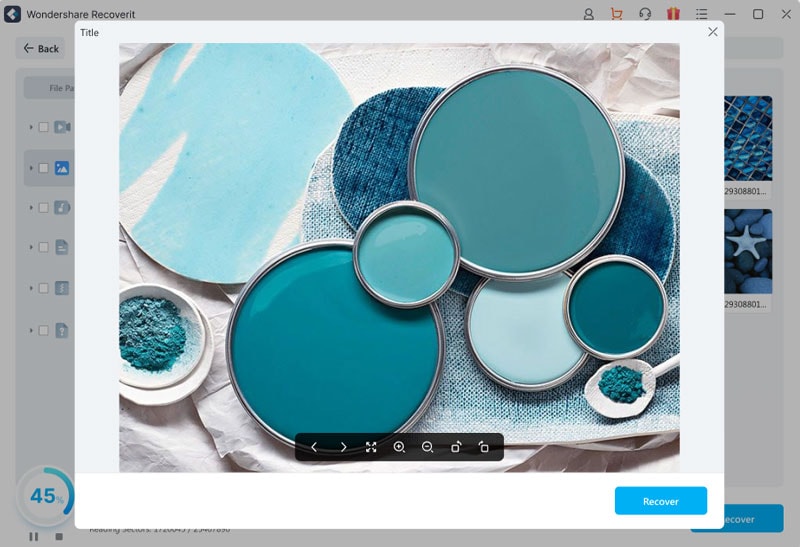
Step 3: Preview and recover the data
Go to the panel on the left side of the screen in order to preview the recovered data. Recoverit (IS) will list the files in categories, making it easy for you to find the desired file(s).
Select the target file and then click on “Recover” and wait for the file to be launched. You may now save the file to your preferred destination folder.