dr.fone - Data Eraser Private iOS Data Permanently
Although the awareness of private data protection on iOS is increasing, many people just wipe the private data from iPhone/iPad by pressing the “delete” button or performing factory reset directly. However, this is not safe enough to ensure your private information is fully deleted because it can still be retrieved with the use of some professional recovery tools. To solve this problem, the dr.fone-Erase(iOS) is created to let you delete the private data from iOS permanently and cleanly but most importantly make sure it can’t be retrieved by any means.
Now Let’s follow these steps below to wipe your private data on iPhone/iPad or iPod for good.
Step 1: Plug your iOS device to computer
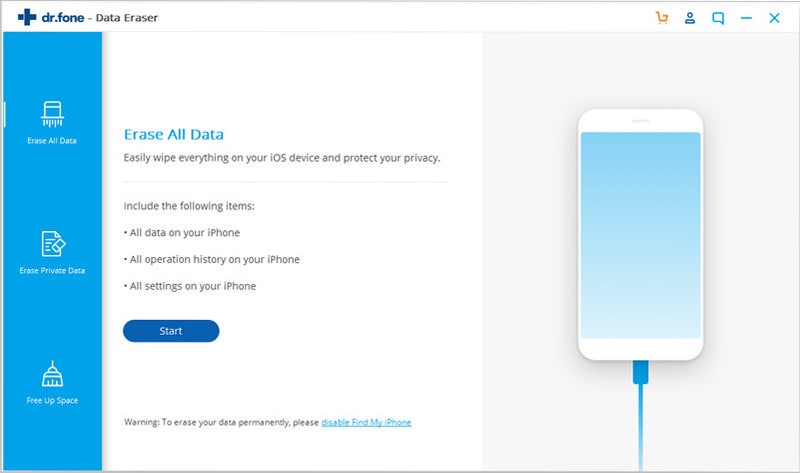
As is often the case, make sure your iPhone/iPad or iPod device is connected successfully to the computer with a USB cable. If you haven’t installed the dr.fone before, please firstly install and run it on your computer. Once you launch the app, please tap on “Erase” from the home screen as displayed below.

The dr.fone could detect your device automatically and will display a total of five data erase options on the page below. Here please choose “Erase Private Data”.
Step 2: Scanning the private data on iOS
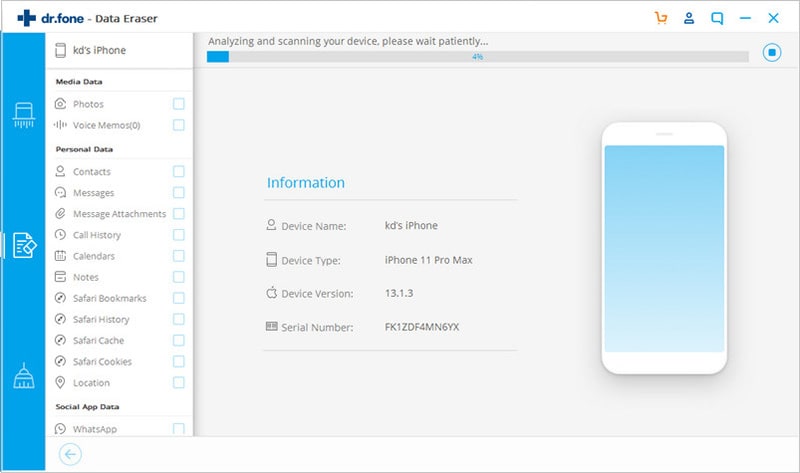
The dr.fone will begin to scan your private data including contacts, photos, messages, notes, attachments, videos, safari history, cookies, call history, just to speak a few. It only takes a few minutes or longer to finish the scan of private data which depends on the size of data and files.
Step 3: View and choose the private data you want to delete
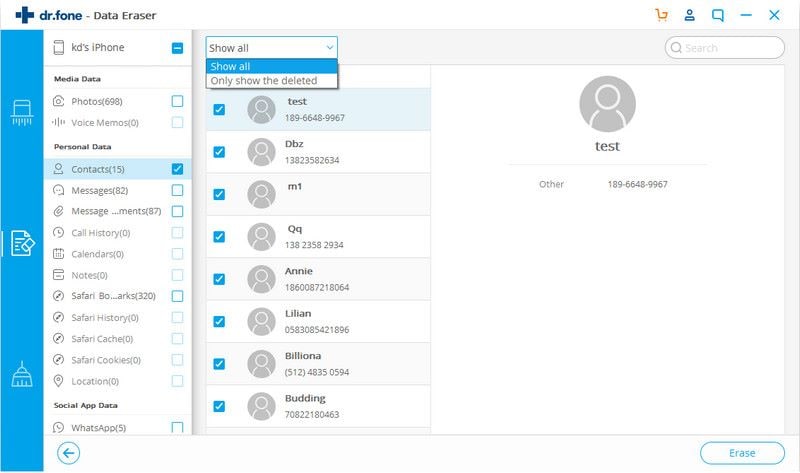
After the data scan ends, all of your private data will be shown in different categories. It’s important to note the dr.fone allows you to preview all of private data and you can choose to delete all or part of data easily as you wish. This is helpful to reduce time spent on erasing data efficiently. After choosing what you need to erase, please tap on “Erase” in the bottom right corner of screen.
Please keep in mind that your private data will be wiped permanently and the data can’t be retrieved. To continue the erase process, you need to think cautiously and insert “000000” if it is fine to move forward.
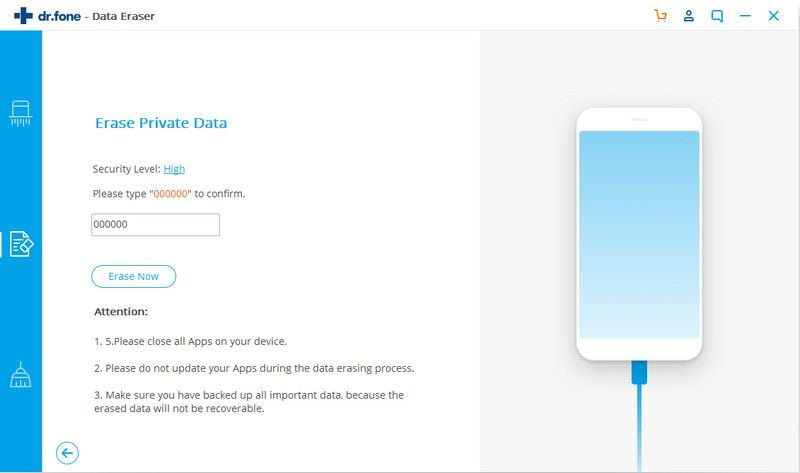
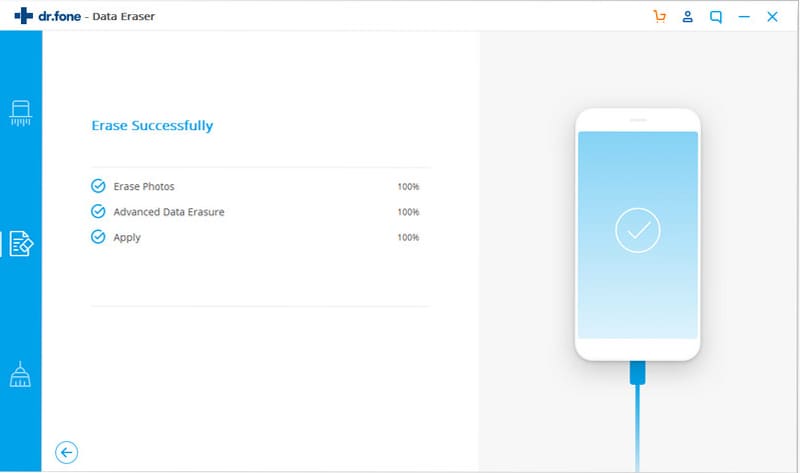
Please be patient and wait for the program to finish erasing data completely before you are informed that the process ends.