How to Use Repairit (IS) - Photo Repair for Windows
This guide shows you how you can use Repairit (IS) - Photo Repair to repair corrupted photos on computer with simple 3 steps, you can repair photos of various formats easily with the following steps, no matter how your photos were damaged.
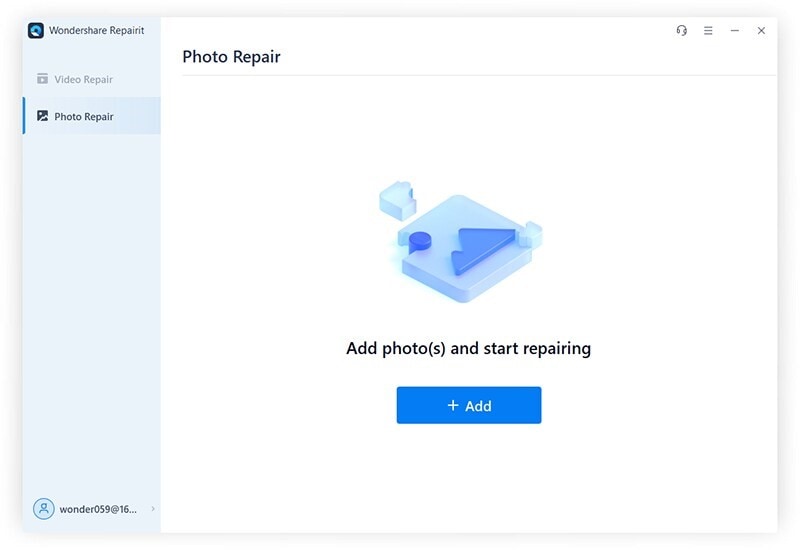
Step 1. Add or drag corrupted photos to Repairit.
Go to the "Photo Repair" feature from the sidebar, add or drag the corrpted photos on the browser window, Repairit supports to repair the mainstream photo formats, including JPEG, JPG, CR3, CR2, NEF, NRW, RAF, DNG, ARW, GPR and supports to repair photos in bulk by 1- click.
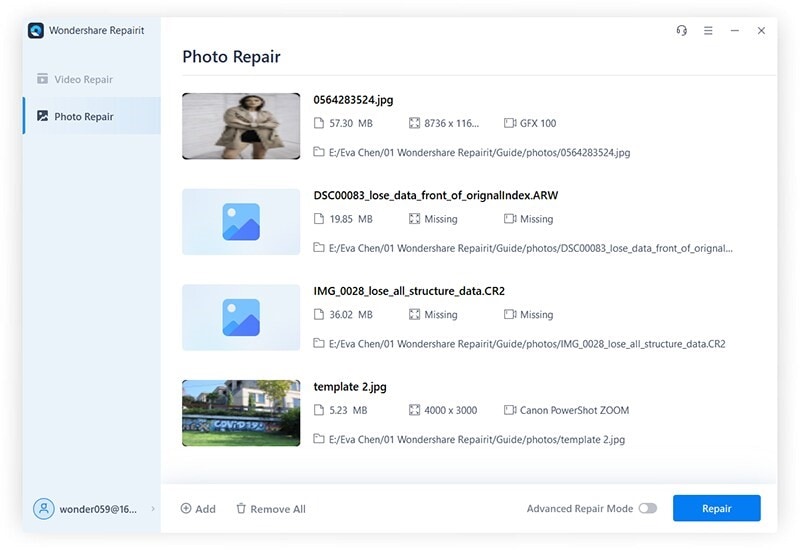
Repairit Photo Repair supports to fix various levels of photo corruption issues like pixelated photos, grey images, wrong coloring, and more. After loading your corrupted photos, their thumbnails and other important information like File Size, File Path, Photo Resolution, etc. would be displayed.
Step 2. Repair and preview photos.
After clicking the "Repair" button, Repairit will implement its unique algorithm to repair the loaded photos, after the photos are repaired succefully, a window will appear to tell you to preview and save the repaired videos, then click "Ok".
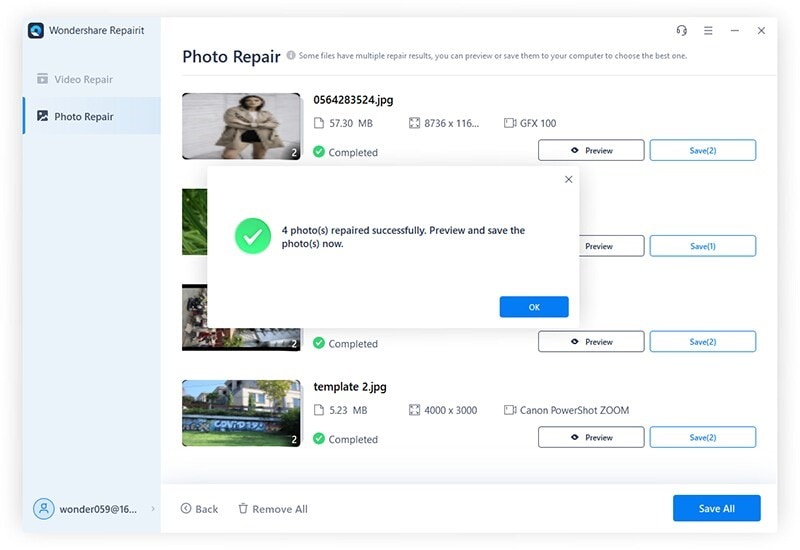
Step 3. Preview and save the repaired videos.
Click the "Preview" button or just click on the thumbnail of the picture to open its preview window, you can preview and check the photo content and quality to ensure that the repaired photos are inact before saving it.
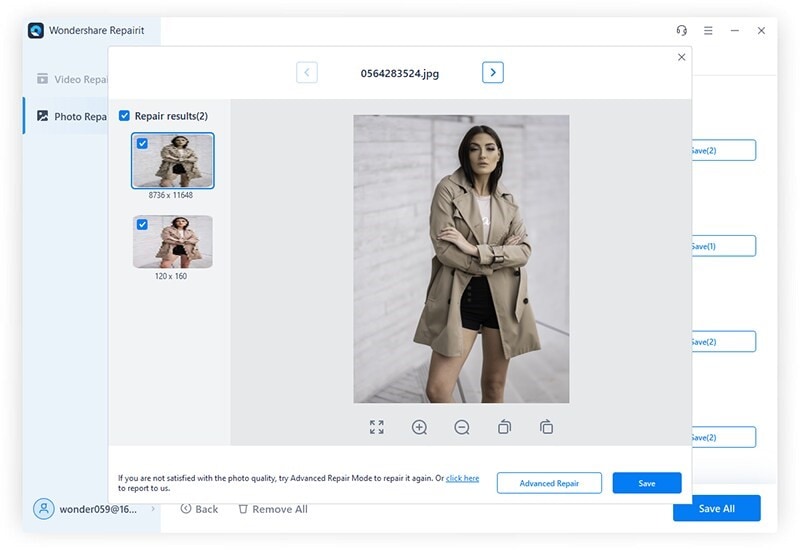
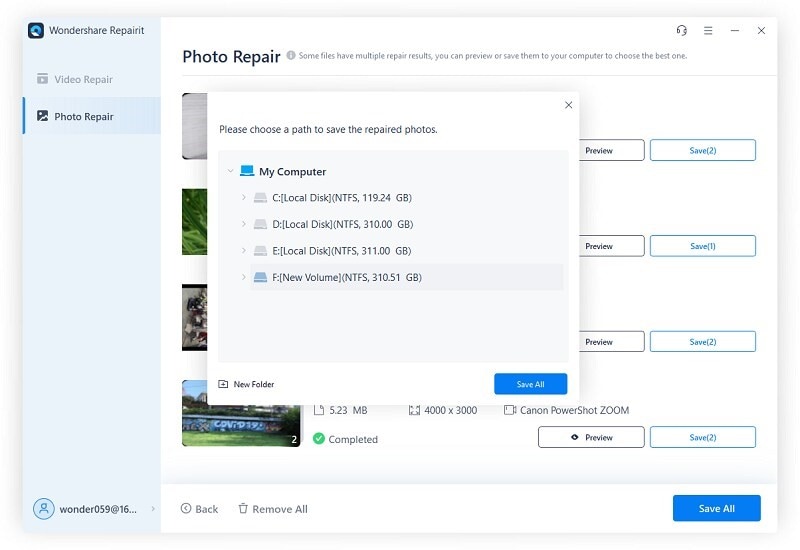
If you satisfied with the photo quality, you can click the "Save" or "Save All" button and choose a desired path to save the repaired photos.
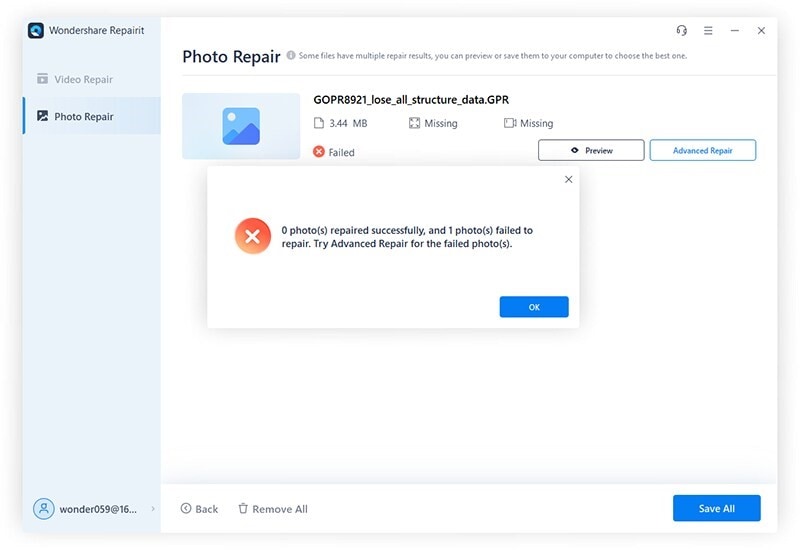
Step 4. Repair with Advanced Repair mode (for severely damaged photos).
If the standard repairing process cannot repair you photos to make you satisfied, you can choose Advanced Repair to make more professional photo repairing process. you can directly click the "Advanced Repair" option on the Preview window of the image, the option for the “Advanced Repair Mode” can also be found at the bottom panel of the interface before you start to repair the photos.
Step 5. Add sample photos.
A sample photo is needed for advanced repair, remember that the sample photo should beshot by the same device as the corrupted photo and have the same format as the corrupted photo. After loading it, click the "Repair" button and wait for Repairit to repair your photos. You can preview the results of advanced repairing and can also change the sample photo if you want to make further repairing process.

Step 6. Save the repaired photos.
After the repairing process finishes, if you are satisfied with the photo quality, click the "Save" button and select a path to save the repaired photo.