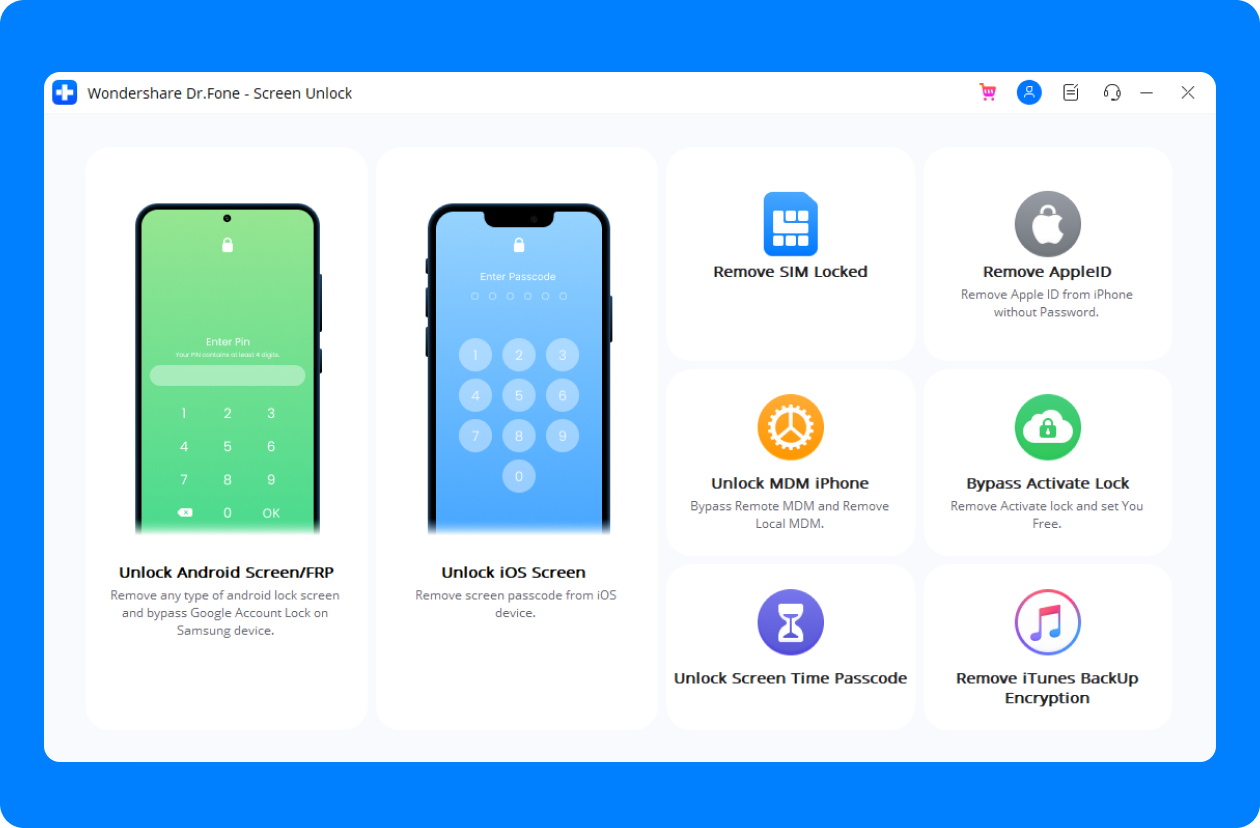
Unlock iPhone/iPad Without Passcode
- Remove all types of lock screens on iPhone, iPad, and iPod touch.
- Bypass iCloud activation lock and Apple ID without password.
- Bypass MDM and screen time without data loss.
- Compatible with iOS 17/iPadOS 17 and iPhone 15.
- Simple 3-step process, no technical knowledge required.
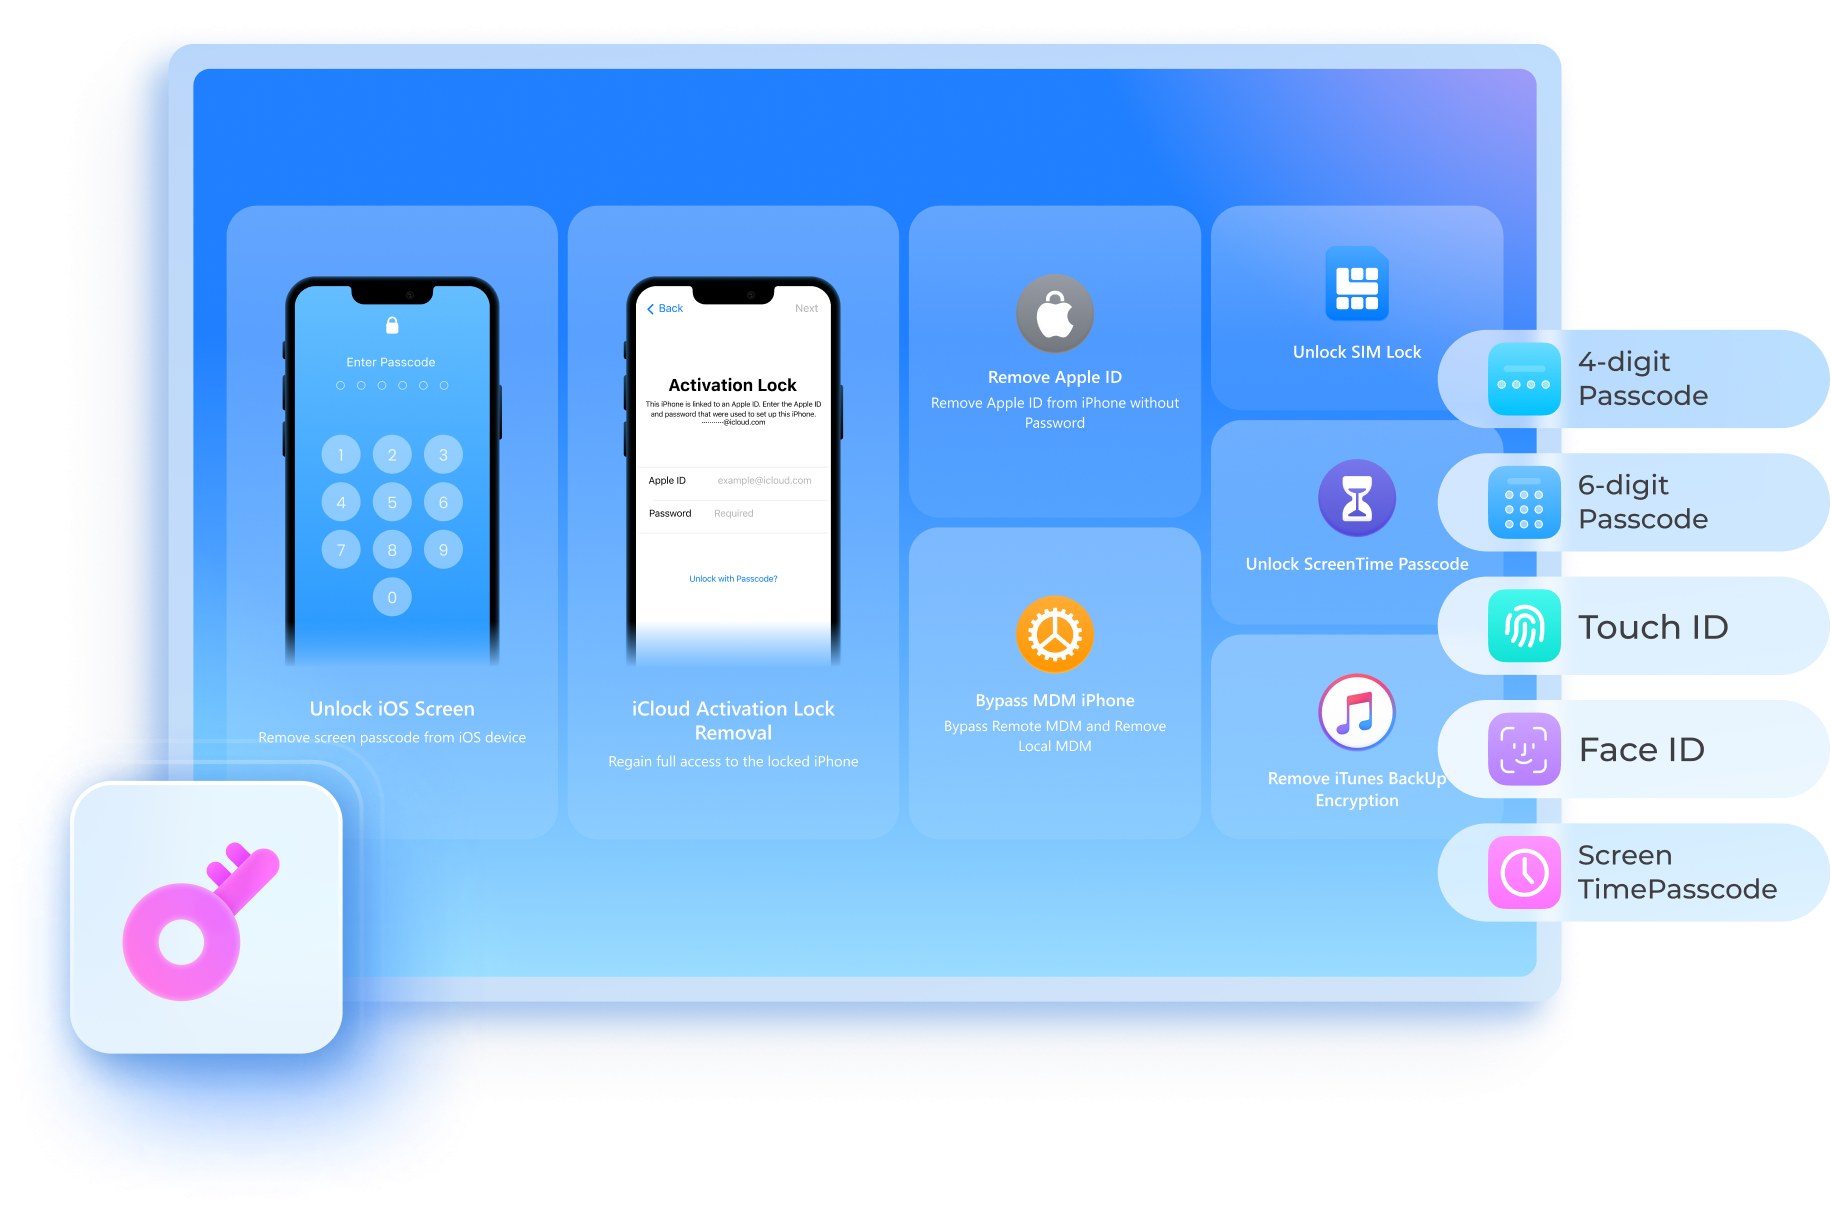
Remove All Types of Lock Screen
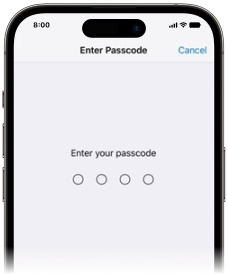
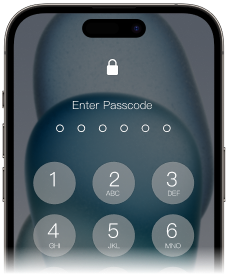
Many reasons can lead to a locked iPhone. You may forget iPhone passcode that hasn't been used for a long time. As one of the first iOS lock screen removals, Dr.Fone - Screen Unlock helps unlock your iPhone/iPad/iPod no matter your iOS, from iOS 7 to iOS 17 lock screen, such as touch lock screen, 4-digit / 6-digit passcode, custom numeric code, alphanumeric passcode, Face ID, Touch ID, Screen Time Passcode, etc. Dr.Fone - Screen Unlock helps you turn on your iDevices in a few minutes.

4-digit Passcode
6-digit Passcode
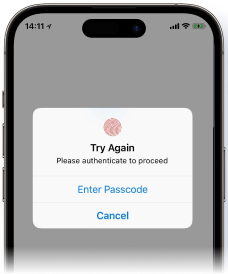
Touch ID
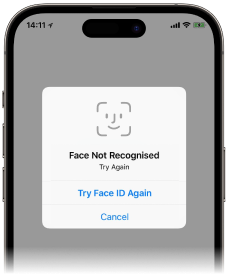
Face ID
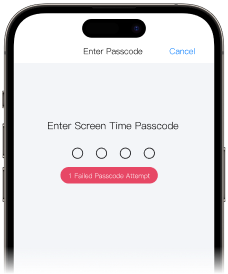
Screen Time Passcode
What if iPhone lock screen password forgot? >>
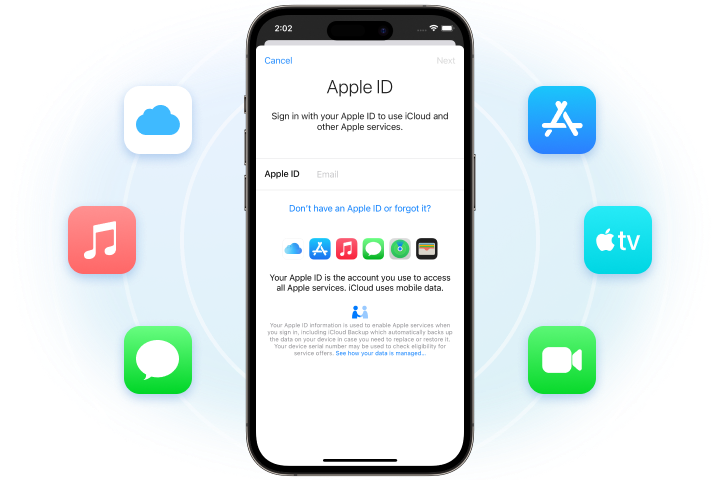
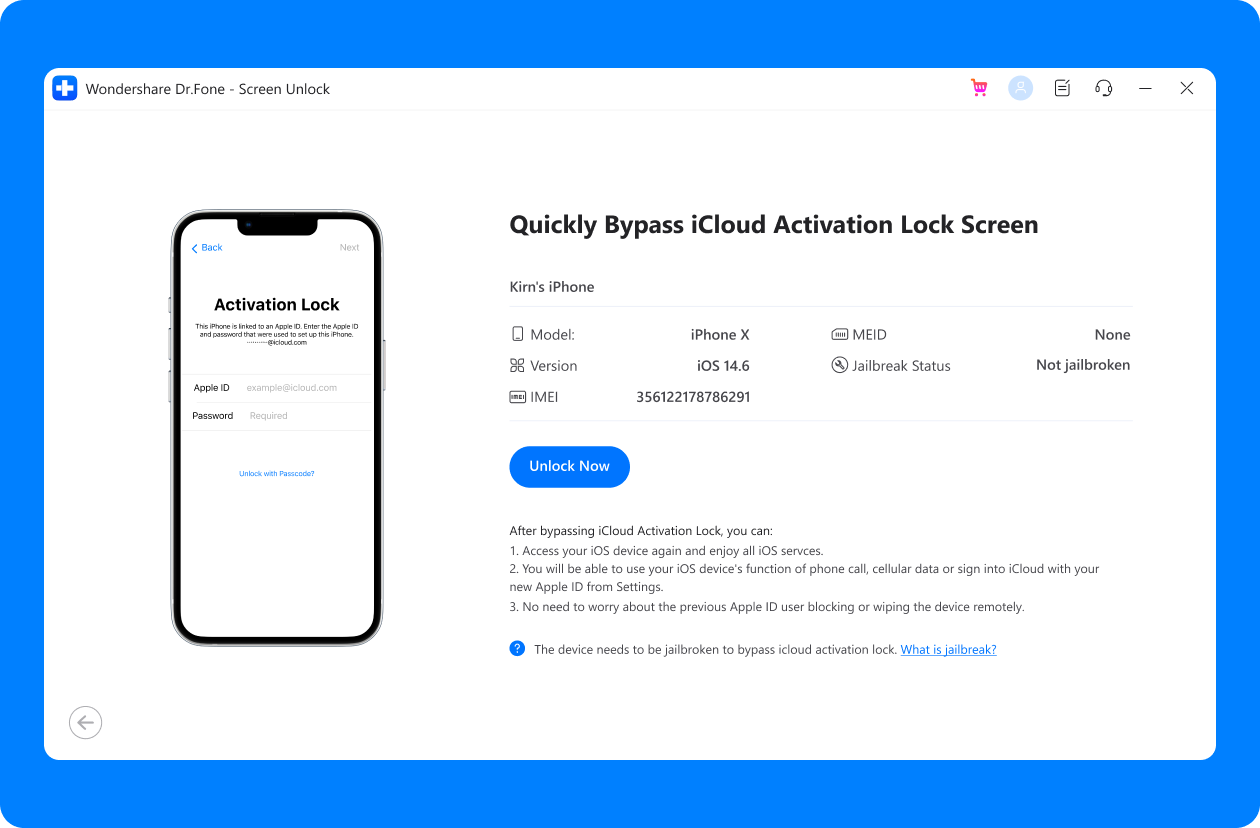
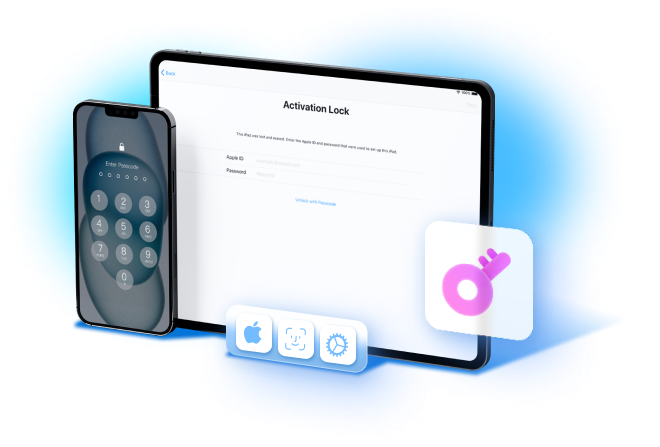
Bypass iCloud Activation Lock
Whether you forgot your iCloud password or just bought a second-hand iPhone/iPad with an iCloud activation lock turned on, but you don't know the password. Dr. Fone - Screen Unlock iPhone unlocking function can bypass iCloud activation lock without Apple ID and remove the iCloud activation lock easily and quickly.
After successfully removing the iCloud activation, you can get full access to your device and use a new Apple ID to activate the device.
Learn more about how to remove iCloud activation lock without password >>
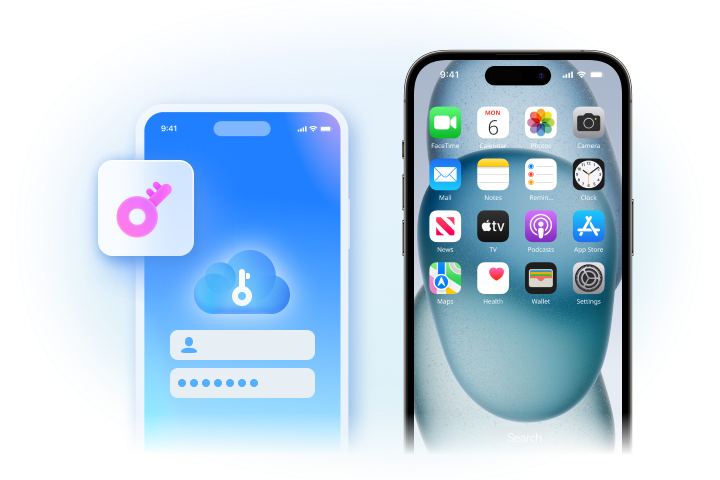
Unlock Apple ID Without Password
Forgot your Apple ID password and are unable to use iCloud and other Apple services? There is also the risk that the previous user will remotely erase the information if you forgot Apple ID. Dr.Fone - Screen Unlock iPhone unlocker is able to bypass the Apple ID lock permanently, even if the Find My/Find My iPhone feature is enabled on the device. Regain all your iCloud services and Apple ID features by logging into a new account.
Forgot Apple ID how to fix? Learn more >>
Bypass MDM Without Data Loss
Want to remove all MDM restrictions on your iPhone/iPad? Worry about privacy issues on collecting and accessing personal data on iPhones? Or, when pushing updates, configurations, and policies to iPhones remotely, you may think it is complex. You can bypass MDM and remove MDM profiles without any data loss or jailbreaking device using the Remove MDM feature of Dr. Fone - Screen Unlock. All iOS devices and iOS versions are supported.
Learn more about how to remove MDM from iPhone/iPad >>

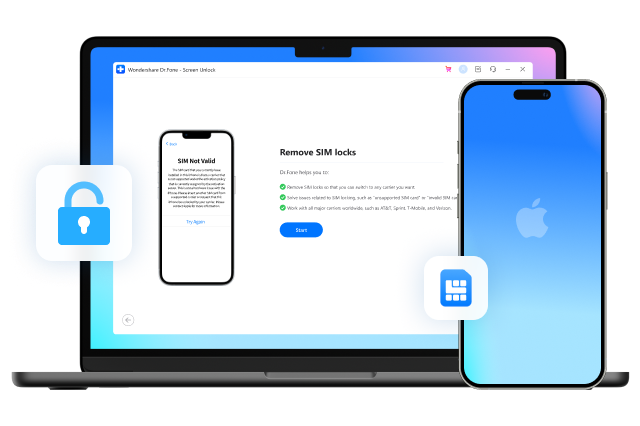
Remove SIM Lock/ Unlock iPhone Carrier
When you travel abroad or replace and restart your SIM card, your iPhone may get locked. Dr.Fone - Screen Unlock (iOS) enables you to fix carrier SIM issues in many common scenarios, such as "SIM Not Support," "SIM Not Valid," "SIM Locked," or "No Network Serves". Furthermore, it helps you quickly unlock your iPhone for international use with different networks like AT&T, Sprint, T-Mobile, Verizon, etc., without losing data.
There's more about iPhone SIM unlock >>
Remove iTunes Backup Encryption
If you can't remember the password for your encrypted backup, you won't be able to turn off backup encryption or create new encrypted backups in Finder or iTunes. So you might not even be able to back up, restore, transfer or wipe your phone data normally. But don't worry, Dr.Fone - Screen Unlock can solve all your problems by removing the backup encryption setting without damaging any of your data.
Forgot iPhone backup password what to do? Learn more >>
Steps to Unlock iPhone in Seconds
Dr.Fone - Screen Unlock safely unlocks your iPhone screen and bypasses iCloud activation lock, etc., and helps
you to regain full access to your device.
No learning curve. Unlock the iPhone in simple steps.

Tech Specs
Processor
1 GHz or faster processor (Intel or AMD)
RAM
2 GB or more of RAM
Hard Disk Space
200 MB of available hard-disk space
iOS
Bypass Activation Lock: Compatible with iPhone 5S to iPhone X, iPad 3 to iPad 7,
and iPod touch 6 to iPod touch 7 running iOS 12.0 to iOS 16.6.
Remove Sim Lock: Compatible with iPhone 5S to iPhone X running iOS 12.0 to iOS
14.8.1.
Other unlocking functions: Compatible with all iOS versions starting from iOS 7.0.
Computer OS
Requires Windows 7 or newer
Requires mac OS X 10.8 & higher
Unlock iPhone FAQs
-
Is a passcode the same as a password?A lot of iOS users have the same question "What is the difference between 'password' and 'passcode'?". Well, the password and passcode are two different things on the iPhone/iPad. The password on the iPhone usually is meant for Apple ID and iCloud account, which is used for iTunes and App Store purchases. While the passcode is usually meant for lock screen to secure your device from unauthorized access.
-
How many times can I try to unlock my iPhone?
After you keep entering the incorrect passcode, your iPhone will show the messages below:
- 5 incorrect passcode entries in a row, it shows "iPhone is disabled, try again in 1 minute";
- 7 incorrect passcode entries in a row, it shows "iPhone is disabled, try again in 5 minutes";
- 8 incorrect passcode entries in a row, it shows "iPhone is disabled, try again in 15 minutes";
- 9 incorrect passcode entries in a row, it shows "iPhone is disabled, try again in 60 minutes";
- 10 incorrect passcode entries in a row, it shows "iPhone is disabled, connect to iTunes";
After 10 incorrect passcode entries, your device will be completely locked and you will have to restore your iPhone to get it unlocked.
-
What do you do if you can't remember your iPhone passcode?
If you've forgotten your iPhone passcode, you can follow the steps below to reset the forgotten passcode using iTunes.
- Launch iTunes on your computer and connect your iPhone to computer.
- If you've synced your iPhone on this computer before, wait the iTunes to sync and backup your iPhone. Then click Restore iPhone. After the device is restored, set up your iPhone and tap Restore from iTunes backup.
- If your iPhone has never synced before, you can only restore the iPhone in Recovery mode. After connect your iPhone, try to force restart it. Then click Restore. Please note this process will completely erase your data on the device.
-
How do I disable the lock screen on the iPhone?
To disable lock screen on iPhone, just follow the steps below:
- On your iPhone, go to Settings.
- If you have iPhone X or later, select Face ID & Passcode. On earlier iPhone devices, tap Touch ID & Passcode. On devices without Touch ID, tap Passcode.
- Then tap Passcode to turn off lock screen on iPhone.
-
Is My Phone GSM or CDMA?
The world knows GSM as Global System for Mobile Communication and CDMA as Code Division Multiple Access. One obvious difference between both terms is the SIM cards. You can find a SIM card slot across GSM phones, while CDMA lacks one in them. Instead, they had a handset-based standard with a phone number linking with the device. With a data rate of 42Mbps, GSM was much more common and widely used as compared to the 3.6Mbps CDMA.
Steps to Check if your Phone is GSM or CDMA
- Lead into its "Settings" on your iPhone and find the "General" options. From the list, select the "About" option to proceed.
- As you get into the respective section, find the MEID, ESN, or IMEI number. Phones with a MEID or ESN number use the CDMA system, while devices with an IMEI utilize GSM. Phones having both numbers are GSM and CDMA simultaneously.
Unlock your iPhone with a fast unlocker!
No matter whether your phone is locked by a screen lock or bought a second-hand with an activation lock, MDM, or screen time passcode, Dr.Fone - Screen Unlock can handle all these locks and unlock them!
One-stop Solution for All Your Problems.

Recover lost or deleted contacts, messages, photos, notes, etc. from iPhone, iPad, and iPod touch.

Repair 150+ iOS system issues like boot loop, 1110 error, etc., so easily that anyone can fix them without skills.

Make an efficient phone backup and management and live stream your phone to larger displays.