Never Lose a Voicemail Again: 3 Proven Techniques to Recover Deleted iOS Voicemails

Aug 30, 2023 • Filed to: Data Recovery Solutions • Proven solutions
“I had a bunch of important official voicemails in my iPhone, but I accidentally deleted them. Can someone please tell me how to retrieve deleted voicemails?”
If you’ve taken the pain to download and save your voicemails on your iPhone, I’m sure they must be really valuable. However, it is quite easy to lose valuable data from your iPhones, and in this case, you would naturally wonder how to retrieve deleted voicemails.
Voicemails are generally held by phone companies and kept in their servers for a fixed period of time, after which they are deleted. After this, your voicemail becomes impossible to recover. However, some people pay for manageable voicemail so it can be saved to their iPhones. In this case, the voicemails are downloaded and kept in your iPhone, so if you lose them, you can actually recover deleted voicemail.
This article will describe all the different methods you could use to retrieve voicemail.
Part 1: How to Retrieve deleted voicemails to your iPhone directly
You can use this method if you want to retrieve voicemail that has only recently been deleted.
- Step 1. Go to “Phone” > “Voicemail” > “Deleted Messages”.
- Step 2. Now you can navigate through them, select the ones you want to retrieve, and then tap “undelete”.
- Step 3. If you want to delete all the voice mails permanently, then you can tap “Clear All”.

However, you need to keep in mind that this process will only work for a short time. If you want to retrieve deleted voicemail after it’s permanently deleted, you can read on.
Part 2. How to Retrieve Deleted Voicemail on iPhone in 3 Ways?
Dr.Fone - Data Recovery (iOS) is a software that has been rolled out by Wondershare, which has been received worldwide acclaim and has received acknowledgment from Forbes magazine several times. This software will provide you with a gallery of all your current and deleted voicemails, and you can select the ones you want to restore, no hassles at all! As such, it is completely reliable software with which you can gain access to all your deleted voicemails.
Dr.Fone - Data Recovery (iOS)
3 Ways to Recover Data from iPhone
- The world's first iPhone and iPad data recovery software.
- Highest iPhone data recovery rate in the industry.
- Recover photos, videos, contacts, messages, notes, call logs, and more.
- Recover data lost due to deletion, device loss, jailbreak, iOS update, system crash, etc.
- Works for all models of iPhone, iPad, and iPod touch.
- Trusted by millions of users around the world, and has garnered rave reviews.


Method 1: Recover Deleted Voicemails Directly from the iPhone
This method is ideal for those who don’t have a backup of the voicemail in either iCloud or iTunes. This process scans your iOS device and then displays all your deleted voicemails in a gallery.
Step 1. Connect the iPhone to the computer.
Access Dr.Fone on your computer and choose Recover from the features. Connect iPhone to computer via cable.

Step 2. Recover from iOS Device.
You’ll find three recovery options, choose ‘Recover Data from iOS Device’.

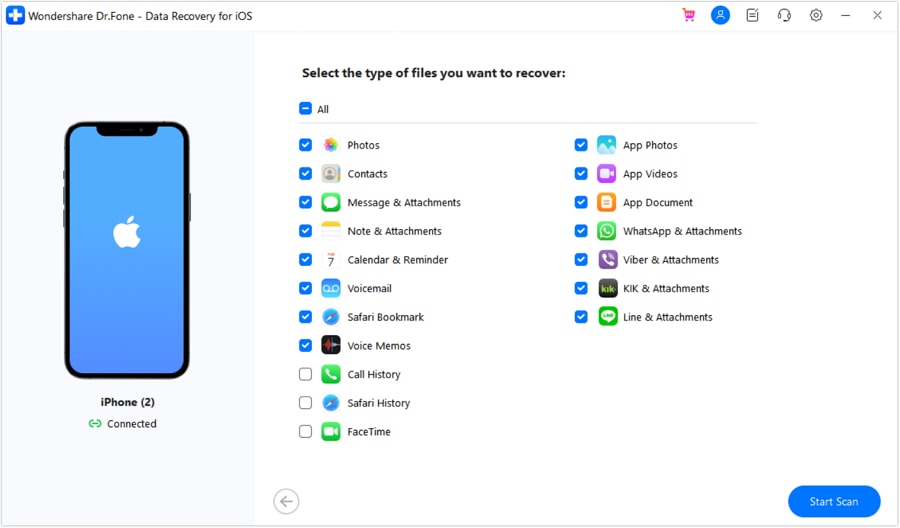
Step 3. File Type.
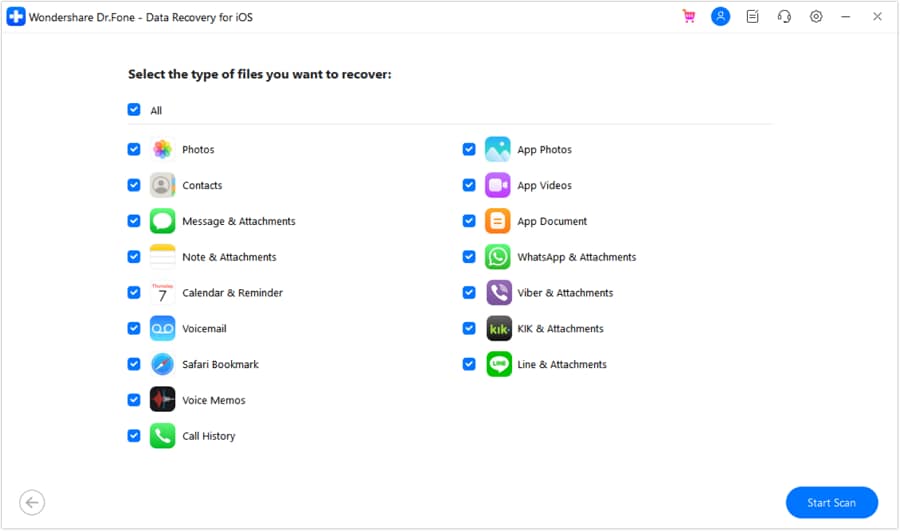
You’ll get a catalog of all the different types of files you can recover. Choose ‘Voicemail’ and then click on ‘Start Scan’.
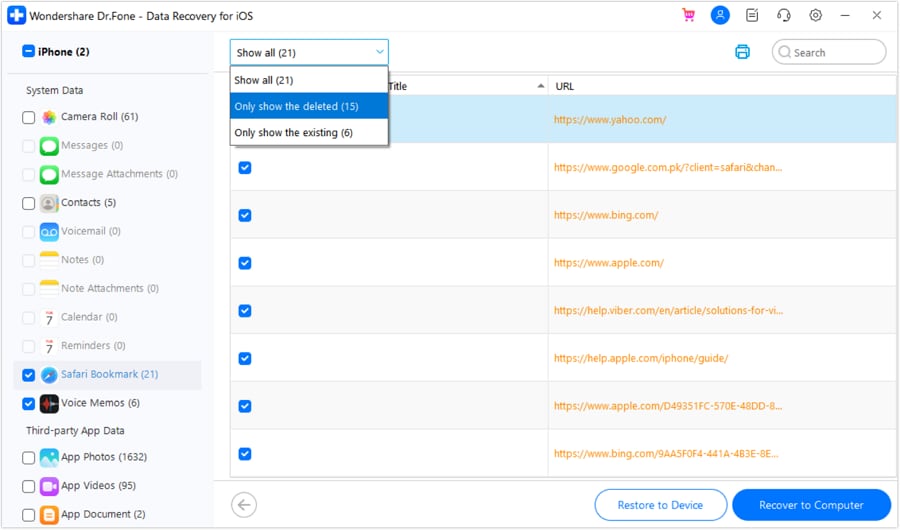
Step 4. Retrieve deleted voicemail.
Finally, you can wait as the scan completes. You’ll then be able to view all your deleted voicemails in a gallery. Select the ones which you want to restore, and then click on “Restore to Device” or “Recover to Computer”.
Method 2: Recover Deleted Voicemails via iCloud Backup
You can go for this method if you think you have the voicemails you need in your iCloud backup. You might be wondering, “why not retrieve it directly from iCloud?” That’s because iCloud doesn’t allow you to access and restore files individually, so if you download the iCloud backup to your iPhone, you’ll lose all your present data. Using Dr.Fone as a medium to access your iCloud backup ensures that you can select only the voicemails you want to restore and not everything else.
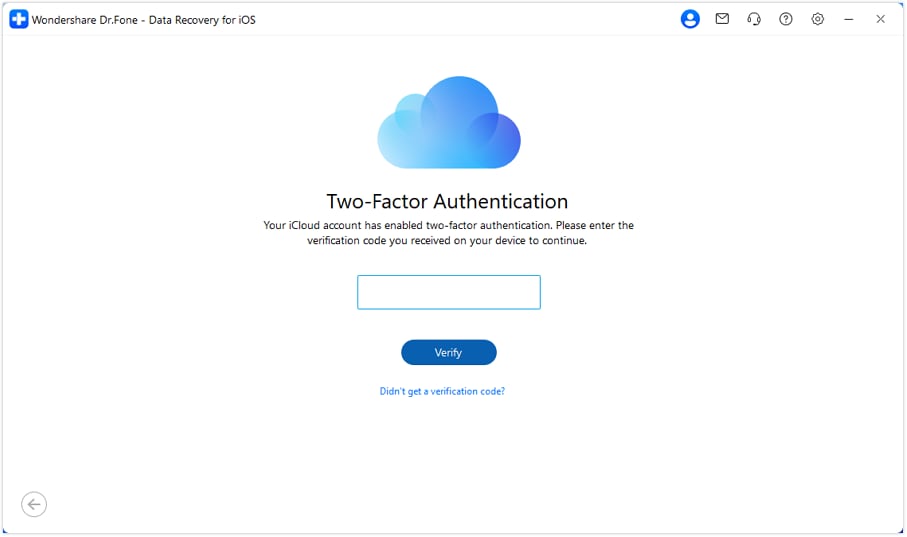
Step 1. Recover from iCloud backup files.
When faced with the recovery options, choose “Recover Data from iCloud”. Enter your iCloud details.
Step 2. Choose the backup you need.
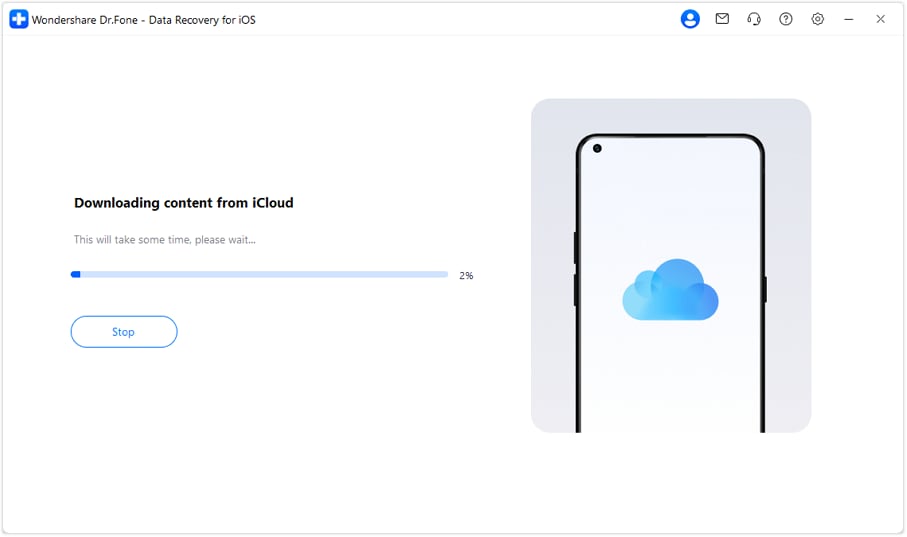
Choose the iCloud backup you want to go through and then click on ‘download.’ This process may take time, depending on your internet speed and file size. After the download, you can hit ‘Next’.
Step 3. Retrieve deleted voicemail.
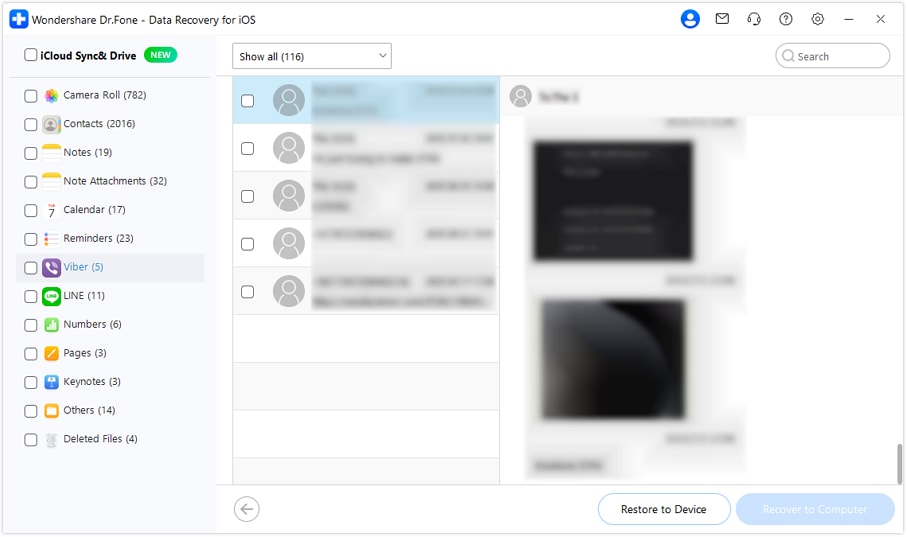
On the left-hand panel, you’ll find a list of categories. Select ‘Voicemail’. Then go through the entire gallery and select the voicemails you want to retrieve individually, and then click on ‘Restore to Device’ or ‘Recover to Computer’.
Method 3: Recover Deleted Voicemails via iTunes Backup
If you prefer to maintain their backups in iTunes, you’re in luck because Dr.Fone also serves as a great iTunes backup extractor. However, the problem with iTunes backup files is the same as that of iCloud, you can’t view them individually, and recovering a backup means losing all your present data. So you can use Dr.Fone as a medium to access all the data in the iTunes backup files, and then selectively restore them.
Step 1. Recover from iTunes Backup File.
Amongst the three recovery options, choose “Recover Data from iTunes”.
Step 2. Select the backup you want to access.
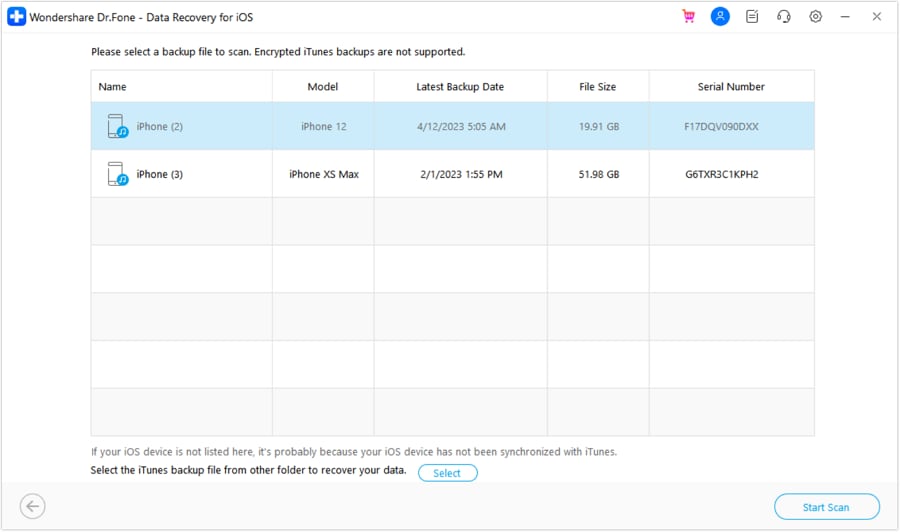
Go through the file size of all the backup files and their ‘latest backup date’ to determine which one you want to access. After selecting the backup file, you can click ‘Start Scan’, and delete iPhone backups if you want.
Step 3. Retrieve deleted voicemail.
The final step is the same as the previous methods. You select the category ‘Voicemail’ and then go through the gallery, choose the voicemails you want to retrieve, and click “Restore to Device” or “Recover to Computer”.
However, for Method 2 and Method 3 to work, you need to back up iPhone either in iCloud or iTunes.
Conclusion
So you can see that with these methods you can retrieve all deleted voicemails. First, you should definitely see if you can retrieve them directly from the iPhone itself. However, if they have been permanently deleted, then you’ll have to use Dr.Fone - Data Recovery (iOS), and you can use any of the three methods based on whatever suits you best.
Do let us know down in the comments whether this helped you out, we’d love to hear from you!


iPhone Recovery
- Deleted Data Recover
- 1. Recover HEIC Photos on iPhone
- 2. Recover Deleted Calendar Event
- 3. Retrieve iPhone Deleted Reminders
- 4. Retrieve iPhone Deleted Voicemail
- 5. Recover iPhone Deleted Photos
- 6. Recover iPhone Deleted Note
- 7. Recover Call History from iPhone
- 8. Recover iPhone Deleted Contacts
- 9. Recover iPhone Voice Memos
- 10. Recover Deleted iOS Files
- iPhone Passwords Recover
- 1. Retrieve iPhone Email Password
- 2. See iPhone Saved Password
- 3. Access iPhone Password
- 4. Get iPhone Password Back
- 5. iPhone Passcode Requriement Pops
- 6. Find iPhone Wi-Fi Password
- iPhone WhatsApp Recover
- 1. Recover WhatsApp Messages Apps
- 2. Recover Deleted WhatsApp Messages
- 3. Recover WhatsApp Messages Online
- 4. Retrieve Deleted WhatsApp
- Recover from Stolen iPhone
- Recover from Broken iPhone
- 1. Recover Data from Broken iPhone
- 2. Water Damaged iPhone Data Recovery
- 3. Recover Data from Dead iPhone
- iPhone Recovery Tips
- 1. GT Recovery Undelete Restore
- 2. Recover Data from Memory Card
- 3. Recover iPhone Lost Data
- 4. Recycle Bin on iPhone
- 5. Recover Data on iPhone in Recover Mode
- 6. Recover Data from iPhone in DFU Mode
- 7. iTunes Data Recovery
- 8. Recover iPhone Data Without iTunes
- iPhone Recovery Tools
- ● Manage/transfer/recover data
- ● Unlock screen/activate/FRP lock
- ● Fix most iOS and Android issues
- Recover Now Recover Now Recover Now
Selena Lee
chief Editor