World's 1st iPhone
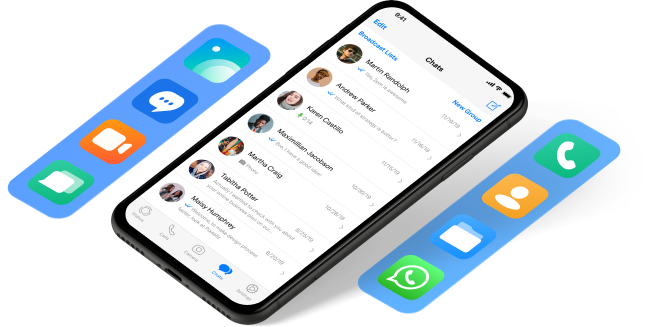
Data Recovery Software
- · Top-rated iPhone data recovery software with highest success rate.
- · Recover data from iOS devices, iTunes, iCloud.
- · Retrieve deleted photos, WhatsApp, messages, and 18+ other data types.
- · Compatible with the latest iPhone and iOS versions.

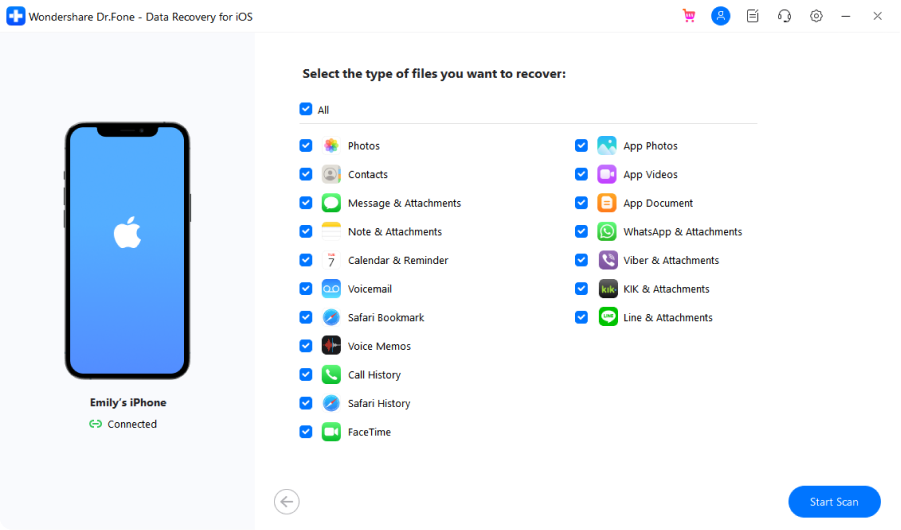
Selective Recovery
Recover what you need selectively from iPhone without overwriting data.

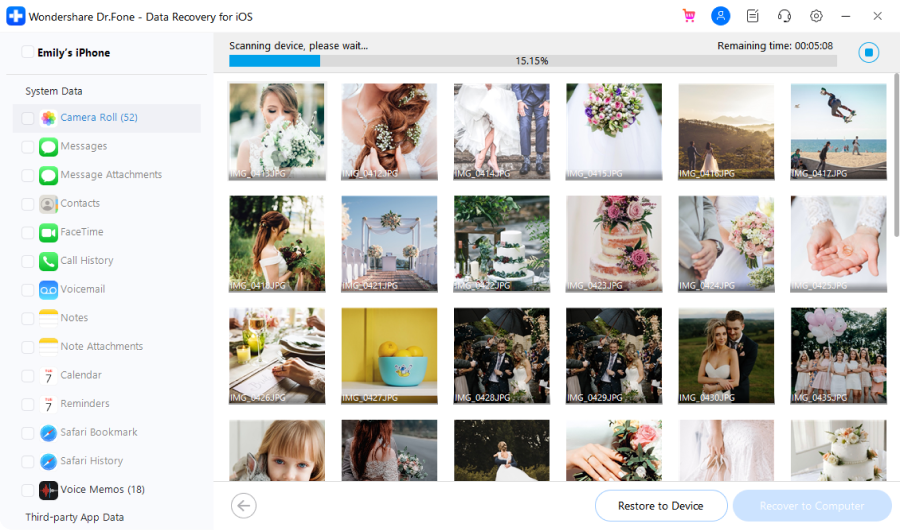
Preview Lost Data
Preview the data you need before recovery for free.

Restore to Device
Restore SMS, iMessage, contacts, and notes to iPhone/iPad directly.

Export to Computer
Save the data you need to the computer for backup or print.
Recover Whatever You Need From iPhone


(Only for Windows)


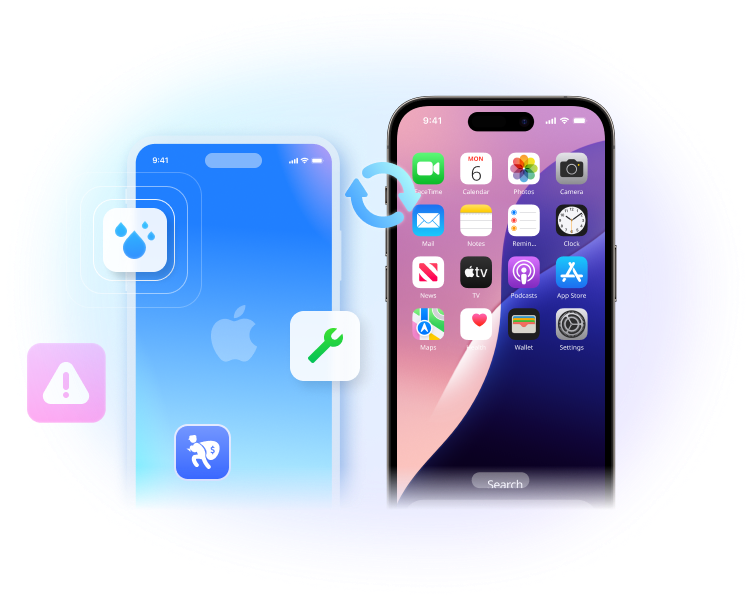
Recover iPhone Data, No Matter The Cause
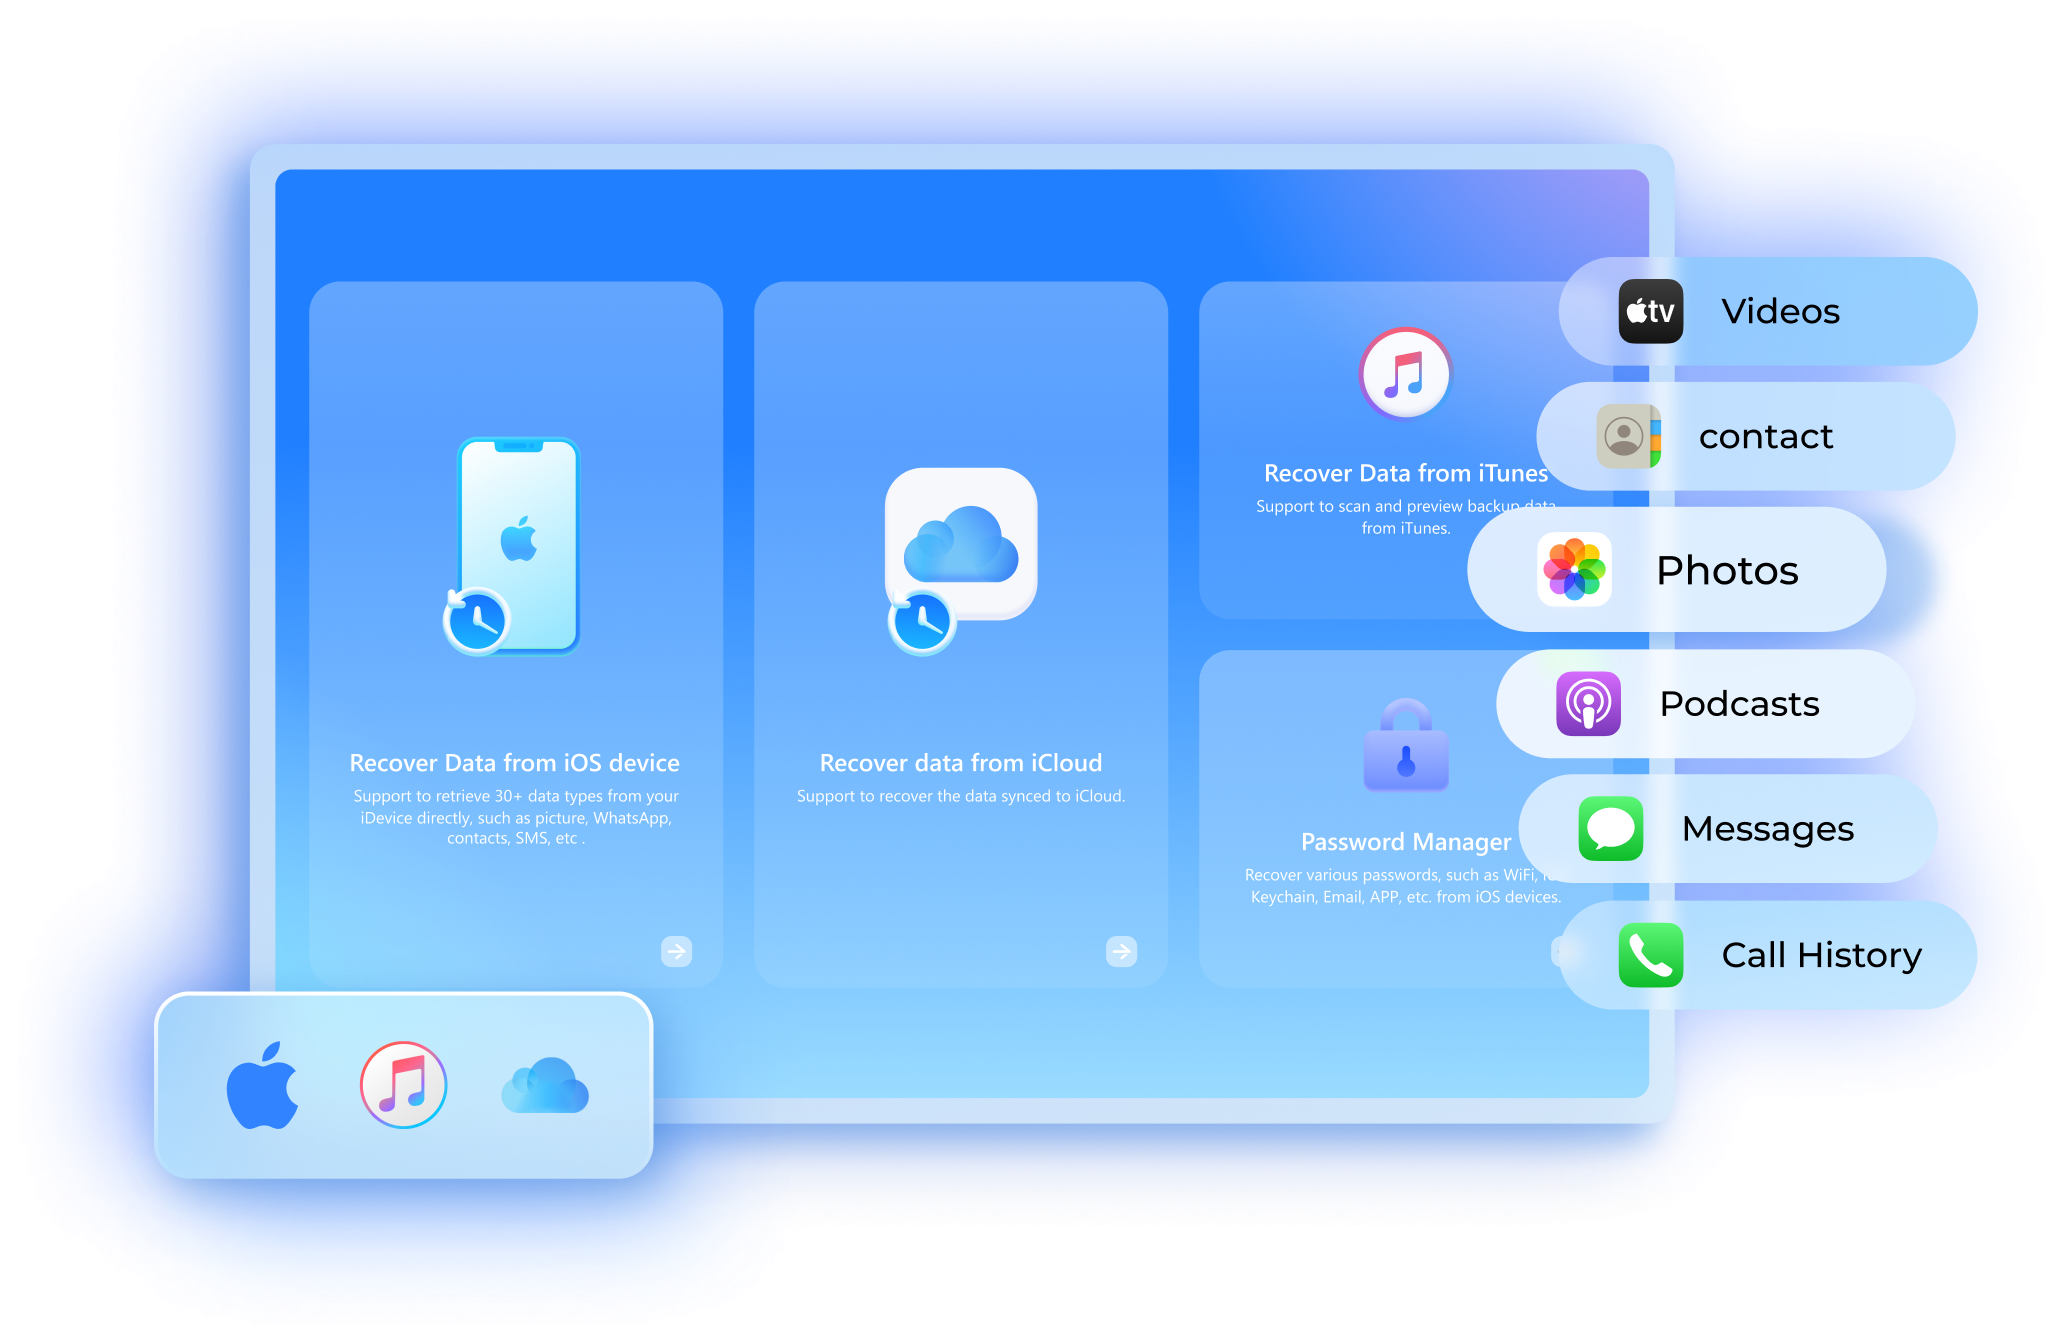
Recover Data From All iOS/iPadOS Devices

Get Back iPhone Data With 3 Modes

Recover from iOS Device
Recover lost data from iPhone/iPad/iPod Touch directly without backups.

Recover from iTunes backup
Extract iPhone data from the iTunes backup. Restore them selectively to an iPhone or save them on a computer.

Recover data from iCloud
Effortlessly recover lost/deleted data backed up or synced to iCloud with ease.
Recover iOS Data In 3 Steps

Tech Specs
Processor
1 GHz or faster processor (Intel or AMD)
RAM
2 GB or more of RAM
Hard Disk Space
200 MB of available hard disk space
iOS
Support all iOS versions, including the latest iOS version
Computer OS
Requires Windows 7 or newer
Requires macOS X 10.8 & higher
FAQs - You May Still Be Wondering
-
How do I recover data from a dead iPhone?
To recover data from a dead/broken iPhone, you'll need the help of a third-party software like Dr.Fone. Follow the steps below to recover data from a dead iPhone.
Step 1. Launch Dr.Fone and connect your dead iPhone to the computer. Go to the Data Recovery module.
Step 2. If the iPhone can be recognized by the computer, use Dr.Fone to scan your iPhone directly. If the phone can't be detected at all, use Dr.Fone to scan your iTunes/iCloud backup file.
Step 3. Preview the data on the dead iPhone and save them to your computer.
Learn more about how to recover data from a dead iPhone.
-
Is iPhone Data Recovery Free?
Some iPhone data recovery tools offer free device scanning and preview functionality. However, a premium version is required to fully restore unlimited data to your device or computer. Being the pioneering iPhone data recovery solution in the market, we truly understand the importance of recovering your invaluable data. Our utmost priority is to deliver a cost-effective and efficient data recovery solution to our esteemed users.
-
How can I recover my iPhone data?
You can follow the steps below to recover the accidentally deleted or lost files on iPhone.
Solution 1. Recover lost data from iPhone directly- Launch Dr.Fone and connect your iPhone to the computer.
- Select the file types you want to recover and start to scan the iPhone.
- Preview and recover your files selectively.
- Select "Recover iOS Data" and sign in to your iCloud account.
- Download the iCloud backup file.
- Preview the backup content and recover iPhone data selectively.
- Select the iTunes backup and start to scan it.
- Preview the files and recover iPhone data selectively.
-
Is it possible to retrieve text messages on my iPhone that I deleted long ago?We get similar inquiries frequently. Actually, the answer is "It depends". When a file is deleted on the iPhone/iPad, the system only removes its entry in the file system. The memory on the iPhone that saves the deleted file is marked as free space and can be overwritten by new data. So, before your deleted text messages are overwritten, you still have the chance to get them back with iPhone data recovery software.
-
How do I run the recovery program on my iPhone?There are numerous iPhone data recovery Apps out there that claim to be able to recover lost data on iOS devices. After we tested most of them, actually none of them can do that. Most importantly, after the data is deleted on the phone, it's better not to download any new Apps or even use the phone before you get back the data to avoid the lost data being overwritten. So, we recommend you download the iPhone data recovery program on your desktop and connect the iPhone to the computer to recover your data.
Recover Your iOS Data Now
Download the most reliable iPhone data recovery software and regain access to your valuable files and memories.
Keep Your Mobile at 100% with Our Complete Mobile Solution

Unlock any iPhone lock screen when you forget the passcode on your iPhone or iPad.

Fix iOS issues in many common scenarios, such as black screen, white screen of death, and more.

All-in-one data management solution. Back up and manage phone data, and mirror your phone screen to PC.