
• Filed to: Photo Transfer • Proven solutions
Photoshoots are referred to as the modern display of glamour and attraction. As the equipment utilized to help display such attraction is quite expensive and large, digital cameras are the core of this equipment and models. The use of cameras has been readily practiced and implemented across various domains.
Thus, when it comes to transferring the photos of the camera, there are several techniques that may come in handy to ensure sustenance in quality and authenticity. This article configures a detailed guide on how to transfer photos from camera to computer through various methods while ensuring to keep the quality under control.
Part 1. Transfer Photos to Computer in Traditional Ways
As you dig deep into the methods that would provide you efficient paths to transferring photos into the computer, there are several traditional ways that have been a part of the system for quite a while. Out of the list of traditional methods that have been utilized every now and then, this article features the two most consumed techniques of all time.
Method 1: Connect Camera to Your Computer
You need to connect the camera through a USB cable and turn it off. Open Windows Explorer on your computer to find a removable disk or an icon displaying a camera on the left panel.
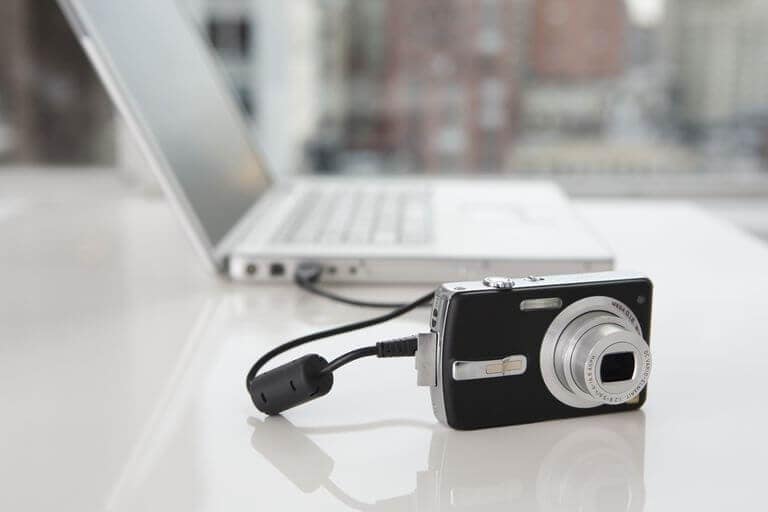
Step 1 Navigate to the disk and find the folder under the name of "DCIM." Select all photos and copy them.
Step 2 Lead to the folder where you wish to save them. Paste photos there, disconnect the camera over the completion of the transfer.
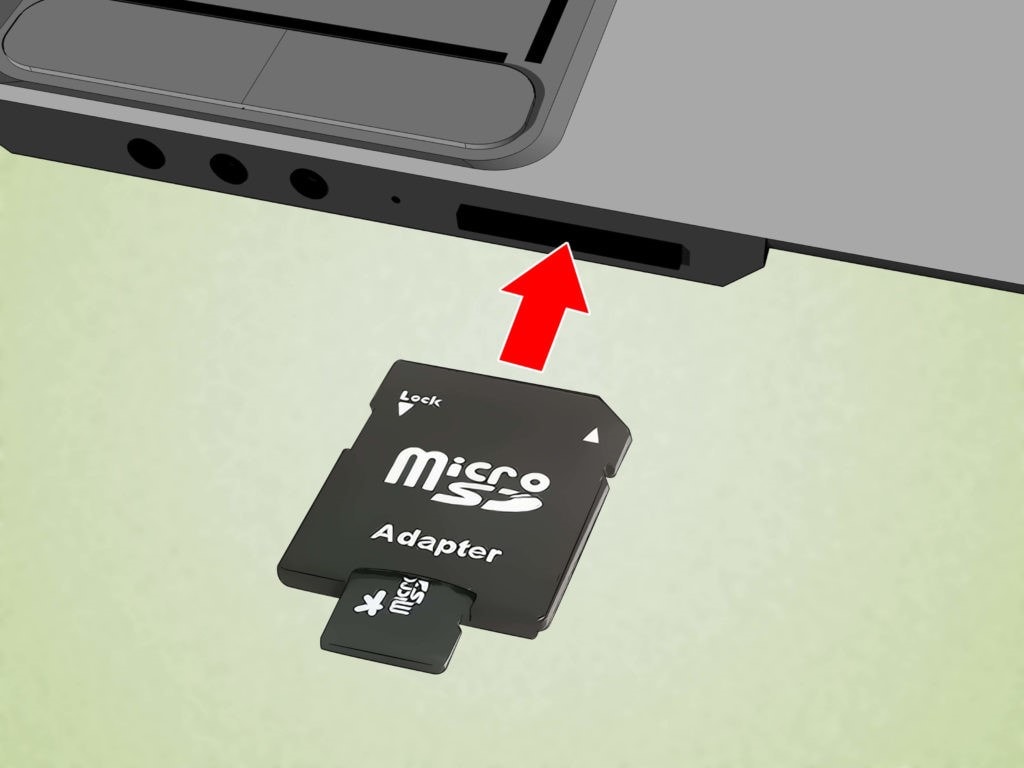
Method 2: Transfer Photos from Camera Memory Card
Step 1 Connect the SD card of your camera with a card reader. Plug it into the provided slot in your PC.
Step 2 A folder will display in the left panel of Windows Explorer, containing the contents of the card.
Step 3 Open the card and navigate to the folder named "DCIM." Copy all the photos present there and paste them into your desirable folder of the computer.
Part 2. How to Transfer Photos from Camera to iPhone Using Wi-Fi
As you look into the traditional methods to transfer photos from a camera to your computer, the world has been moving towards contemporary techniques that save you from unnecessary wired connections and detailed procedures.
Out of many mechanisms presented in the market, using Wi-Fi has been referred to as quite suitable and efficient in providing you an environment to transfer photos from a camera to an iPhone directly. To understand the function, you need to look over the guide provided as follows.
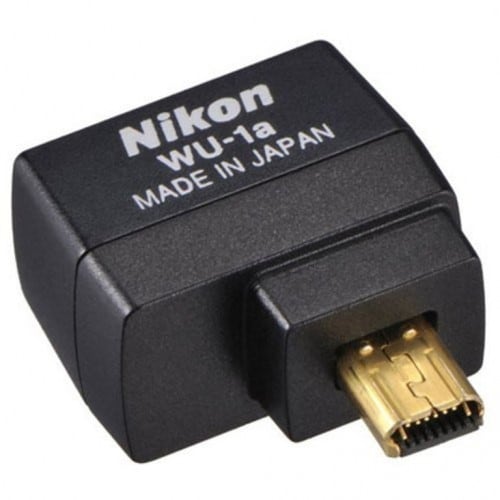
Step 1 Before proceeding with the operation, you are required to download the specific Wireless Utility App from the App Store. The app should be of the specific producers of the wireless adapters that you are making use of.
Step 2 Attach the adapter with the camera to make it function as a Wi-Fi hotspot. Turn on the Wi-Fi of your phone to connect with this hotspot.
Step 3 Open the application downloaded on your iPhone to copy the contents of the camera into the gallery of the iPhone.
Part 3. How to Transfer Photos from Camera Using Bluetooth
While you focus on consuming the services of Wi-Fi to transfer photos from camera to another smartphone, Bluetooth provides impressive utility in managing the photos across a certain Utility application provided by the developers of the camera. To understand the function of this method, you need to follow the steps provided below.
Step 1 Download a utility application of the developers of the certain camera that you own. After installing it across your PC, launch and establish a connection with the camera.
Step 2 While establishing a connection, you need to turn on the Bluetooth services of the computer and connect with the camera.
Step 3 After a successful connection, you can easily use the application to access the contents of the camera and copy all photos across the desktop. The applications provide you the autonomy to select multiple photos with ease.
Part 4. How to Use A Third-Party Tool to Transfer Photos
There are various methods that can come in handy when seeking an efficient way to transfer photos among different devices. If you have a camera that has been connected to your smartphone via Wi-Fi, you can consider transferring the photos from your smartphone into the computer with the aid of a third-party tool.
Here we present you with a proficient tool, dr.fone – Phone Manager, that provides you with a unique interface to manage your files on. There are several that would make you prefer dr.fone as your primary choice in efficient file management.

dr.fone - Phone Manager (iOS)
Download dr.fone - Phone Manager (iOS) to have a try!
- Easily transfer and manage media files and data across the computer.
- Perform a backup of data across the computer and easily restore files when required.
- Transfer media files and other important data from one smartphone to the other.
- Compatible across the latest iOS versions.
- Supported by thousands of Android smartphones and all models of iPhones, iPad, and iPod Touch.
To understand the simple operation of dr.fone – Phone Manager, to transfer photos among different devices, you need to follow the simple task-by-task procedure declared below.
Step 1 Download and Install Platform
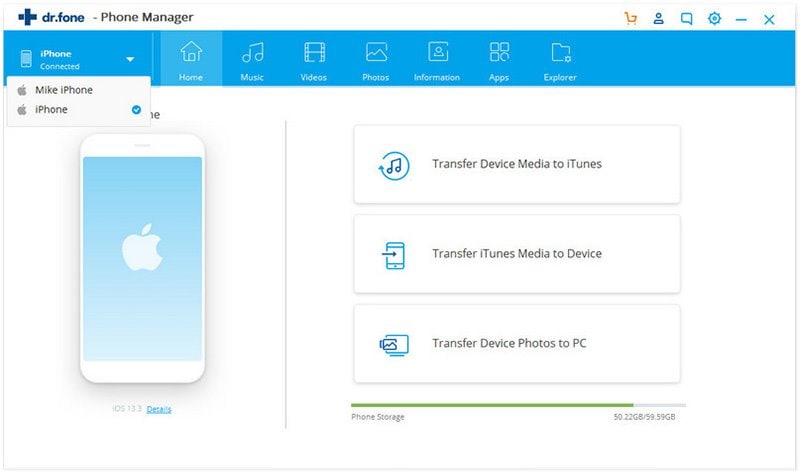
Initially, it is important to download and install the platform before leading towards launching it. As you launch into the home window, select the "Phone Manager" tool in the provided options.

Step 2 Connect Device
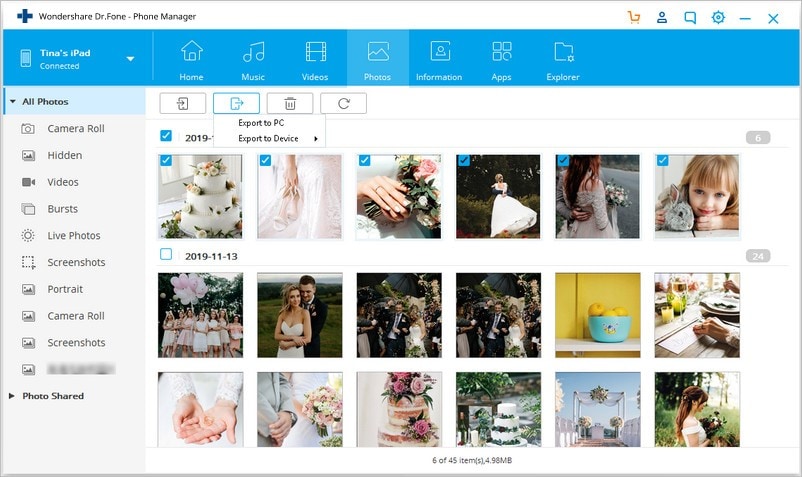
Following this, establish a successful connection between the device and the computer through a USB cable connection. Proceed with selecting the option of "Photos" present on the top of the toolbar.
Step 3 Select and Export
With the list of photos appearing on the screen of the platform, you are advised to select your collection and tap on the "Export" button to export them over your PC. Finalize a location by browsing across the drives and successfully export data into your computer from your smartphone.
Part 5. How About Using iCloud to Store Your Photos
As you are aware of the fact that Apple smartphones provide their own system of maintaining the files and backup, iCloud can be a subtle option for the collection of data. iCloud has been held responsible for holding the data along with the applications of the device it is connected with. If you consider shifting your data from your iPhone or iPad into the iCloud servers, you need to follow the steps provided as follows.
Step 1 Open the "Settings" on your Apple device and tap on your name on the top of the window.

Step 2 Select 'iCloud' on the next screen that proceeds and taps "Photos" on the next window that appears displaying the applications using iCloud.
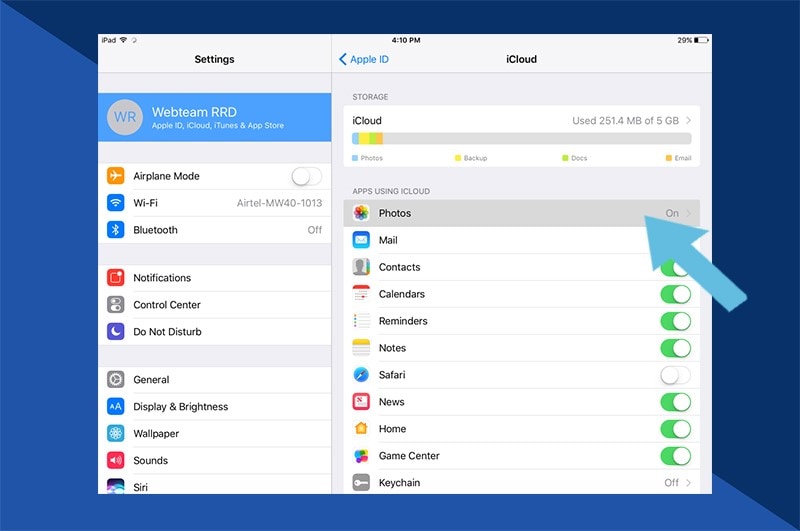
Step 3 Ensure that the 'iCloud Photo Sharing' toggle is turned on. Move over the settings to observe two different options for storing the photos above. Along with that, if the slider representing 'iCloud Photo Library' is turned off, you need to turn it back on. This would upload all new photos and videos on the iCloud directly.

Conclusion
This article has offered unique ways of transferring photos from cameras to the computer through different devices and domains.
Elva
staff Editor