How to Transfer Data from Phone to Computer

Mar 08, 2024 • Filed to: Manage Device Data • Proven solutions
With the advent of semiconductors, mobile phones have developed a lot and become a good source of entertainment. Today a phone is a mini-computer in itself. It can perform almost all tasks of a computer. But the issue is with limited storage. To free up the storage there is a requirement of mobile to the computer data transfer. Now how to transfer data from phone to PC is the problem for which the solution is presented to you in detail.
Part One: Transfer Data from Phone to Computer in One Click
Transferring data from phone to computer seems to be an easy process. But it is easy until there is not an error in the copied data or when it takes less time. Now what generally happens is there is a loss of data during the transfer. Sometimes it takes a lot of time to transfer data from phone to PC as one needs to transfer one file or folder at a time. Because transferring multiple files confuses.
In the worst-case scenarios, we cannot able to access transferred or copied data in our Computer. It generally happens due to an error generated during the transfer.


Well, to help you out on the same Dr.Fone is presented. Dr.Fone - Phone Manager is a simple and fast way to transfer files from your Android platform to various other platforms like Windows Computer, Mac, and iTunes.
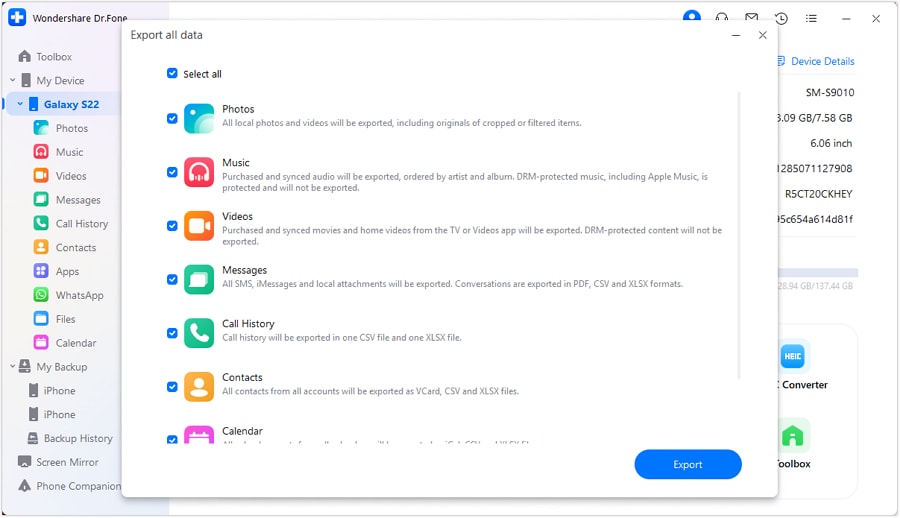
You can transfer videos, music, contacts, documents, etc, all in a single go without any confusion. You can also transfer files on a selective basis. This process takes 3 simple steps to accomplish the task of transfer data from phone to computer.
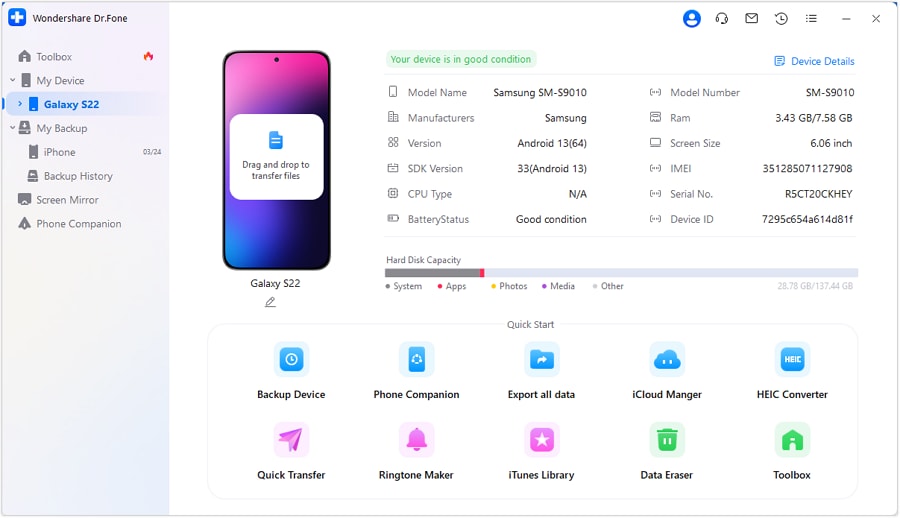
Step 1: Connect your Android device
Launch Dr.Fone and connect your device. It will be recognized and displayed in the primary window of the Dr.Fone - phone manager. Now you can choose from videos, photos, music, etc. for transfer or the third option as shown in the image

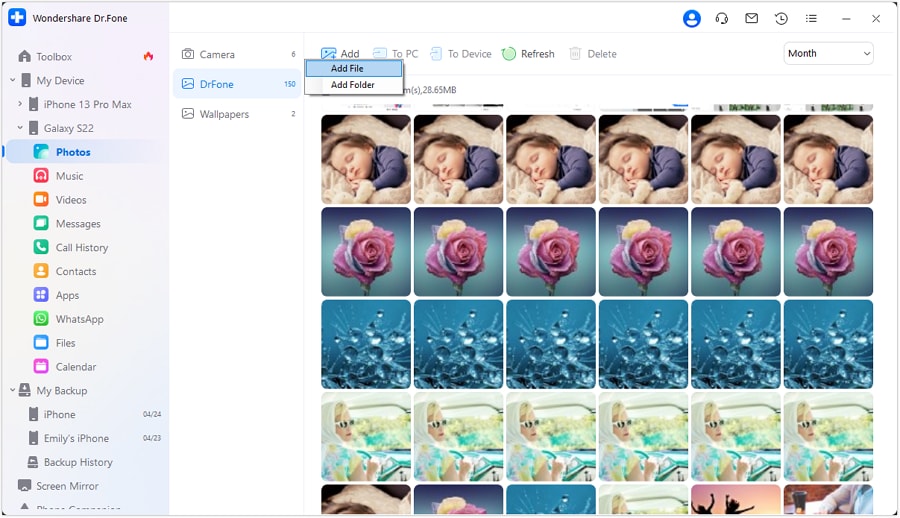
Step 2: Select files for transfer
Now suppose you want to transfer Photos. Then go to the Photo management window and click on the desired photos that you want to transfer. A blue box with a tick sign will appear on the selected photos.
You can also transfer the whole photo album at once or create a new folder for transfer by going to “Add Folder”.
Step 3: Begin to transfer
Once you are done with selecting the photos, select “Export to PC” as shown.
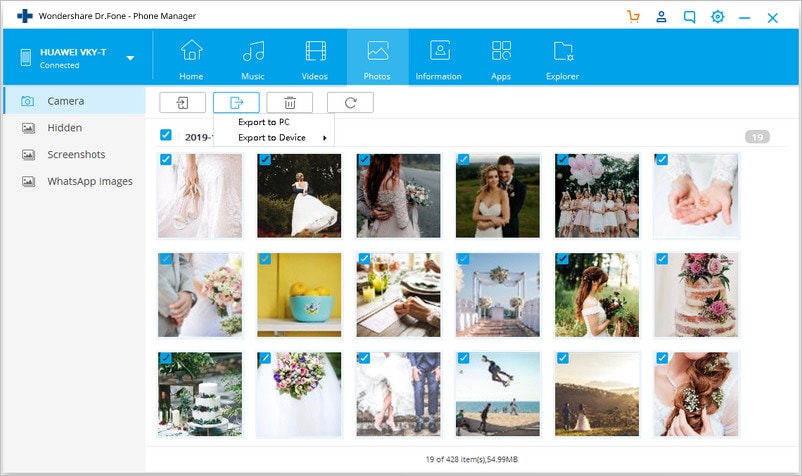
This will open your file browser window. Now select a path or folder to store your photos on the computer. Once the path is chosen, the process of transferring will begin.
Once the process of transferring is completed. You can access your data from the location where you have stored it on your computer.
Part Two: Transfer Data from Phone to a Computer Using File Explorer
There are many techniques to transfer data from phone to computer. File Explorer is the one that can allow you to transfer data from phone to PC without the use of any third-party software. It provides you access to transfer or copy phone data to PC in a few simple steps.
Note: Although you cannot transfer the whole data from the mobile to the computer. Still, it allows you to transfer important data like videos, music, photos, etc.
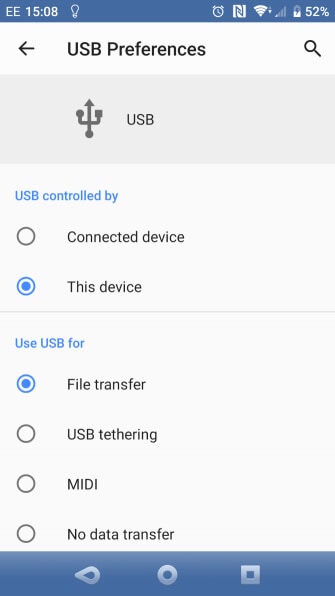
Step 1: Connect your Android phone to your PC with the help of a USB cable. On successfully connecting your phone to PC, you will be provided with various options on your phone’s screen. Select “File transfer” from the USB preferences.
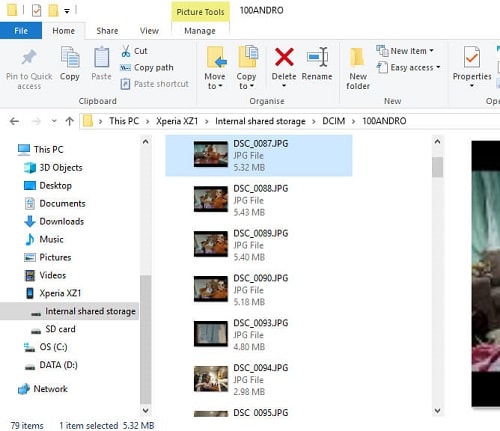
Step 2: Now open a File explorer from your windows PC and select your phone from the list present on the left. Once you find your phone, click on it to view the folders. This will provide you access to all folders present in your phone.
Step 3: Now you can select the folder, then right-click and copy the selected folder. Or you can select a folder and use “copy to” present on the toolbar to copy and transfer a full folder or selected files. Once you have copied the file, select the location on your PC, where you want to store the file.
Once selected the process of transferring will start. It will take some time to complete the process. Once completed you can safely eject the USB. After ejecting you can access your data from your PC easily.
Part Three: Transfer Data from Phone to Computer with Cloud Service
Although USB provides you an easy and efficient way to transfer data from your phone to a computer. What will be the scenario when you don’t have any USB with you?
You will go with wireless data transfer from mobile to pc. This will help you to copy phone data to pc without getting involved into wires. The main advantage of wireless data transfer from mobile to a computer is its ability to work even at a distance.
The only thing that you require here is internet connectivity. Yes! Cloud service is the source that will help you to easily transfer your data from phone to PC. It will allow you to easily transfer or copy data with account details.
To help you out on the same two cloud sources are presented. Let us go through them one by one.
3.1 Dropbox
Dropbox is a cloud storage platform that provides you easy access to your files whenever you need them. It provides you an ability to sync files across your computers, phones, tablets, etc.
Step 1: Download and install the Dropbox app on your PC and login with the same account that you are using for your phone.
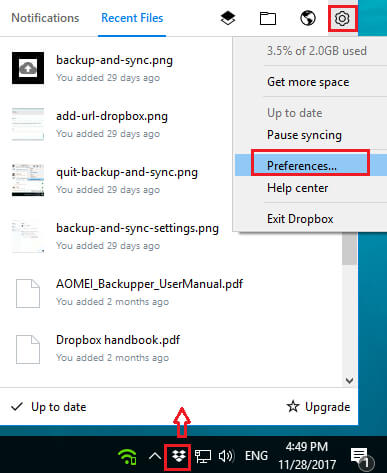
Step 2: Open the app and click on the icon present on the right of the taskbar. A window will pop up before you. Select the “Settings” and choose preferences as shown.
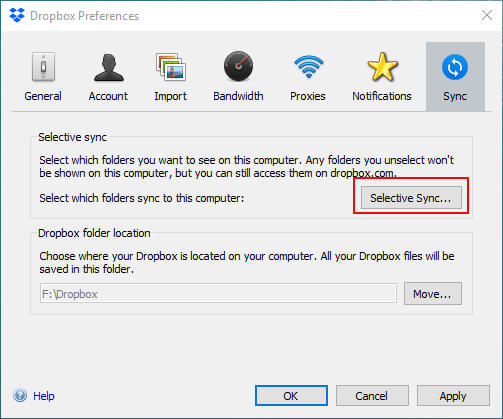
Step 3: Now go to the sync tab from Dropbox preferences window and click “Selective Sync”. Now select the files that you want to transfer to the computer and give permission.
Once the permission is granted the process of synching will start. It will take some time to complete the process. Once the process of synching is complete you can access all of your data on your PC.
3.2 OneDrive
OneDrive is a cloud storage platform that provides you an opportunity to access your data from various devices like Phone, Tablet, Computer, and so on. You can easily sync your data across various devices by logging into your account.
Here are a few steps to wireless data transfer from mobile to pc using OneDrive.
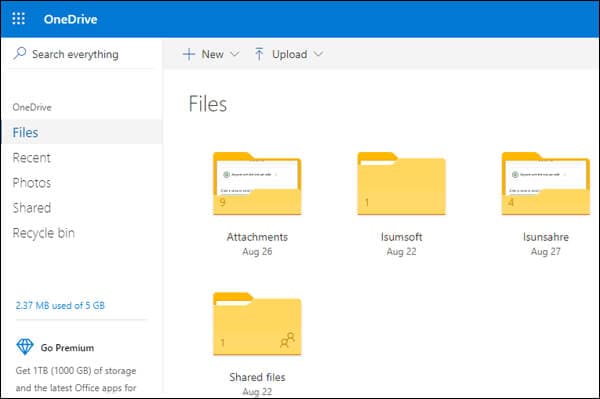
Step 1: Sign in to your OneDrive account from your PC using the same login details as you used on your phone. Your OneDrive will be opened as shown.
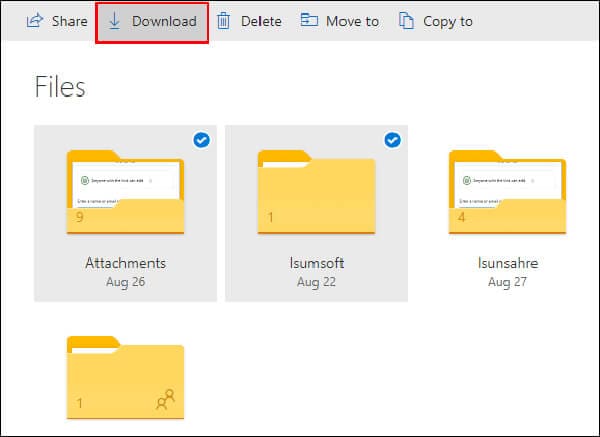
Step 2: Now select the file that you want to transfer to your PC. Once you select the required file a tick will appear on the selected files. Now simply click on the “Download” option as shown in the image.
Note: You can select a single file or multiple files at a time. You can also select the whole folder or whole data for syncing.
Step 3: On clicking the “Download” a pop up will appear asking you for the location, where you want to store the file. Select the location or folder and then click on the “Save”.

Once the file is saved, you can access it anytime from the same location where you sored it on your PC.
Conclusion:
These days mobile phones are the main source of entertainment. They contain huge data in the form of videos, pictures, documents, music, etc. But the problem is with the limited storage capacity of phones. To make a room for new data you are continuously required to copy phone data to pc.
Transferring data from phone to computer is an easy process. It just requires a proper technique with simple steps. You can go for wired or wireless data transfer from mobile to PC. Both require a tested step by step guide to successfully transfer data that is presented to you here.


Phone Transfer
- Get Data from Android
- Transfer from Android to Android
- Transfer from Android to BlackBerry
- Import/Export Contacts to and from Android Phones
- Transfer Apps from Android
- Transfer from Andriod to Nokia
- Android to iOS Transfer
- Transfer from Andoid to iPhone
- Transfer from Samsung to iPhone
- Samsung to iPhone Transfer Tool
- Transfer from Sony to iPhone
- Transfer from Motorola to iPhone
- Transfer from Huawei to iPhone
- Transfer from Android to iPod
- Transfer Photos from Android to iPhone
- Transfer from Android to iPad
- Transfer videos from Android to iPad
- Get Data from Samsung
- Transfer Data to Samsung
- LG Transfer
- Mac to Android Transfer
Alice MJ
staff Editor