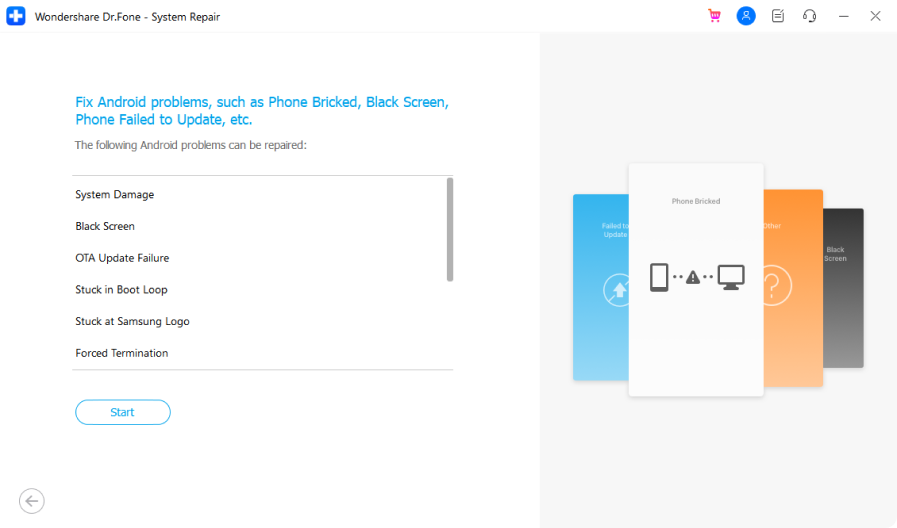
1st One-Click Android Repair Tool in the World
- · Fix various Android Samsung system issues like black screen of death.
- · Fix the Android system to normal. No skills required.
- · High success rate of fixing Android issues.
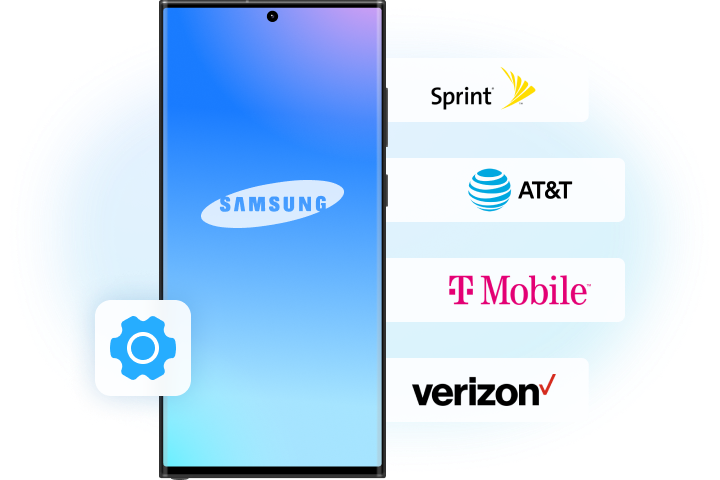
- · Supports all the mainstream Samsung models, including Samsung S22/23.
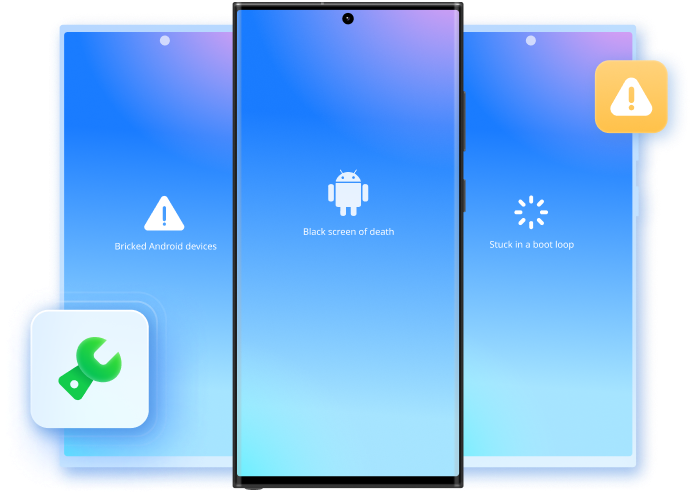
Fix All Android Problems Like a Pro
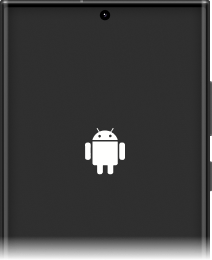
Black screen of death
Apps keep crashing
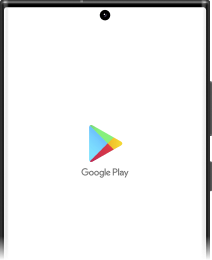
Play Store not working

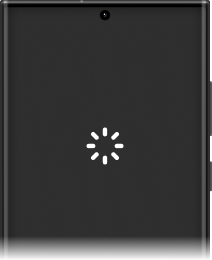
Stuck in a boot loop
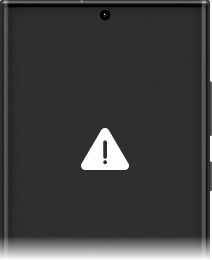
Bricked Android devices
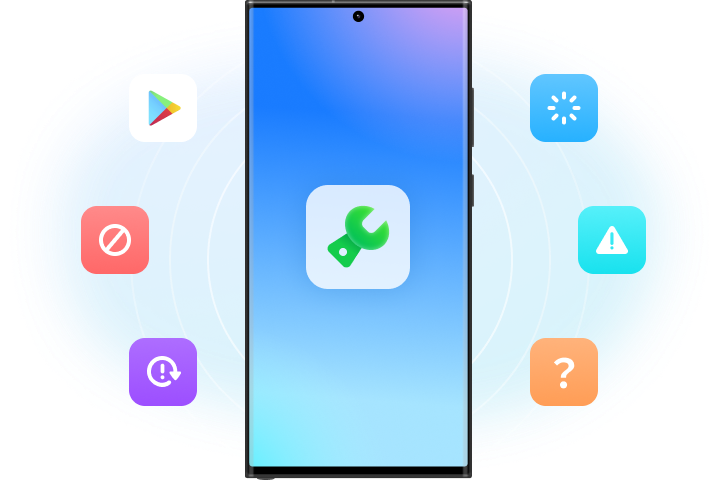
Android Repair Has Never Been So Easy
1000+ Samsung Models Supported
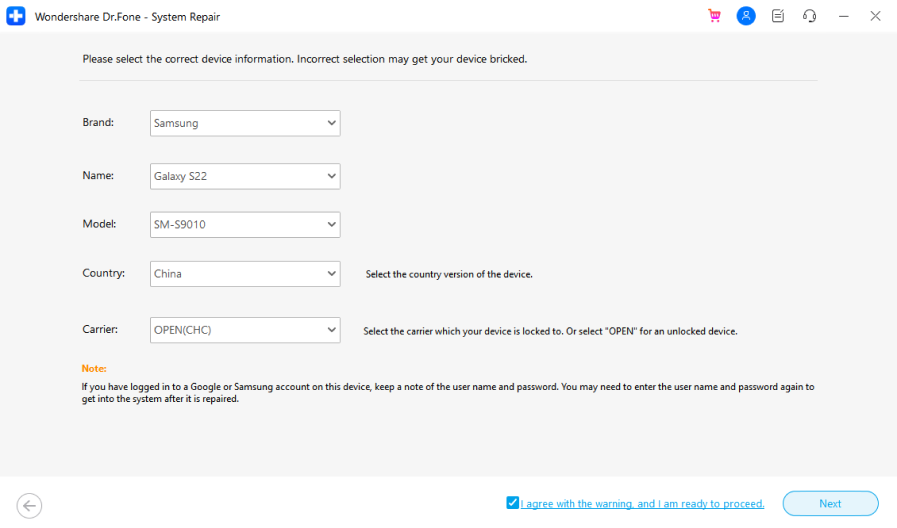
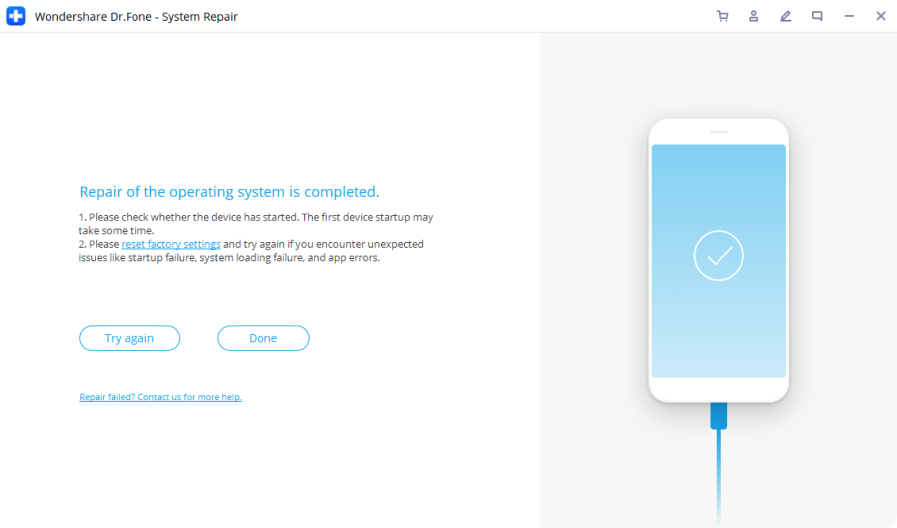
Steps for Using Android System Repair
Tech Specs
Processor
1 GHz or faster processor (Intel or AMD)
RAM
2 GB or more of RAM
Hard Disk Space
200 MB of available hard-disk space
Android
Requires Android OS 2.1 or later
Computer OS
Requires Windows 7 or newer
Brand
Samsung
FAQs - You May Still Be Wondering
-
What to do with a broken Android screen?Nowadays Android phones are well designed, but one increasing risk is that the screen is easily damaged, especially those models with a full-screen display. When your Android is dropped and has the screen damaged, here are some necessary things to do:
- Recover data from your Android: Try not to use your Android any more and find an Android data recovery tool to extract data to your PC. Anyway, the last thing you want is your important data gone with the phone.
- Knock the manufacturer after-sales service: Call the after-sales service hotline of your Android manufacturer to consult how to replace the screen of your Android, if there are any risks, and how much does it cost to replace the broken screen.
- Go to Android repair store:In most cases, an Android repair store provides more cost-effective screen repair services. They often fix the Android screen more quickly and offer a warranty on the parts provided. Anyway, it's a worth-trying option.
-
How do you fix an Android app that is not responding?It's a common issue when a specific app does not respond, keeps crashing, or won't open on Android, especially on Android phones that have been used for over a year. If you come across this issue. Here are the methods to fix:
- Clear the app cache: Go to Settings > Apps & notifications. Then tap the app and open App info, and choose Storage > Clear cache.
- Restart your device: long-press the Power key for a few seconds and choose Restart. If you cannot find the Restart option, long-press the Power key for over 30 seconds.
- Uninstall and reinstall the app: If the app file is corrupted, uninstall, and reinstall this app to fix the "not responding" issue.
- Repair Android system: If all the above methods fail, Android system components are corrupted with high possibility. You need to have your Android system repaired with a tool.
-
How do I fix my android from crashing?When your Android phone reboots from time to time or shuts down by itself, the Android system crash happens. The cause? Android firmware files may be damaged due to some wrong habits using the phone. Here are some common solutions to fix a crashing Android:
- Check for Android updates: Go to Settings > System > Advanced > System update. Check the update status and update your Android to a new version.
- Reset factory settings: If there is no update on your Android, resetting factory settings may fix the firmware files. Note that all device data will be erased, and account data will be removed after the factory settings are restored.
- Android repair: Some firmware corruption cannot be fixed even by resetting factory settings. In this case, you need to use an Android repair tool to flash new firmware into the Android device.
-
How do I fix an unresponsive touch screen on Android?Nothing can be more annoying than an unresponsive touch screen of Android. Here are some common causes behind the unresponsive Android touch screen:
- Abnormal environment: Moisture, high or low temperature, magnetic field are all the likely causes. Just keep your Android device away from such an environment.
- Personal settings: Some special personal settings may make your Android screen unresponsive unknowingly. You need to boot your Android -into recovery mode, and select Wipe data/factory reset > delete all user data to fix.
- Firmware problems: An unsuccessful Android update or system corruption are significant firmware problems that cause an unresponsive touch screen of Android. The only way, in this case, is to install an Android Repair tool to bring your Android to normal.
-
Can I try Dr.Fone - System Repair for free?
Yes, you can test the first few steps and see if your device is supported or not. When you click the "Fix now" button to start the repair process, a valid license will be required to activate the program.
No longer worry about fixing Android
With Dr.Fone - System Repair (Android), you can easily fix all kinds of Android system issues and get your device back to normal. Most importantly, you can handle it by yourself within less than 10 minutes.

Keep Your Mobile at 100% with Our Complete Mobile Solution

Remove the lock screen from most Android devices without losing data. Safe and secure.

Erase photos, contacts, messages, call logs, and all private data. Free up phone space and secure your privacy.

Integrated data management solution. Your phone data can be managed, backed up, and mirrored to your PC.