
I lost a small but important part of my graduate thesis. I'm usually decent about saving things but god knows why, I hadn't saved this document and it's gone. I'm using MS Word 2007 and I'm working with Windows 7. Is there any chance my computer auto-saved it somewhere I can retrieve it from? Thank you so much.-- Reddit
If you’re searching for how to recover unsaved Word document, you’re not alone. Many users have faced the frustration of losing hours of work after forgetting to save a document. Fortunately, Microsoft Word offers built-in features to help you recover unsaved Word documents quickly and easily.
With tools like Recover tools, AutoSave, and document backup, Word can often restore your lost progress—even if you didn’t manually save your file. Read on to learn the most effective methods for recovering unsaved Word documents and ensuring your work is always protected.
Here's where to find them and how to recover unsaved word documents.
Table of Content
- Recover Deleted/Lost/Unsaved Word Documents Using Recoverit

- Restore Word Documents From the Recycle Bin
- Find Unsaved Word Documents through AutoRecover Folder
- Recover Unsaved Word Documents from Word Backup Files
- Use the Recover Unsaved Documents (AutoSave) Feature
- Use Word Document Recovery
- Extract the Unsaved Word Document From Temporary Files
Can I Recover an Unsaved Word Document?
Yes, Word can recover an unsaved document in more ways than one.
Microsoft Word has been a staple in the digital writing world for a long time, so it's only natural that you can rely on its developers for things like auto-recovery. As announced in the intro, Word has several helpful features for when you find yourself in trouble:
- AutoRecover - AutoRecover is a feature that automatically saves a copy of your document at regular intervals, typically every 10 minutes. In case of a crash or accidental closure, you can recover the latest AutoRecover version.
- Backup - Microsoft Word has a built-in backup tool that can save a backup copy of your document each time you save it. To enable this feature, go to File > Options > Save, and check the"Always create backup copy" option. The backup copy will be saved in the same folder as the original document, with the".wbk" extension.
- AutoSave - AutoSave is available for Office 365 subscribers and saves your document automatically every few seconds while you're working on it. This feature is particularly useful for preventing data loss in the event of a crash or power outage. To use AutoSave, ensure it is enabled in the top-left corner of the Word window.
- Document Recovery - In some cases, Word may detect that a document was not saved properly and provide a Document Recovery option when you restart the program. If available, the Document Recovery pane will appear on the left side of the Word window, allowing you to view and recover unsaved documents.
There's more good news in case this is the first time you've heard about all this and if AutoSave hasn't been set up at the time when you've lost your document. There are several other ways to return a document you didn't save, so don't worry. Your work wasn't in vain.
Get Back Deleted/Lost/Damaged Word Files Fast!

How To Recover Unsaved Word Documents with Software?
There's probably a deadline you have to meet, so let's get down to business. You wanted to know how to recover unsaved word documen by using Microsoft Word (Word 2007, Word 2010, Word 2013, Word 2016, Word 2019, and Word 2021). Here's a complete list of ways to try.
Method 1: Recover Deleted/Lost/Unsaved Word Documents Using Recoverit
It may be hard to hear, but there are situations where none of these methods can help. For one reason or another, sometimes files get lost through a series of unfortunate events, and you can't find them no matter how hard you try. That's where Wondershare Recoverit shines.
- A leading data recovery tool with success recovery rate of 99.5%. Particularly excelling in Word document and file recovery.

It's a professional data recovery tool that can recover your deleted or unsaved Word document when everything else fails. It's very easy to use, despite its complex search algorithm:
- Download Wondershare Recoverit from the official website and install it on your PC.
- After launching the app, select the disk or location where your unsaved Word document was once located.

- Scanning will start immediately. You can follow the progress on the screen until it's done.

- Wondershare Recoverit will search for all kinds of files, but you can narrow down the results by file type. For example, if you didn't save your Word document, you can examine the Unsaved Files category. If you accidentally deleted your Word files, you can look under the Document file type.

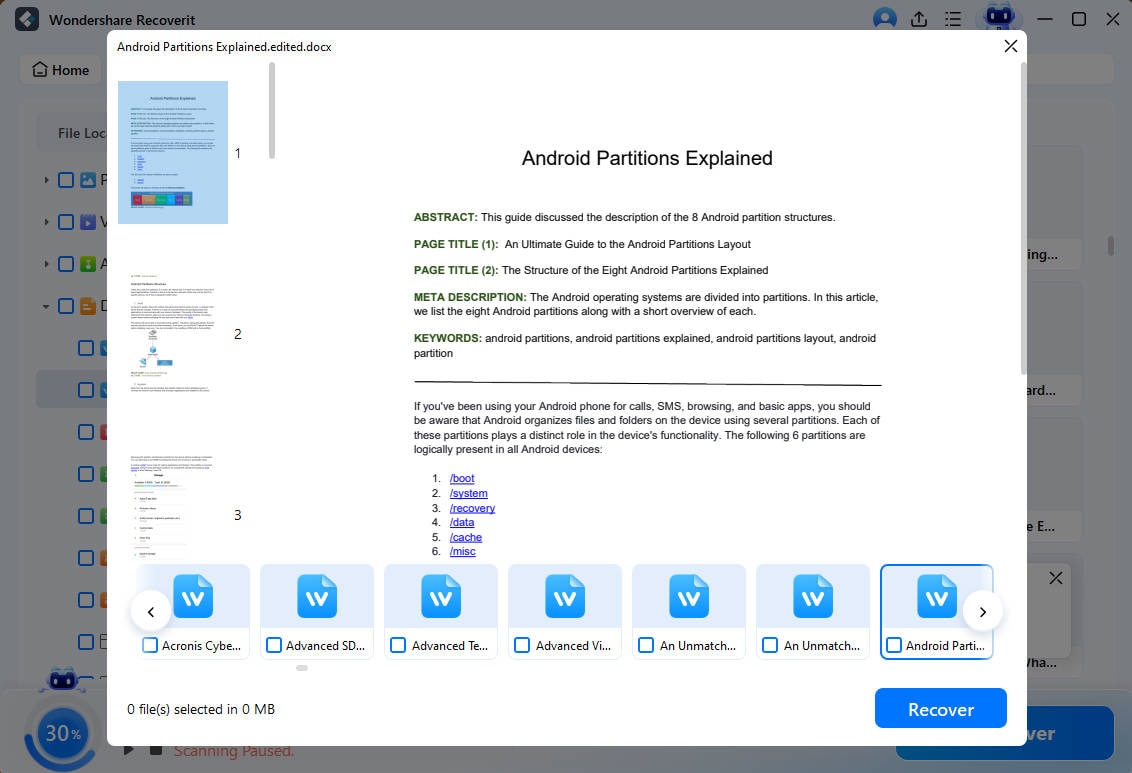
- When you find your unsaved Word document, click on it to preview the first few pages. If the file is corrupted, the program will automatically repair it.
- If everything's there and you want to keep it, click on Recover and save it to your PC.

How To Recover Unsaved Word Documents without Software | 6 Ways
If you prefer not to download and install any software on your computer, you can still try the methods introduced below to locate and retrieve unsaved Word documents for free. If they don't work, Wondershare Recoverit is the top choice for recovering lost data.
Method 1: Restore Word Documents From the Recycle Bin
Are you 100% certain you haven't deleted the Word file you're looking for? If it ended up in the Recycle Bin, you can quickly get it out. However, you need to find it first.
- Go to your Recycle Bin and search for the accidentally deleted Word file.
- When you find it, pay attention to its name so you can locate it later.
- Right-click on the icon and choose the Restore option from the list.

- Go to the Start Search box or File Explorer and search the file by name.
Method 2: Find the Unsaved Word Documents Manually on the AutoRecover Folder
AutoRecover is a convenient Word feature that automatically saves new versions of your document while you're working on it. You can find these back-ups in the AppData folder:
- Press the Windows + R to open the Run dialog box.
- Type in %AppData% and click OK to access the AppData folder.

- Open the Microsoft folder and look for the folder titled Word.

- No luck? Go back to the AppData folder and enter the Local folder.

- Open the Microsoft folder and look for Office > UnsavedFiles.
There's another way you can access unsaved Word documents if this doesn't work. The AutoRecover feature saves files in ASD format, so you need to look for the .asd extension:
- Open File Explorer and type in .asd in the Search box.
- If there are any files with the ASD extension, you're in luck.

- Go back to Word and click on File > Open > Browse.

- Search for the ASD file in the location you've found it in.
- Next to the Image name, change the file type to All Files.

- Right-click the .asd file and click Open to launch it in Word.
Method 3: Go Through Word Backup Files to Recover the Unsaved Document
While the AutoRecover feature uses the ASD format, Word Backup saves backup copies in the WBK format. If the previous method has left you empty-handed, try this one:
- Go to File Explorer and type in .wbk in the Search box. Press Enter.
- Are there any WBK files with the Backup off in the Image name?
- If yes, you simply double-click the file to open it in Word.

Method 4: Use the Recover Unsaved Documents (AutoSave) Feature
While manual work is usually worth the trouble, in this case, there's a shortcut that might be able to take you where the previous two methods didn't. The easy way to search unsaved Word documents is straight from Word, where there's an option to recover potentially lost Word files:
- Open Word on your computer and look under Info in the main menu.
- Click the Manage Document icon and then Recover Unsaved Documents.

- Select the file you want to recover and click the Open button.

Try Wondershare Recoverit to Recover Unsaved Word Document
 Security Verified. Over 7,302,189 people have downloaded it.
Method 5: Use Word Document Recovery
Document Recovery is another thoughtful Word feature that can help you retrieve an unsaved Word document in the event of an abrupt app or system crash. If Word stops responding for any reason or your computer shuts down, the document will be the next time you launch it.
- Restart your PC and reopen Word. Look to your left.
- The autosaved file will appear under Document Recovery.

- Click on the file and choose Open or Save As... from the list.
Method 6: Extract the Unsaved Word Document From Temporary Files
While you're working on a document, your computer keeps a temporary file and stores all relevant information about the in progress in there. It's called temporary because, in most cases, these files get deleted when the user completes and saves the permanent file.
It means that there's a good chance you'll be able to find your unsaved Word document in the Temporary Files folder on your computer. Here's how to look for TMP files:
- Press the Windows + R to launch the Run dialog box.
- Type in %temp% and click OK to access the Temporary Files folder.

- If you find the Word document that was not saved there, remember its exact location.

- In Word, select File > Open > Browse, and find the lost document.
- Don't forget to change the file type to All Files to reveal TMP files.
- Locate the .tmp file for the unsaved Word document, select it, and click Open to open it in Word.
How to Prevent Losing Word Documents in the Future
Now that you've been through thick and thin trying to figure out How To Recover Unsaved Word Documents, it's time to look back and reflect on your mistakes. Is there anything you could have done differently? Here's how you can prevent losing Word files in the future:
Tip 1. Save Regularly

Remembering to save a Word document while working on it is easier said than done, but it's more than worth your effort. For example, you can do it after each paragraph or section. If clicking the Save button all the time breaks your flow, you can use the keyboard shortcut Ctrl+S.
Tip 2. Enable AutoRecover and AutoSave
If you still haven't enabled the AutoRecover or AutoSave feature, do that now. Follow these steps:
- Open Word and navigate to the File tab.
- Go to Options and click Save on the left.
- Tick the box for Save AutoRecover information.
- Set to autosave files every 10 minutes or less.

- Also, tick the box next to Keep the last autosaved version if I close without saving.
- You can also change the AutoRecover file location if you want to.
- After you've made all the necessary changes, click the OK button.
Tip 3. Set Up Backups
Whether we're talking about Word documents or something else, you should always back up important files. If you don't have a backup system, you can either set up cloud storage like OneDrive or Google Drive or invest in an external storage device.
Conclusion
Losing a critical Word document can be traumatic, and it can happen at any moment. Luckily, you can recover a Word document you didn't save. Take a look at the Recover Unsaved Documents feature in Word or search for it manually in Start or File Explorer.
If it turns out that you need a more robust solution, look no further than Wondershare Recoverit. Professional recovery can bring back all types of files, including unsaved or deleted Word documents. After you find your lost files, set up AutoSave to prevent losing them again.
FAQs About Unsaved Word Document Recovery
-
How do I recover an unsaved Word document from a crashed computer?
If your computer has crashed while you were working in Word, the latest version of the document should be waiting for you under Document Recovery on the left when you launch Word again. If there's nothing there, look for your document under File > Document Management > Recover Unsaved Documents. -
How do I recover an unsaved Word document on a Mac?
The easiest way to recover an unsaved Word document on a Mac computer is from Finder. When you open Finder, search your entire computer for AutoRecovery. Unsaved Word documents will have Image names that start with AutoRecovery save of. Double-click the file to open it in Word. -
Where are temporary Word files stored?
Temporary files created while you're working on a document in Word are stored in C:\Users\AppData\Local\Temp. If you've closed a Word document without saving it and can't find it anywhere, there's a good chance it will be stored there. -
Can I restore a permanently deleted Word document without a backup?
If you've accidentally deleted a Word document and you don't have a backup copy of it, you can recover it using Wondershare Recoverit.- Download and install Wondershare Recoverit.
- Open Recoverit and choose the location of deleted Word document.
- Click Scan to scan for deleted files.
- Find and preview the deleted Word document.
- Click Recover and save the file to a new location.
-
Can I turn on AutoRecover in Word for Mac?
You can turn on the AutoRecover feature in Word on a Mac computer from Preferences. Click Save under Output and Sharing, and then choose the frequency in which you want your documents to be automatically saved by Word. -
Where is Autosave in Word located on Mac?
You can find the Autosave feature in Word for Mac under the Preferences menu. -
Where can I find AutoSave Word documents on my computer?
When you enable the AutoSave feature on your Word, it automatically saves the latest version of your document to one of these three locations:- C:\Users\Your_username\AppData\Local\Microsoft\Word
- C:\Users\Your_username\AppData\Local\Microsoft\Office\UnsavedFiles
- C:\Users\Your_username\AppData\Local\Temp
-
Can Microsoft Word recover previous versions of my document?
If you need to recover a previous version of the Word document that you haven't saved, you can do that from File > Info > Manage Documents > Recover Unsaved Documents.


