Why Need to Transfer Music from iPod to iTunes
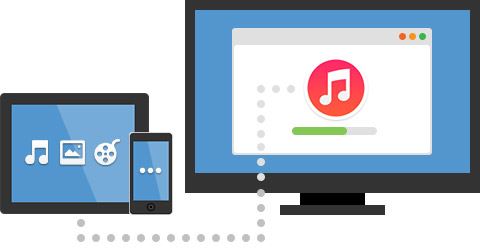
There may be some instances where you acquire to transfer music from iPod to iTunes. As we all know, iTunes only supports one-way transfer. So if you need to copy iPod music to iTunes, you have to get help from a third-party transfer tool.
Some reasons for this might be:
-
You have transferred to a new account on your Mac and wish to quickly transfer your songs to iTunes.
-
Transfer songs from a friend's iPod to iTunes.
-
Copy music on your iPod to a brand new system, provided you do not have a backup.
-
Copy music from an iPod touch that does not support using the device as a storage drive.
Below are tips and tricks for music transfer from iPod/iPod touch to iTunes:
Part 1. How to Transfer Music from iPod to iTunes on Mac
As mentioned above, iTunes can not process the transfer from iDevice to iTunes. To tackle this issue and get your music from your iPod to your Mac, you can use dr.fone - Phone Manager (iOS) for Mac instead. This program supports to transfer music to iTunes from iPod nano, iPod classic, iPod shuffle, iPod touch, etc. And the play counts, genre, artist, and more info can be transferred as well. See below more features:
A Life Saver to Solve Your Data Loss Problems!
-
Copy music from iPhone, iPod, iPad to Mac or iTunes.
-
Export videos from iPhone, iPad, iPod to iTunes/Mac.
-
Transfer all photos from photo album to Mac or iTunes.
-
Copy playlists with rating and play counts to iTunes.
-
Supports the latest Yosemite and iOS 14.

3,165,867 people have downloaded it
Simple steps to copy music from iPod to iTunes
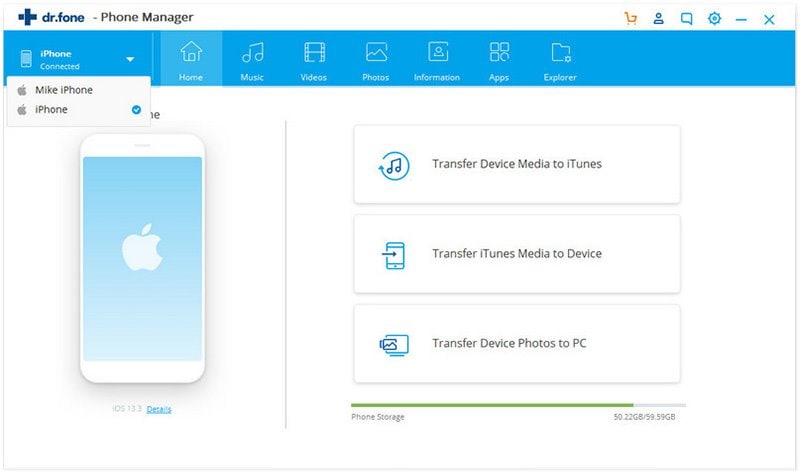
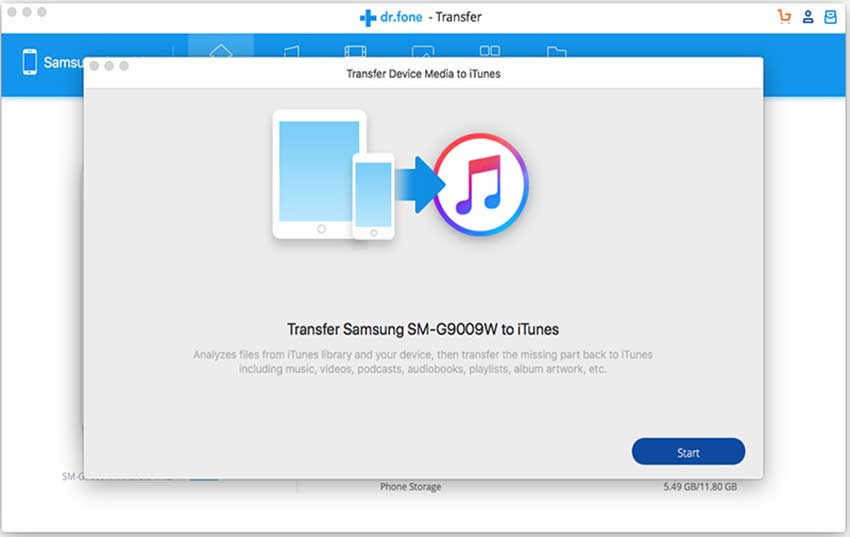
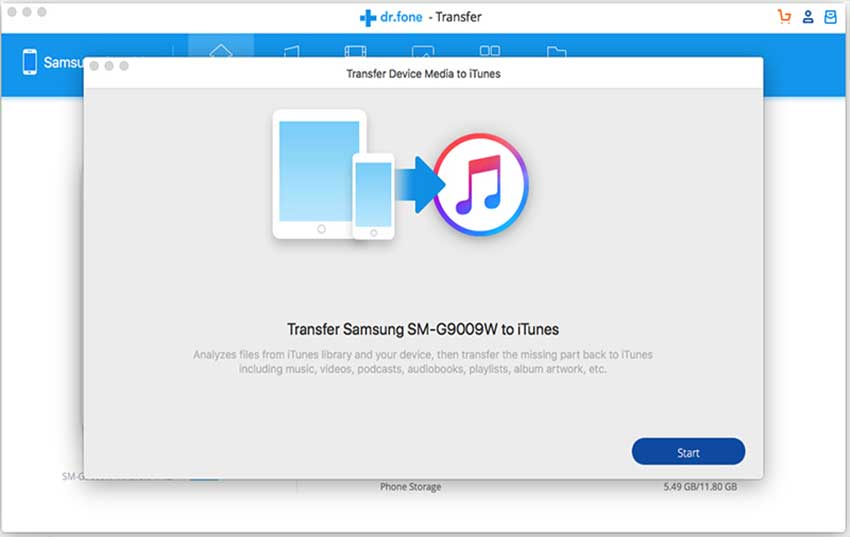
Step 1 Launch dr.fone, tap on 'Phone Manager' on the main screen. Plug in your iPod or iPod touch to your Mac. This program will detect your iPod and show the device information in the main interface. Click Rebuild iTunes Library.
Step 2 Now click on the start button to let the program scan the media files on your iPod.
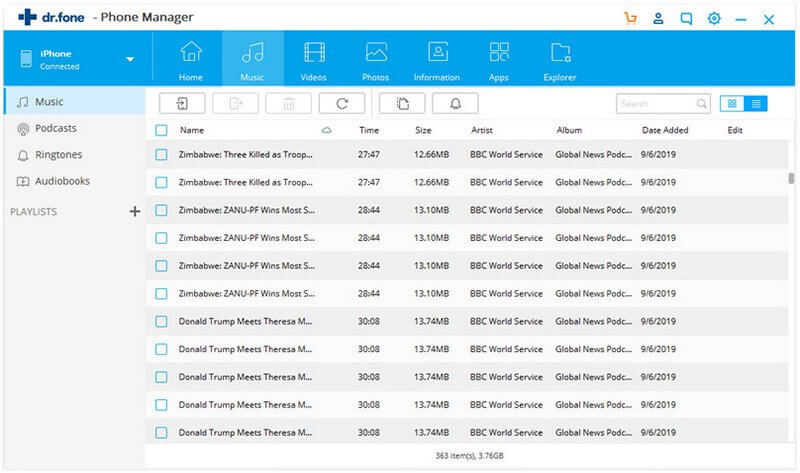
Step 3 Select the "Music" category. And click "Copy to iTunes" to transfer these songs to your iTunes library. You don't have to worry about any duplicate songs.iTranfer will only transfer the missing songs to your iTunes Library.
Part 2. How to Get Music from iPod to iTunes in Windows
If you have a Windows PC and wish to put music from iPod to iTunes, dr.fone - Phone Manager (iOS) for Windows will be the best iTunes alternative. It comes with the same functions as Mac version and can copy all music from iPod to iTunes in only one click. You also can get the whole playlists with play counts, rating and other info from iPod to iTunes on Windows PC.
Steps to put music from iPod to iTunes on Windows
Step 1 One click to transfer all music from iPod to iTunes
After running iTransfer, connect your iPod to your computer. And in the main interface click "Rebuild iTunes Library" and click "Start" to continue the process. The detailed steps are similar with the MAC version above.
Step 2 Get specified iPod music to iTunes
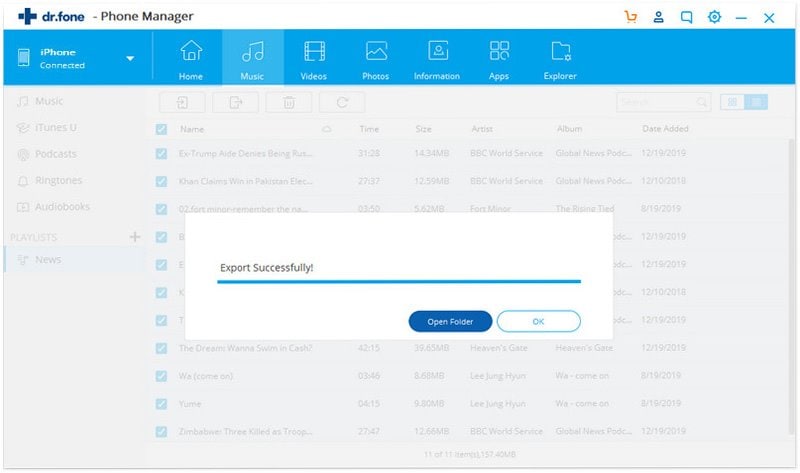
Alternatively, you can go to the "Music" menu and select specified music files. And then click "Export to" to transfer music to iTunes library.
Part 3. Common Troubleshooting about Transferring Music from iPod to iTunes
There are some instances where you might run into trouble when attempting to manage the music on your iPod or iPod touch, in order to transfer it to your Mac or PC. If this happens, then there are several things you can try:
First, be sure to open iTunes, select your iPod, and then uncheck the option to automatically sync when the iPod is connected. This will prevent iTunes from interfering with iTransfer and SharePod.
Next, if the iPod is not showing up in any program, then do the following:
#1. Try a new USB cable, or at least give the one you have a small jiggle to ensure it is properly seated. In addition, unplug it and blow out the connection jacks with compressed air to clear any obstructions, and then re-attach the cable.
#2. Try a different USB port, since if one is on a controller that is not working properly, moving to another one may put the device on a different channel or controller and have it work.
#3. If you are having troubles with songs not showing up in iTunes or errors when attempting to transfer songs to iTunes, then try uninstalling and reinstalling iTunes, which is a free download from Apple.
#4. Third-party mobile device software (especially that which interfaces with iPods and iPod Touch devices), may interfere with iTunes and iTransfer, and prevent the proper transfer of music. These software packages may be part of suites for managing cell phone connectivity to your computer. If you have any of these installed, then consider uninstalling or updating them to see if that helps your iPod connect properly.


Elva
staff Editor