"Anyone help? I want to sync my camera photos to my iPhone, and the only way I know is to copy them to my computer and then transfer the photos to iPhone, dose anyone can offer me an easy and simple way to send my camera photos to the iPhone?"
"I have taken shots on my camera and I wish to transfer camera photos to iPhone for quick editing and then upload them to my social media accounts. But I don't know how to copy the camera photos to my iPhone, who knows?"
--- from dr.fone users
Many people are facing the similar questions above, they shot pretty photos on their camera, and they want to sync them in their social platform, like Facebook, Instagram, Twitter, etc. But the way of transferring photos from camera to iPhone is complex and time-consuming. Well, here we offer you some simple and easy to do tips on moving photos from camera to iPhone, if you have the same problem, be sure to stick to this article till the end and find the solution that fits you most.
Part 1: Move Pictures from Camera to iPhone Easily
As discussed earlier, the superiority of DSLR over iPhone images while considering the technical benefits that a dedicated camera device would offer over an iPhone camera, a user would finally end up taking those perfectly sharp images. However, the task is incomplete until the images are transferred to the iPhone for the final show-off.
Many people get stuck at this point when they think of transferring pictures from camera to iPhone. Although there are several methods you can browse through, dr.fone – Phone Manager offers you a one-stop solution to almost all your troubles with the movement of pictures from one device to another.
Download dr.fone - Phone Manager (iOS) to have a try!
-
It allows users to move photos, videos, music, contacts, SMS, documents etc. in one click or selectively.
-
It doesn't need the help of iTunes to transfer your data, so you can forget about iTunes while using this tool.
-
It's a great data manager that allows users to export, add or delete data between devices.
The dr.fone app is no less than a wonder if you are looking for an answer to the question: how to send camera photos to an iPhone? Let's go to review the detailed guides.
Step 1 Download and Install dr.fone in Computer.
The very first thing you need to do is install dr.fone - Phone Manager on your PC. Once you are done with the launching of the app, click on the "Phone Manager" tab to move further.
Step 2 Connect your iPhone and Camera on PC.
In the next step, you have to connect your iPhone to the PC using a lightning cable. Hit the trust button to connect to the PC. Plus, you need to connect your camera to the PC using the proprietary cable it comes bundled with. Make sure that you have granted the data transmission permissions, which flash on your camera's display. This step essentially varies with the different camera models, so we can't provide a single solution to all. That being said, the majority of camera UIs are more or less the same, so you won't have much trouble importing DSLR photos from camera to PC.
Step 3 Scan the Camera.
After you connect the devices to your PC, the next step is to scan the camera. Post that, you need to select the pictures you want to copy from the camera to the iPhone.
Step 4 Select the Pictures and Paste them to the PC.
After you have selected the pictures, you can easily paste them to your PC. Select the pictures by using the hotkeys "ctrl + C" and paste them to the designated folder by using the hotkeys "ctrl + v".
Step 5 Export the Pictures to the iPhone.
This is the last step in the procesee of transferring camera photos to the iPhone. All you need to do is to open dr.fone - Phone Manager on your PC and scan for your connected iPhone. After a successful scanning, you can easily send the pictures to your iPhone from the Exporting option.
Part 2: Use Apple Lightning to SD Card Camera Reader to Transfer Picture from Camera to iPhone.
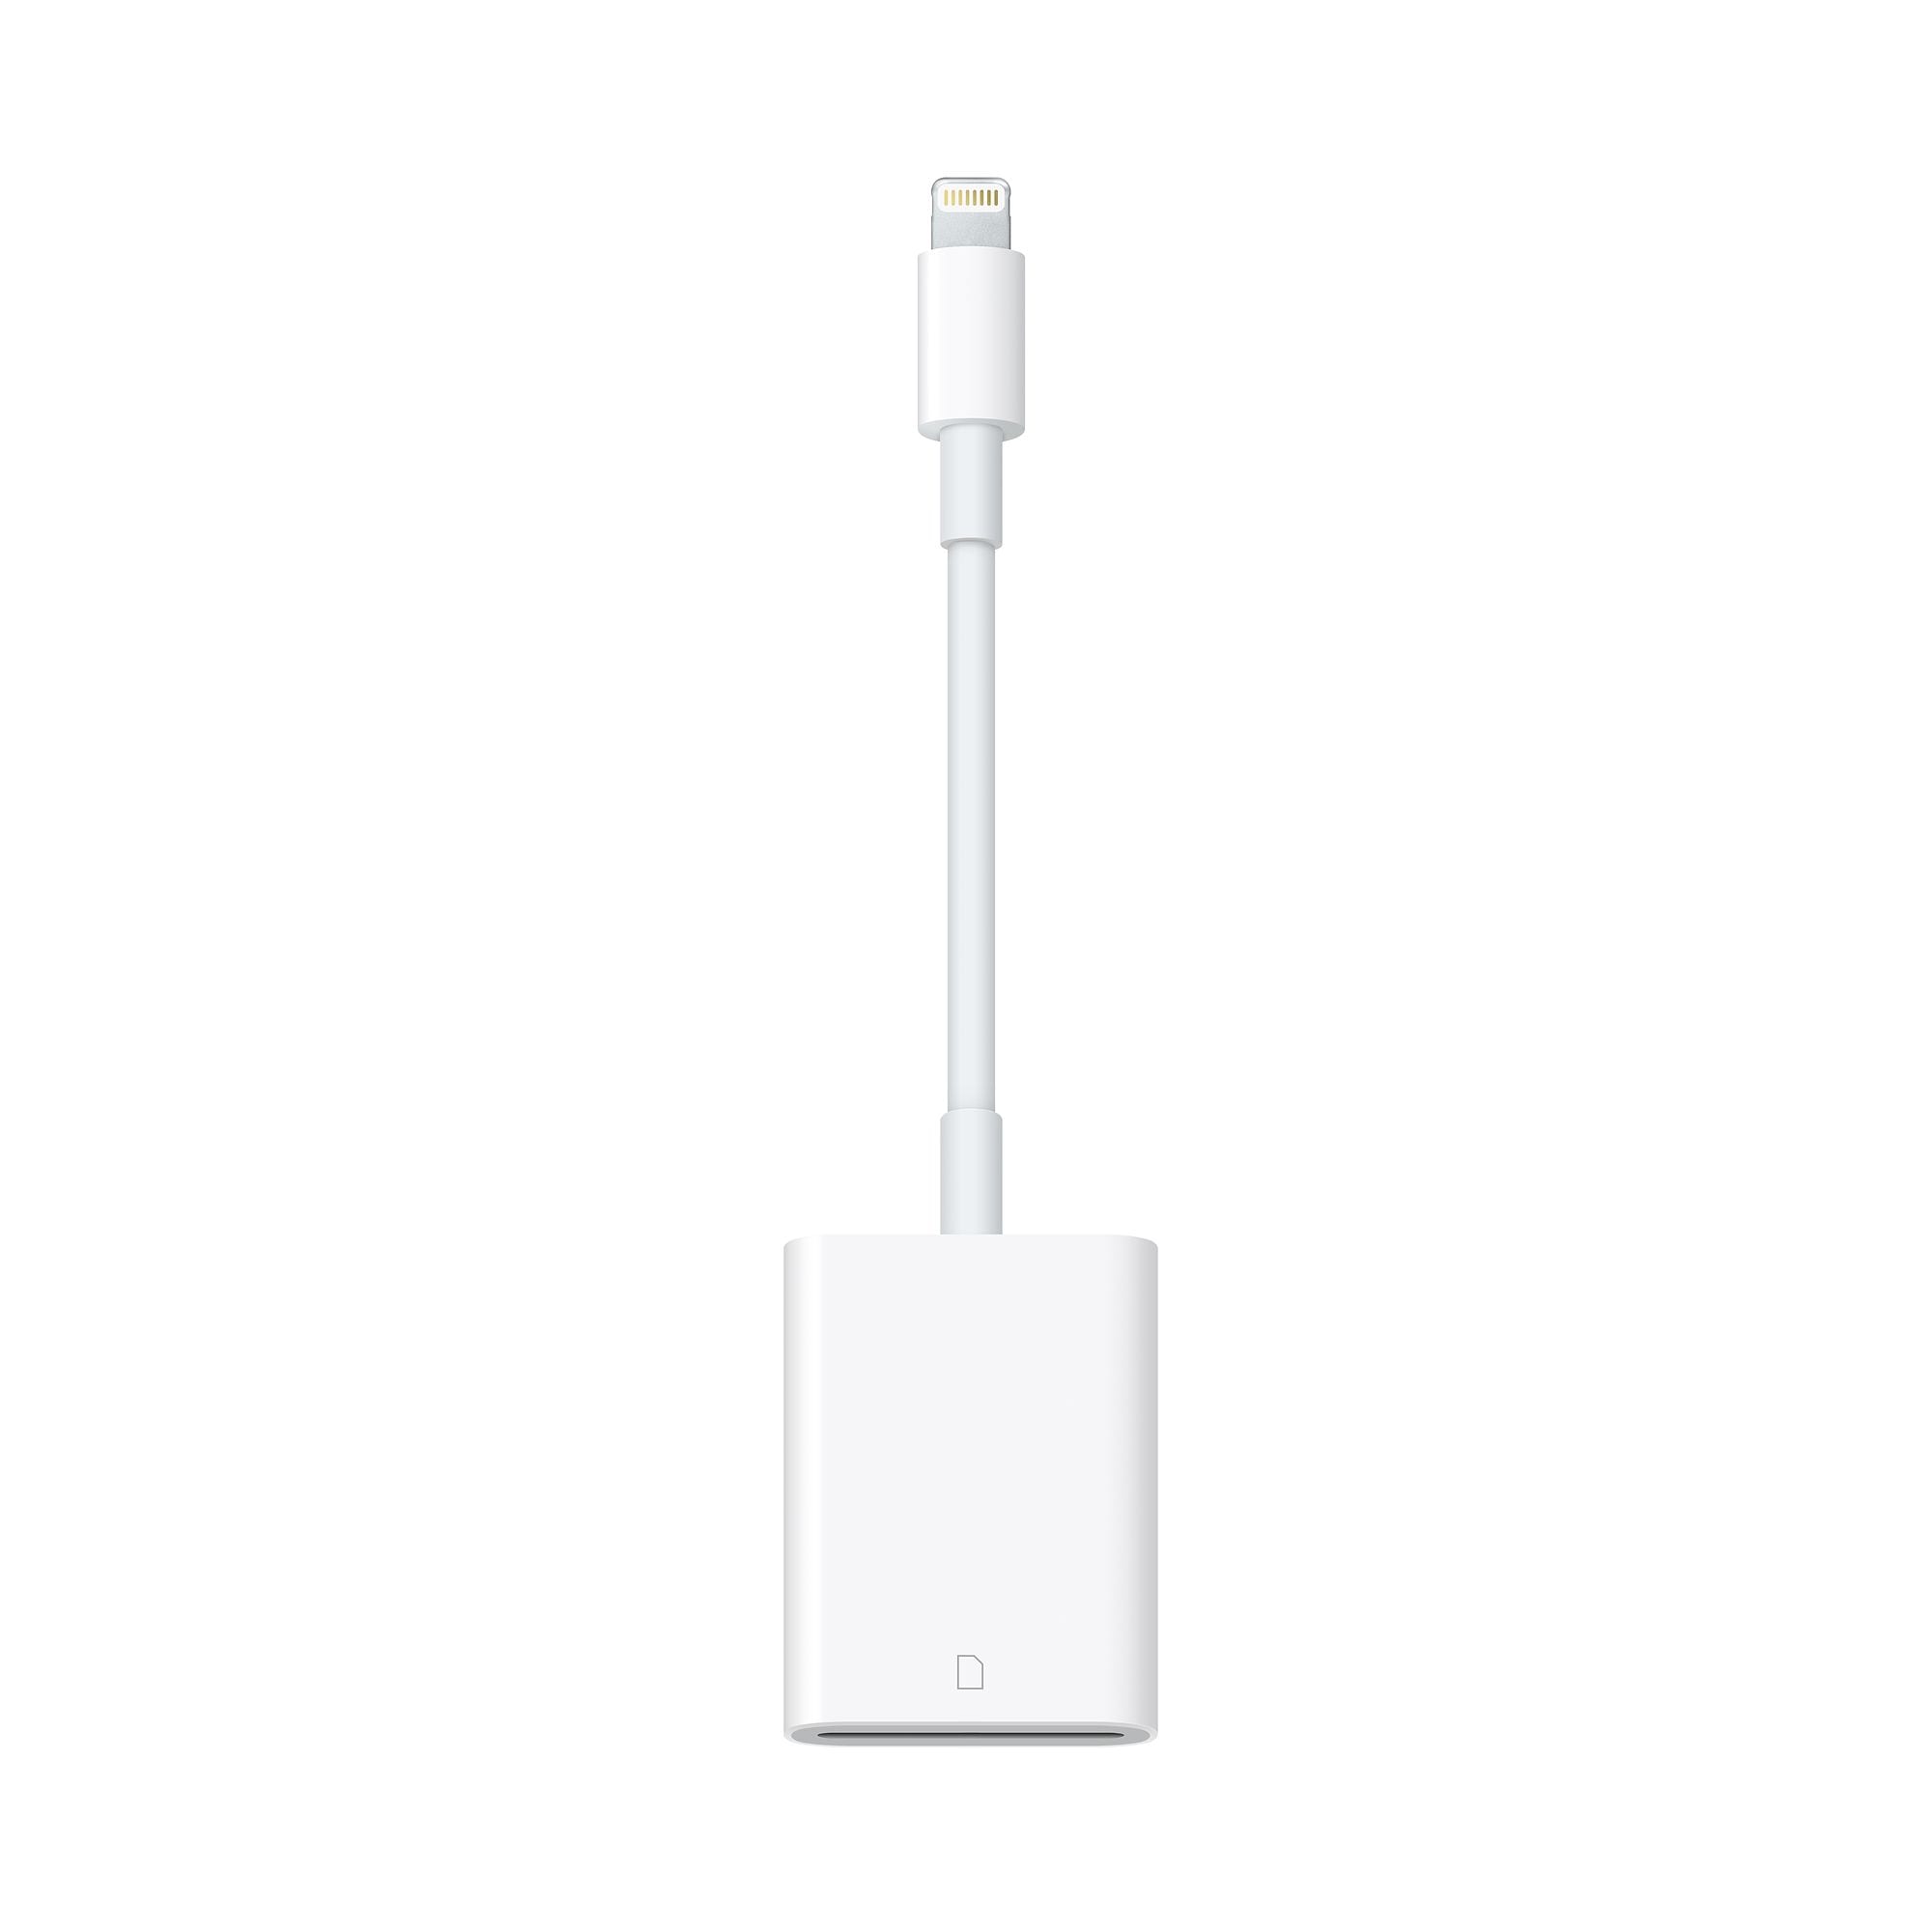
As we have already discussed, camera photos can be transferred to the iPhone using dr.fone-Phone Manager, there is another method, using Apple Lightning-to-SD-Card Camera Reader. In order to import pictures from your digital camera to your iPhone, you need to follow the following steps:
Step 1 Connect the adapter to your iPhone.
Step 2 Insert the camera SD card to this adapter.
Step 3 The import option will be chosen by default. If it isn't, you can choose it manually.
Step 4 Choose the pictures that you need to import. It is always preferred to keep all the pictures in a single folder to avoid confusion.
Step 5 Post selection, you can easily move the desired images to your iPhone.
Part 3: Try an Apple Lightning-to-USB Camera Adapter to Copy Camera Photos to iPhone.
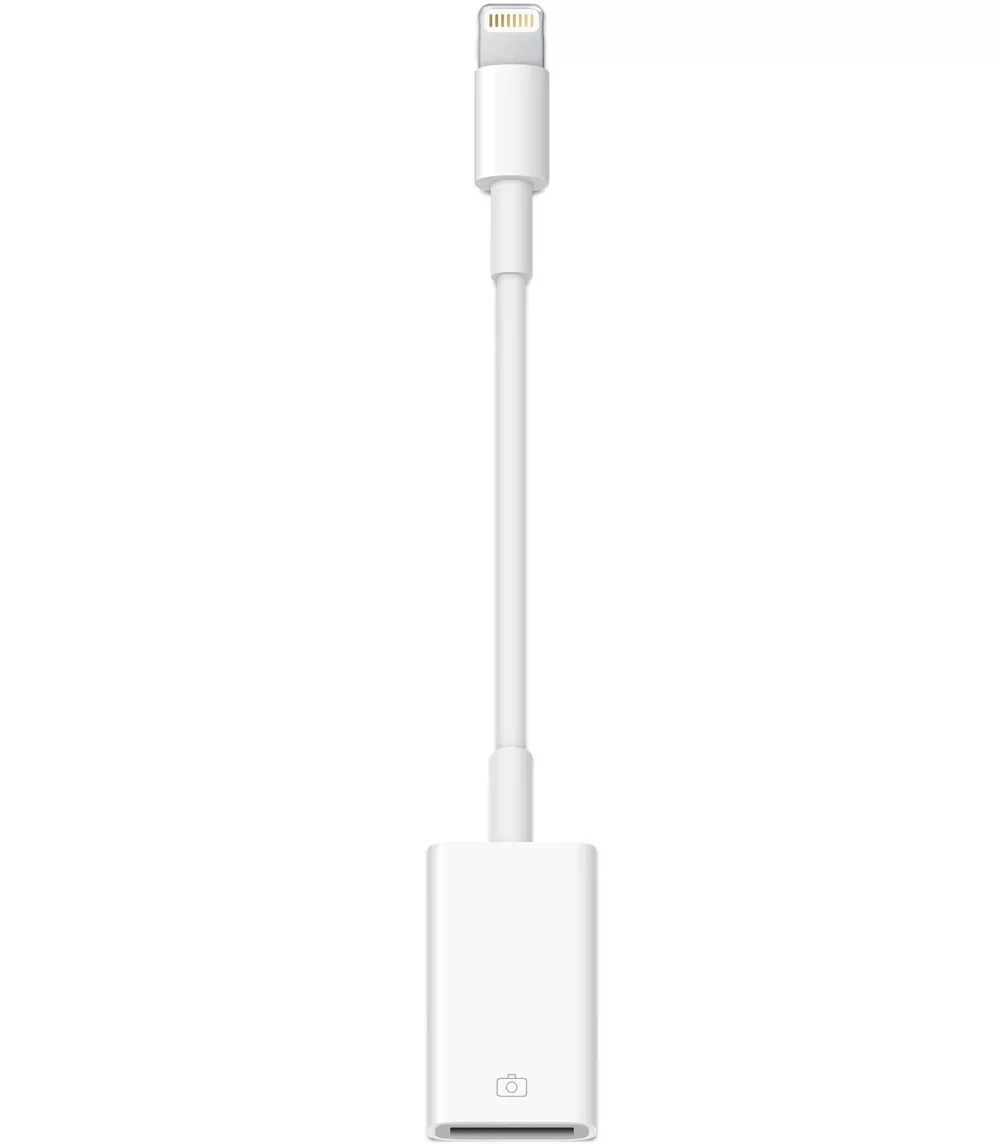
Last but not least, you can also use an Apple Lightning-to-USB camera adapter to export camera photos to iPhone. It's easy to use and it requires an additional USB cable to move photos from camera to iPhone. Here is how to perform the whole copy process:
Step 1 First you need to plug in the adapter to your iPhone charging port.
Step 2 Then connect a USB cable to the camera from where you will transfer the pictures.
Step 3 Now connect the USB cable from the camera to the USB port of the Adapter.
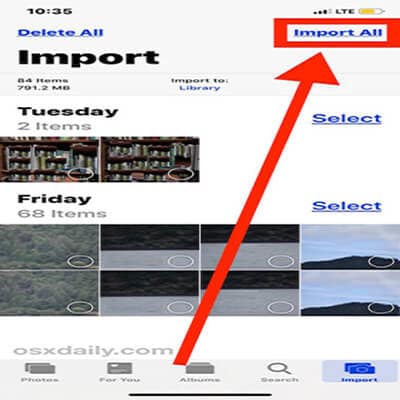
Step 4 When the iPhone reads the camera, you will find that the Apple Photos app is launched.
Step 5 There will be options to import all or import some photos selectively.
This process will only work for transferring photos from the Camera roll folder of your iPhone, if you want to move photos from other folders of the iPhone then using dr.fone – Phone Manager will work.
Conclusion
These are some of the best tricks to transfer photos from camera to iPhone. Using them, you can enjoy a hassle-free transfer experience. We would like to recommend dr.fone - Phone Manager (iOS) to you, because it's easy and 100% safe. That being said, if you have any other methods which you believe the reader could make use of, feel free to guide us with the same in the comments section below.


Elva
staff Editor