"I am stuck! I cannot find a single Pokémon in my location. I know it is possible to alter location on Pokémon Go on iOS but am afraid of getting detected and banned. How best can I go about GPS spoofing on iPhone and get away with it? Please help."
The purpose of playing any game is to win, right? When it comes to Pokémon Go, you need to get out and find as many Pokémon as possible. But when your location is a desert, you will need to move, and this is never an easy way out. To save you time and money, you can make use of fake GPS for iOS and raise the game ranks without breaking a sweat.
In this article, we shall discuss best and foolproof methods for GPS spoofing on iPhone and how exactly to go about location spoofing on Pokémon Go for iOS devices.
Part 1: Simulating Location in iOS-Devices.
Now, if you have worked with an Android and iPhone, you can testify to Androids being more comfortable to operate compared to iPhones. Altering the functioning of an iPhone is as hard to get done. That is why most Android users have it easy to faking GPS on Pokémon Go. Well, we are here to put smiles on the faces of iPhone users with dr.fone – Virtual Location application. This software makes faking GPS Pokémon Go in iOS a walk in the park.
With the following simple and straightforward steps, you will be able to fake GPS iOS and enjoy catching Pokémon.
Download dr.fone - Virtual Location(iOS) to have a try!
-
Change GPS as easy as 1-2-3.
-
Three routes for you to change your GPS like you are walking, cycling or driving.
-
Go anywhere you like with a few clicks.
3,132,659 people have downloaded it
Easy steps to change GPS location with dr.fone- Virtual Location (iOS)
Step 1 Get the dr.fone application.
Find the app's official website and download it based on the version of your operating system. Finish the installation process and then connect your iPhone to the computer appropriately.
Step 2 Altering the GPS location.
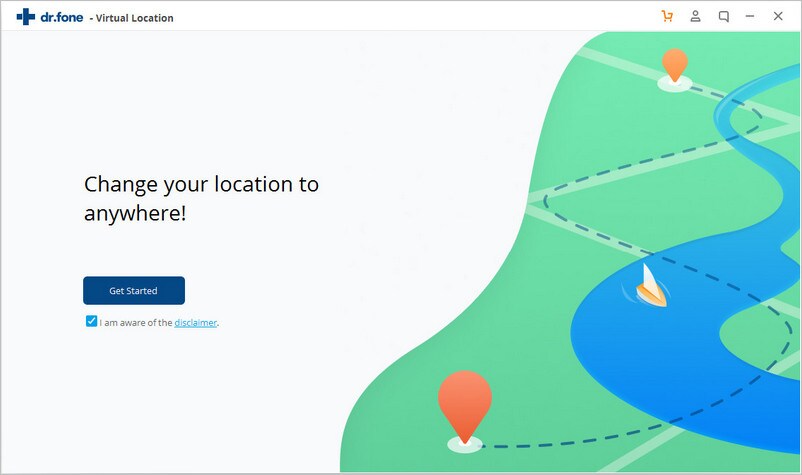
To fake GPS Pokémon Go on the iPhone, select the Virtual Location module from the main interface of the software. A new window will be displayed.
Step 3 Selection of fake location.
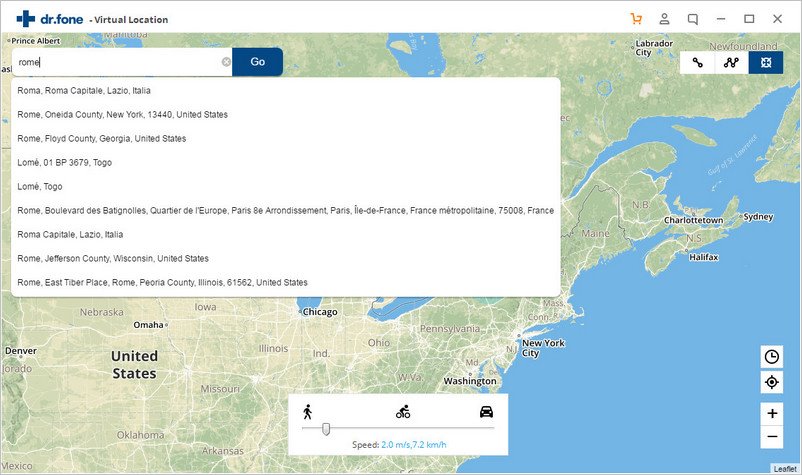
Tap on, Get started and select Teleport (third icon) mode from the top right side of the screen. Alternatively, you can tap on a preferred spot on the map or search for the location in the search bar on the left side of the interface.
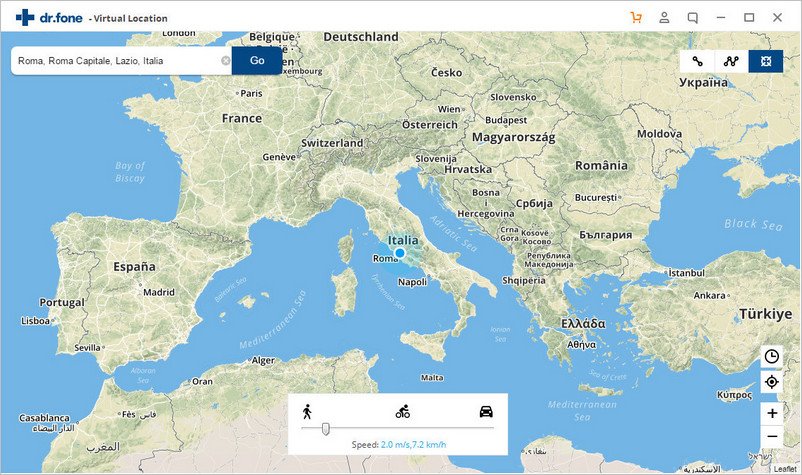
Step 4 View the selected location in the dr.fone app map.
After successfully setting the virtual site, take a tour and find out the current location indicator points of the area. You can always go back and find a better position in case the one you chose is not appealing to you.
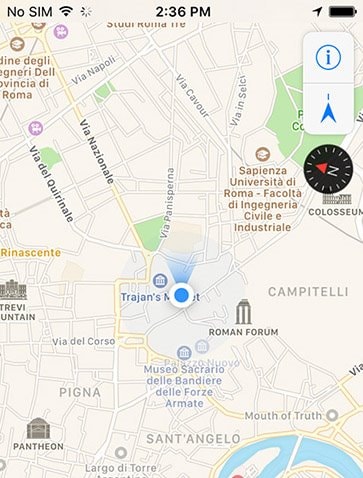
Step 5 Preview fake GPS location from your iPhone's map.
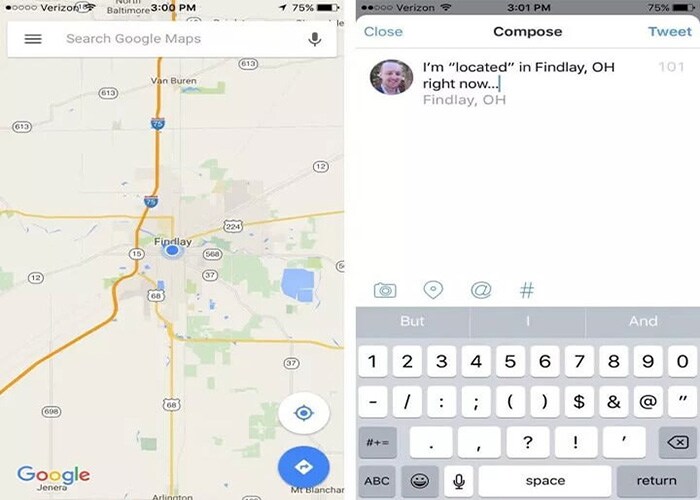
Next, check out the current location on the phone. The new virtual address is your current location!
That's it! Thanks to dr.fone software, you have the perfect fake GPS Pokémon Go on iPhone.
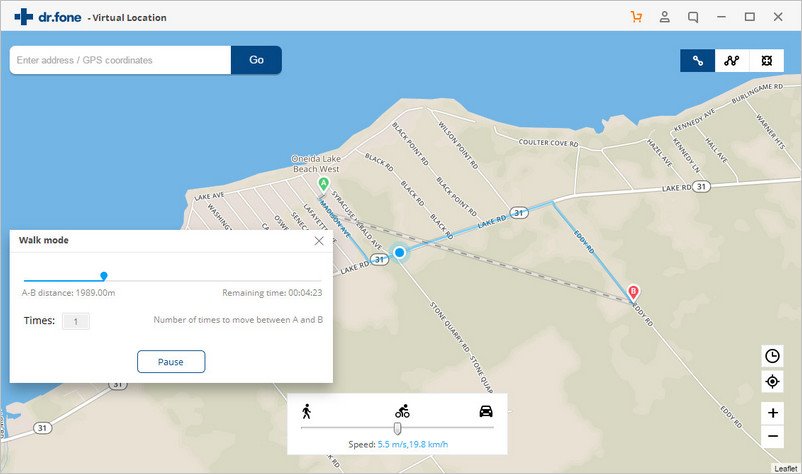
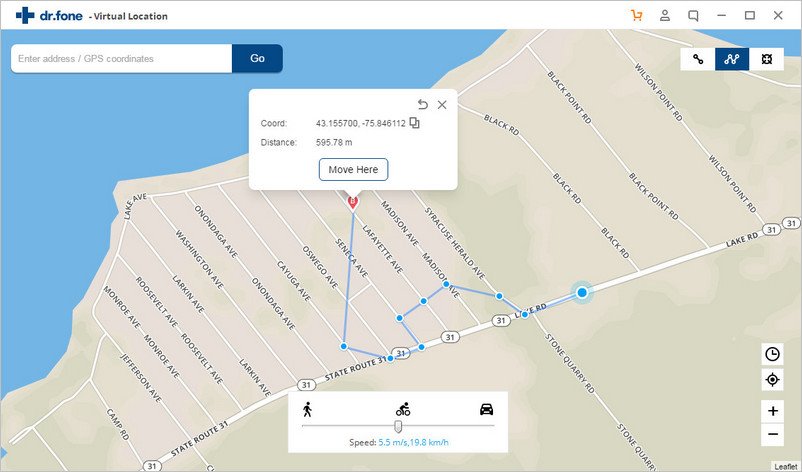
Furthermore, dr.fone provides you with two modes of movement feigning. This way, you can mimic virtual moves between desired areas on the virtual location in the map as you play Pokémon Go on your iPhone.
In the first mode, you can navigate between two points while the second one lets you move between more than two points on the map.
Part 2: Spoof iPhone's Location without Jailbreaking with iSpoofer.
Next, we look at another more straightforward and effective way to fake GPS iOS without getting forced to alter the authenticity of your iPhone by using iSpoofer software. This program is safe, secure, and very intuitive. You don't need to be tech-savvy or prior experience in software development to use it. Let's get started:
Guide for fake GPS with iSpoofer
Step 1 Install the program.
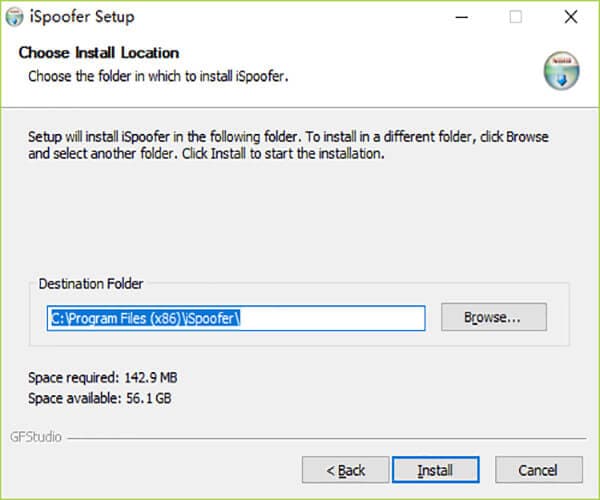
Find the program's website, https://www.ispoofer.com/, and get iSpoofer downloaded to your machine. The installation process is straightforward, thanks to the step-by-step user guide provided in the setup file.
Step 2 Launch iSpoofer.
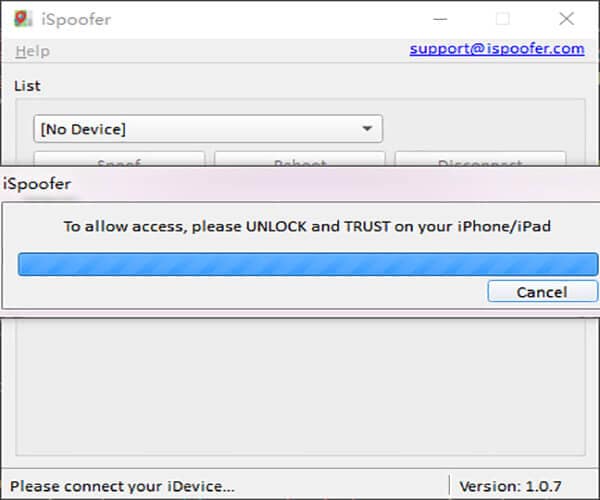
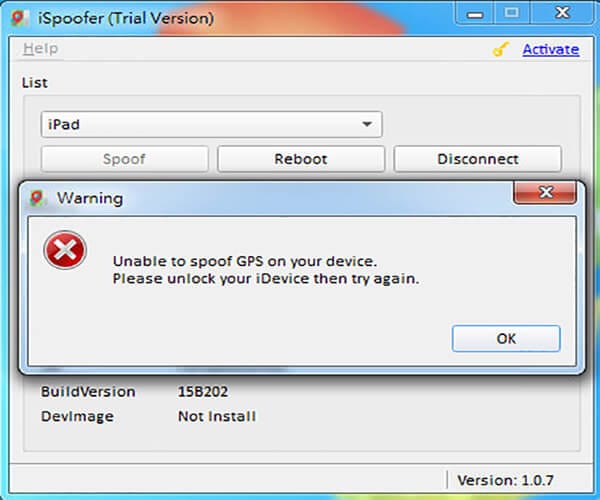
Start the application, and it will check to see if you have iTunes installed. If not, the program automatically guides you to get it. Then you can connect your iOS device to the computer using an Apple cable. You will get notified to unlock your device and grant necessary permissions to the comp.
Step 3 Get started.
On a successful connection, the details of your iPhone will display on the iSpoofer interface. Now, click on Spoof to get started with some spoofing. (PS: On a successful connection, the details of your iPhone will display on the iSpoofer interface. Now, click on Spoof to get started with some spoofing.)
Step 4 Fake GPS location.
As long as there is a stable internet connection, you are good. The world's map will show on your iPhone. You can now choose from the three modes below to fake GPS iOS.
First mode: one spot simulation
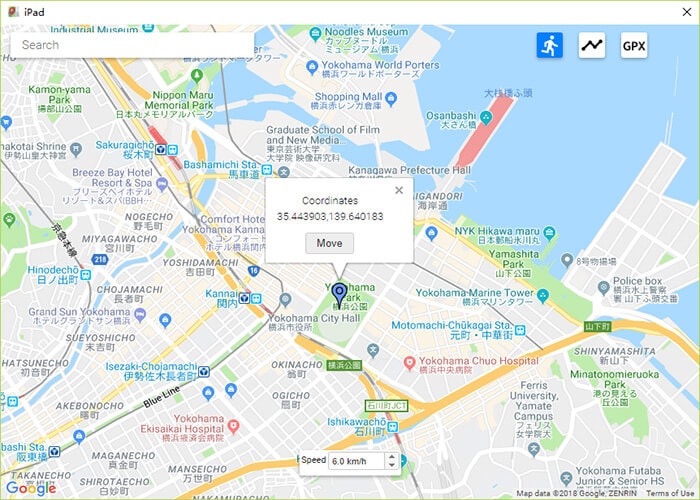
It is the original setting for all first-time users of iSpoofer. Look for a preferred location and tap on it on the map. Click on the Move button, and your device will place in that location.
Additionally, you can use the WASD key to manually move the location and adjust the speed at which you are moving with the help of a small icon at the bottom of the map.
Second mode: Personalizing Route
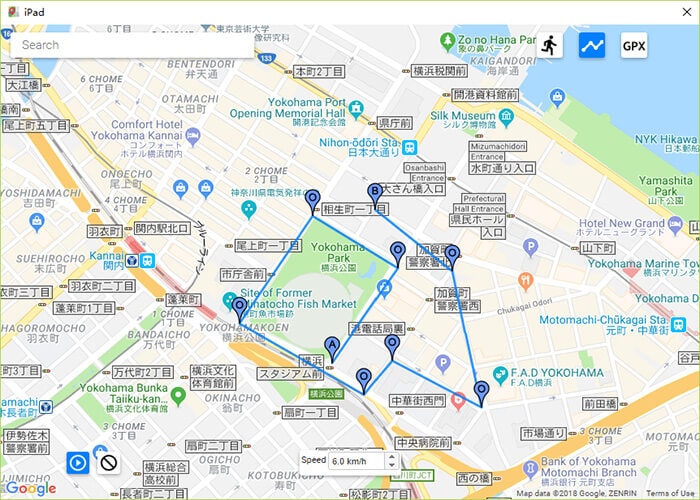
Here, you are allowed to tap on various pins on the map to set them up. Next, click on the Play button in the left bottom corner of the map, and your iOS gadget starts moving along the designated route and set speed. Use the Stop button to stop the locomotion.
Third mode: GPX file
The internet has GPX files in plenty, and iSpoofer lets you get one to use on the map. Then, you set the desired movement speed and tap on Play to begin and Stop to end the movement.
Once setting up and traveling the world is over, restart your iPhone to reestablish the GPS location.
Part 3: Fake GPS by Jailbreaking Your iOS
The last method to fake GPS iOS is pretty mechanical and needs one with a background understanding of software development and technology. So, by jailbreaking, you will be altering the original settings of your device, and this, in most cases, doesn't end well. You have to ensure your iPhone is running on iOS 11 since it is the most suitable version for a jailbreak. We shall use The Anywhere! application in this case.
Guide for fake GPS with iSpoofer
Now, to GPS spoof an iPhone by jailbreaking: You first must have the iPhone jailbroken, then,
Step 1 Download and Install the location faking application. First, get The Anywhere location feigning Cydia application installed on your iPhone.
Step 2 Launching and finding the fake location. Secondly, open the program and look for a suitable place then tap on it. A red pin will show on the selected address.
Step 3 Choose the app you wish to use the fake GPS on. On the interface that is displayed, tap on the blue tab. Next, click on the application on which you would like to fake GPS location on iOS. In our case, the app is Pokémon Go.
Step 4 Lastly, launch Pokémon Go, and you will view your new fake GPS on the iPhone.
Conclusion
We would like to believe that this article shed some light on GPS spoofing in the iPhone. With the methods and outlined steps provided, you will be able to comfortably and quickly spoof Pokémon Go in iPhone without getting detected by Niantic.
Always ensure your iOS device has good internet connectivity and is unlocked when using iSpoofer for excellent results. Also, check your device's iOS version before jailbreaking. If you don't want to have many roubles with GPS changing, then just download dr.fone - Virtual Location (iOS) to help you! If you are an Android user, no worries, we got this full guide for you-- 10 Apps: How to Fake GPS on Android Phone, Lastly, enjoy spoofing and get those Pokémon!


Elva
staff Editor