
On Linux, Windows disks are not immediately mounted after logging in. This, however, does not automatically disqualify you from utilizing any NTFS systems. If your computer has both Windows and Linux installed, you might want to use Linux to access data on the Windows drives. Windows drives could not, however, show up throughout the file manager. This is because you have to manually mount files in some distros. Let's examine how you may manage your NTFS/Windows drives using Linux.
Step 1. Install the NTFS-3G Drive.
Step 2. Identify the NTFS Partition.
Step 3. Mount NTFS Partition on Linux.
Step 4. Mount NTFS Partition Automatically Upon System Boot.
In this article
How to Mount and Access NTFS Drives in Linux
Step 1. Install the NTFS-3G and Fuse on Linux (All Major Linux Distros Included).
Installing a driver is necessary to properly mount and read NTFS devices on Linux in order to prevent any compatibility problems. NTFS-3G is the recommended driver whenever working with NTFS disks. It works with computers running RHEL/CentOS/Fedora as well as Debian/Ubuntu derivatives and Arch Linux-based systems.
Open a terminal and use the command line of the Linux distribution that you are using to download the NTFS-3G driver:
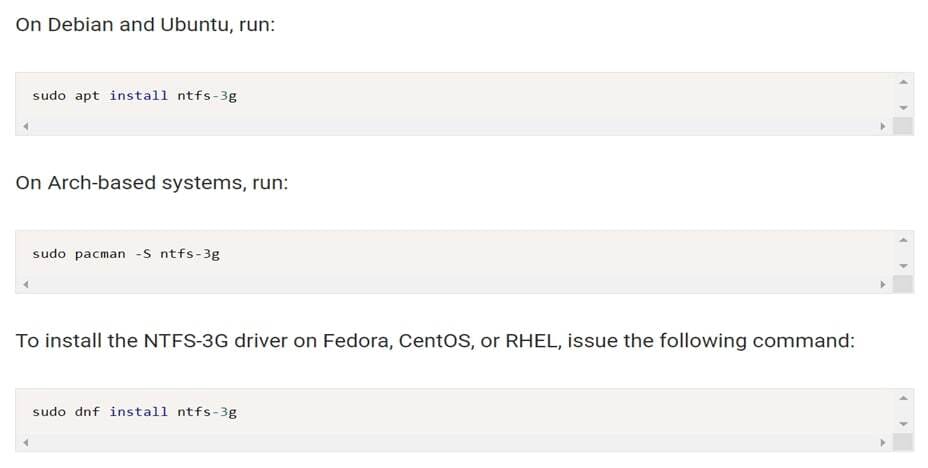
On Debian and Ubuntu, run:
sudo apt install ntfs-3g
On Arch-based systems, run:
sudo pacman -s ntfs-3g
On Fedora, CentOS, or RHEL, run:
sudo dnf install ntfs-3g
Step 2. Step 2: Identify the NTFS Partition.
Before mounting a drive, you must first recognize its device ID. This is significant because working with the incorrect partition or drive may result in data loss.
Use the file system control well with -l flag to identify all drives and partition types. All the individual drives and partitions will be shown in the output, along with valuable details like size, space available, partitioning type, and more.
Step 3. Mount NTFS Partition on Linux.
Linux computers require the "ntfs-3g" software package in order to mount hard drive partitions with the NTFS file system. This functions with "fuse," and it's highly probable that your system already has both of those packages installed by default. Since these packages are already installed, all of the distributions we tested had the inherent capacity to mount NTFS volumes.
1. Mount NTFS Partition With Read and Write Permissions
Fuse and ntfs-3 installation are required for mounting an NTFS partition with read-write permissions on your computer.
To finish the mounting procedure, adhere to the instructions listed below.
Repository updates for packages
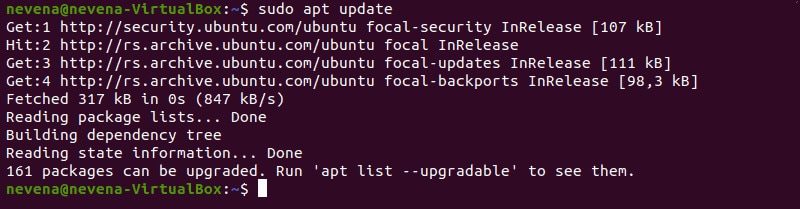
To install and restore the package repositories, issue the following command:
sudo apt update
Install ntfs-3g and Fuse
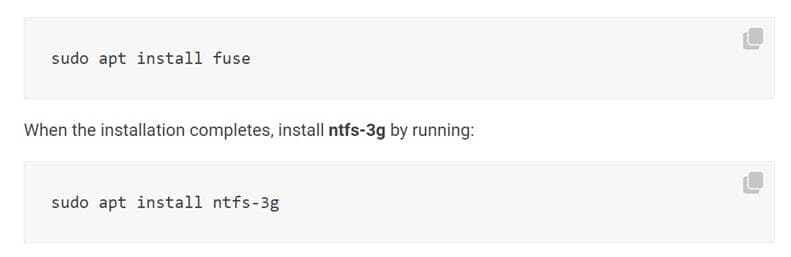
Use the proper package manager to download fuse on a Linux operating system first from default repository. In our illustration, Ubuntu's apt is used.
You may enter the following commands:
sudo apt install fuse
sudo apt install ntfs-3g
IMAGE FILE NAME: install-ntfs-3g-and-fuse.jpg
If ntfs-3g and fuse are both previously installed, the output like the one below:

NTFS Partition mount
Mount your NTFS partition after installing the fuses and ntfs-3g software packages. The output should resemble the one below if either fuses and ntfs-3g have already been installed.
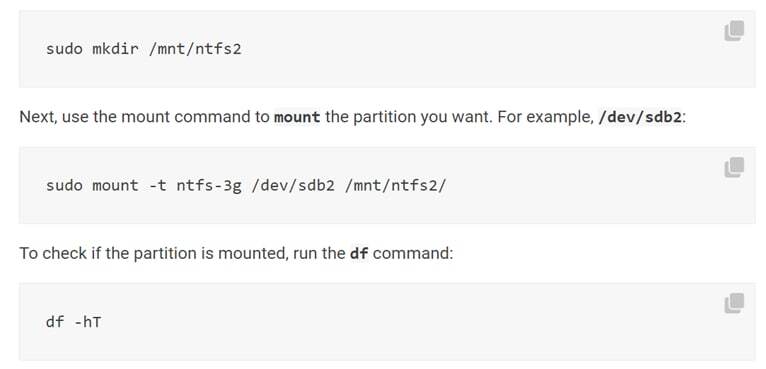
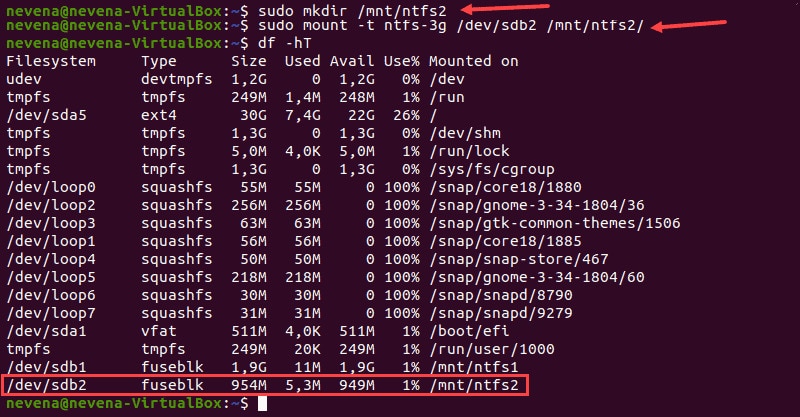
Next, construct a mount point using the mkdir command:
sudo mkdir /mnt/ntfs2
sudo mount -t ntfs-3g / dev / sdb2 /mnt /ntfs2/
df -hT
You currently have read/write access to the mounted NTFS partition.
2. Mount NTFS Partition With Read-only Permissions
Users can read files on a partition that only has read-only access if they prefer to avoid unnecessary changes to their files when they share them to other people. Uncover how and where to permit publication to something like an NTFS partition by reading the article's following section. To mount an NTFS disk with read-only access, follow the instructions listed below.
Determine the NTFS Partition
Use the parted command to determine an NTFS partition's identity before mounting it:
sudo parted -l
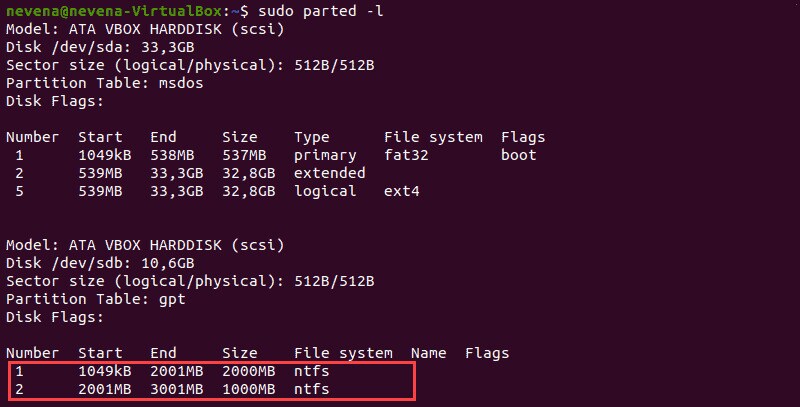
Two NTFS sectors are present on the /dev/sdb disk in the aforementioned scenario. Keep track of the sector keys you would really like to mount before continuing. The fdisk and grep programs can also be used to display only NTFS partitions on such a disk:
sudo fdisk -l | grep NTFS
Mount NTFS Partition and create a Mount Point
You should mount the /dev/sdb1 disk in this example with read-only access. Initially, use the mkdir command to construct the mount point:
sudo mkdir /mnt/ntfs1
Install the disk to the newly created directory next. Utilize the partitioning path you already recorded and the mount command:
sudo mount -t ntfs /dev/sdb1 /mnt/ntfs1
To ensure you accessed the partition successfully, verify the contents of all filesystems using the disk free tool:
df -hT
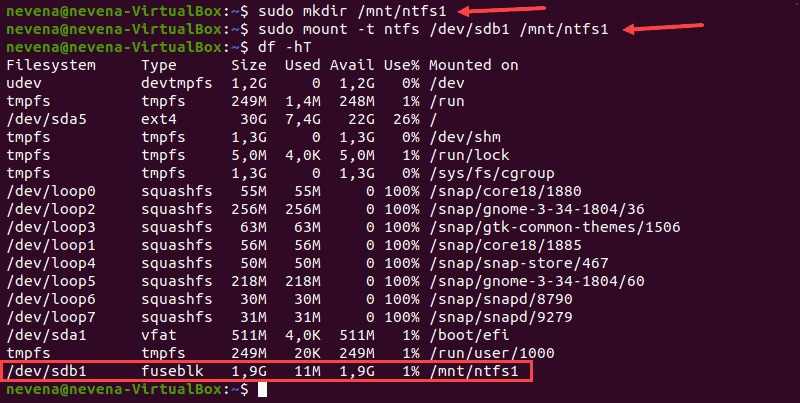
The list's last item indicates that the /dev/sdb1 partition is mounted. This NTFS partition is currently only accessible in read-only mode.
3. Unmount NTFS Partition If Needed
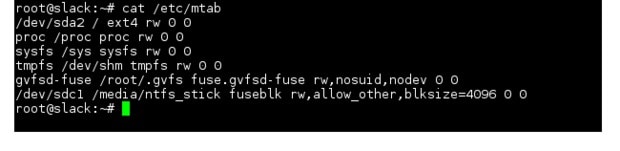
Use the cat /etc/mtab tool to examine mounted drives and mount points before you may unmount. The image below displays a USB drive with the NTFS file system, /dev/sdc1, mounted on /media/ntfs stick. A lexar drive might be mounted in /media/lexar, for example. Keep in mind that automounted drives are often installed with a subdirectory resembling a registered trademark or volume label, not "ntfs stick."
Using the df command, you ought to be capable to see the drive's mount point as well:

Enter unmount and the drive's mount point to manually unmount a drive:

Step 4. Mount NTFS Partition Automatically Upon System Boot.
Your Linux computer must update the system files tables in order to identify and mount additional storage disks. The Linux file system configurations are kept in the /etc/fstab file.
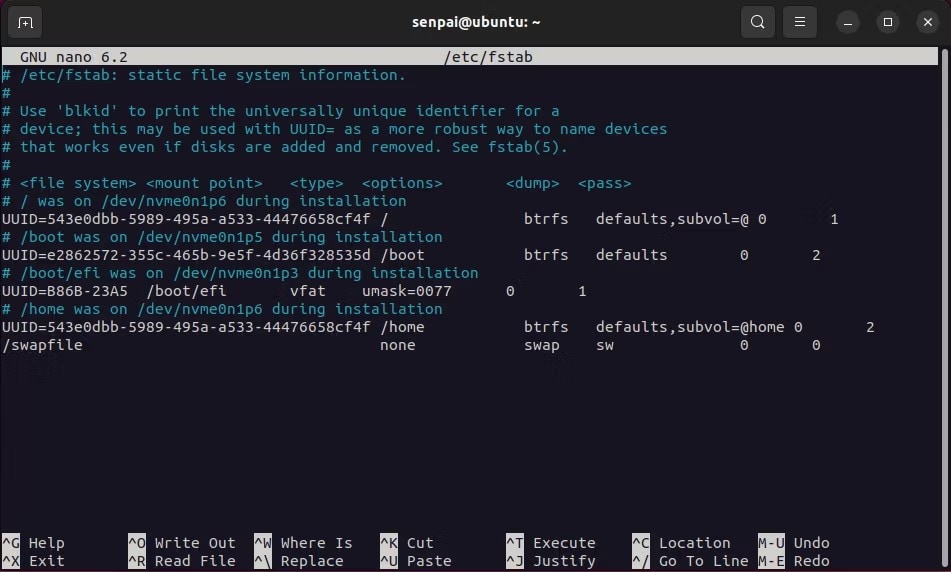
To ensure that your systems can mount the NTFS drive without any issues, you must add this same NTFS drive's placement and other crucial information.
Access the /etc/fstab file in just about any word processor of your choice to modify the system files table on your Linux machine. Make careful to use a Tab space to divide each input. You can copy the configurations for any mounted and operational drive if you're unclear of what to type in.
Once you've finished entering the data, write the file out. Open the terminal, and mount it by using your device ID and the mount command:
mount /dev/sda3 /mnt/media/drive_location_here
The unmount command can be used to manually uninstall the drive if necessary:
unmount /dev/sda3 /mnt/media/drive_location_here
Although restarting your system is an option, it usually isn't necessary. By using cd command in the terminal or your Linux distribution's file manager, you may now browse your NTFS drive.
The Bottomline
For New Technology File System, go here. Linux systems also make use of this file-storing method, which is common on Windows computers.
The majority of Linux systems automatically mount the disks. However, in dual-boot configurations, where file transfer between two NTFS-partitioned systems is necessary, this process is carried out manually. In a Linux system, partition manipulation is essential,