iCloud is one of the many features that is offered to Apple users for keeping their data intact through prompt backups. iCloud can be utilized as the perfect platform for keeping a record of your files in an appropriate manner.
However, when it comes to transferring photos to iCloud through various sources, the market offers its users a variety of remedies that can be tested to get a better understanding of the system that is involved in the process. This article introduces you to a series of functions that can be consumed to understand the system on how to transfer photos to iCloud.
Part 1. How to Transfer Photos from iPhone to iCloud
The very basic methods that involve the transfer of photos from an iPhone to iCloud follow a very simple and efficient procedure. As you recognize the intensity of these methods, there are several techniques that outsmart other existing mechanisms for the efficient results.
Out of these existing methods, the availability of dedicated features offers you impeccable results and options to work over. iCloud Photo Library offers you dedicated tools to transfer photos from your iPhone to iCloud. This feature develops a library across your iCloud that can be accessed through any Apple device that is synchronized across it.
However, it should be kept in mind that iCloud holds up a maximum data of 5 GB solid space in its platform in its free version. With the cloud storage available for storing photos, you can proceed using the Photo Library feature for transferring pictures from iPhone to iCloud with ease.
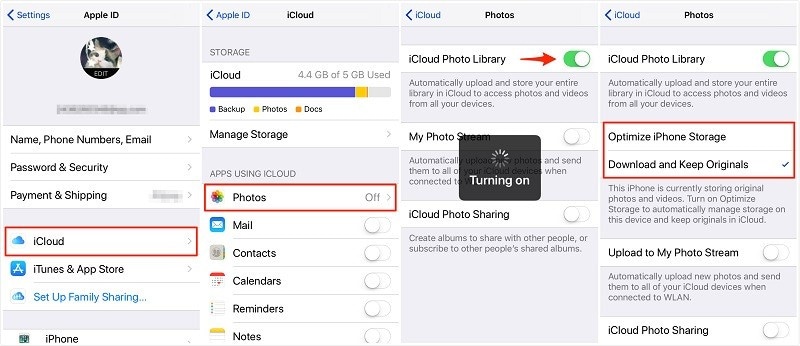
Step 1 As the feature is involved directly with the iCloud, its configuration is also practiced across the basic settings of the iCloud. For this, you need to access your iPhone’s settings and tap on your username or avatar present on the top of the screen. With an active iCloud account logged into your device, you need to move into the settings to enable the iCloud Photo Library feature.
Step 2 Tap on "iCloud" from the provided options and proceed to the next window. Select "Photos" under the section of Apps using iCloud and lead towards another window. In this contemporary section, turn on the toggle for iCloud Photo Library and optimize its settings with the options provided below under a similar window.
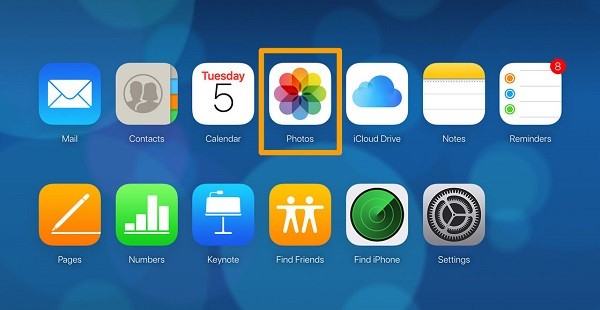
Step 3 With the feature enabled across your devices, proceed to open the assorted platform while ensuring a secure establishment of the connection. Open the official iCloud website on your desktop and log-in with your credentials.
Tap on "Photos" option present on the list of series and access the photos that have been transferred across the platform through the Photo Library. This allows you to successfully clear the perception of how to transfer photos from iPhone to its connected iCloud.
Part 2. How to Transfer Photos to iCloud from Mac
Photo transferring can be practiced across various platforms and can be implemented across numerous desktops with different operating systems. While understanding the availability of this procedure across Windows OS and Mac, you can easily cover your needs to transfer your photos into your iCloud through a Mac.
There are several methods that can be adapted to cater to the procedure, where setting up a Photo Library on your Mac can be considered a feasible solution to transfer photos into iCloud. To test this, you are advised to look over the steps offered as follows:
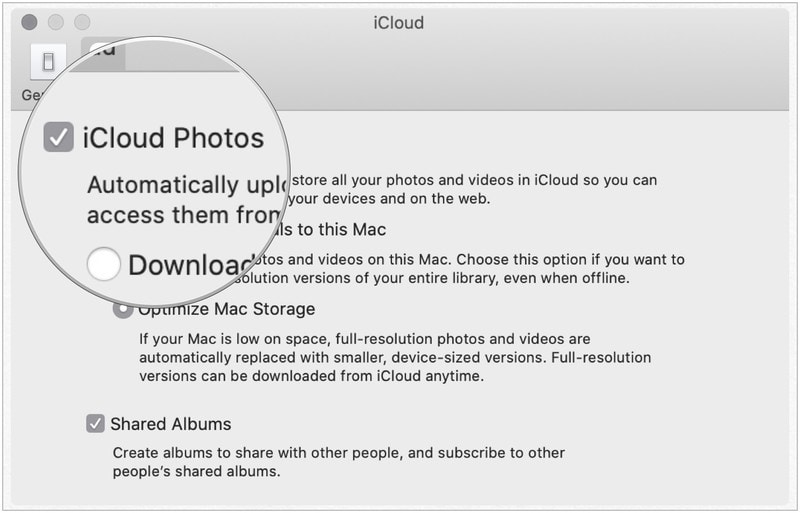
Step 1 Open the 'Photos’ application across your Mac and select the menu present on the upper left corner of the screen.
Step 2 Lead towards selecting "Preferences" from the drop-down menu and tap on the "iCloud" tab in the following screen.
Step 3 Ensure that the "iCloud Photos" check across the settings. This would enable an automatic upload present on the Photos application onto the iCloud.
Conversely, while realizing the availability of these direct and conventional methods to transfer photos to iCloud, there is another line of action that can be adopted for covering the tracks. Third-party dedicated tools are recognized as a cognitive and subjective solution to this case, where their unique structure and easy-going procedure allows the users to transfer their images onto the iCloud with ease.
These third-party tools ensure keeping a lucrative connection of the device and the images, along with acting as a suitable file manager to these images. While understanding the variability offered in third-party tools, this article features dr.fone – Phone Manager (iOS) as a proficient alternative to the existing tools and methods.
There are numerous reasons that would tempt you into using dr.fone as the mode of transfer, which can be idolized as:
Transferring media files from your iPhone to the iCloud in one-click!
-
You can easily transfer, manage, export, and import media files, music, contacts, and other data through the platform.
-
It easily backs up all types of data on the computer and allows easy restoration across the device.
-
Guides an easy transfer of data across different smartphones.
-
Allows media file transfer between iOS devices and iTunes.
-
Compatible across the latest iOS version.
3,782,659 people have downloaded it
To understand the functioning of dr.fone – Phone Manager (iOS) as the basis for transferring media files from your iPhone to the iCloud, you are advised to follow the steps provided below:
Step 1 Download and Launch
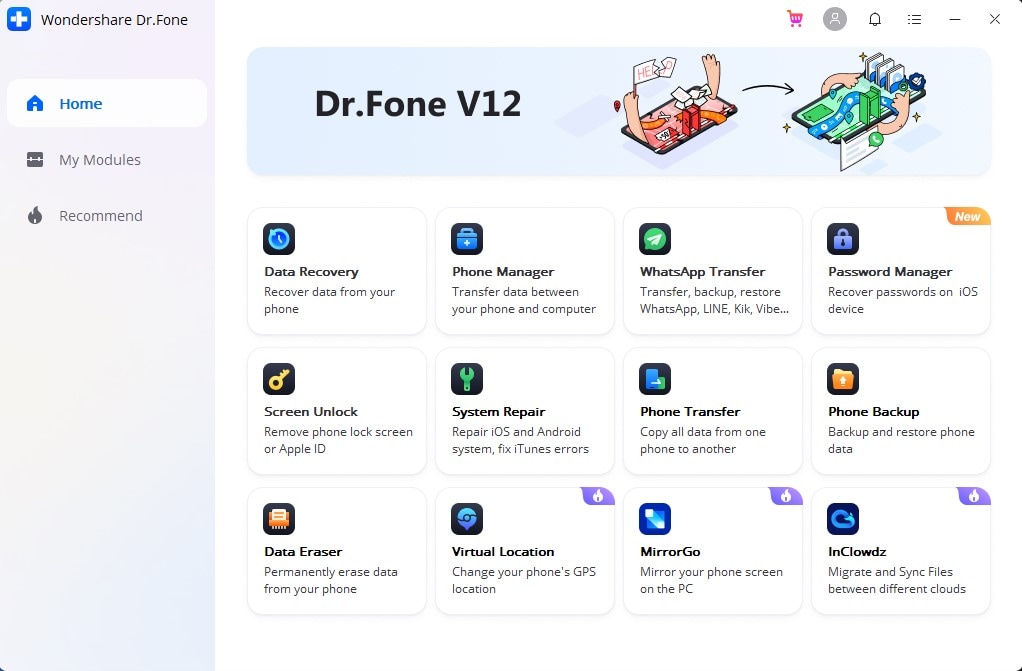
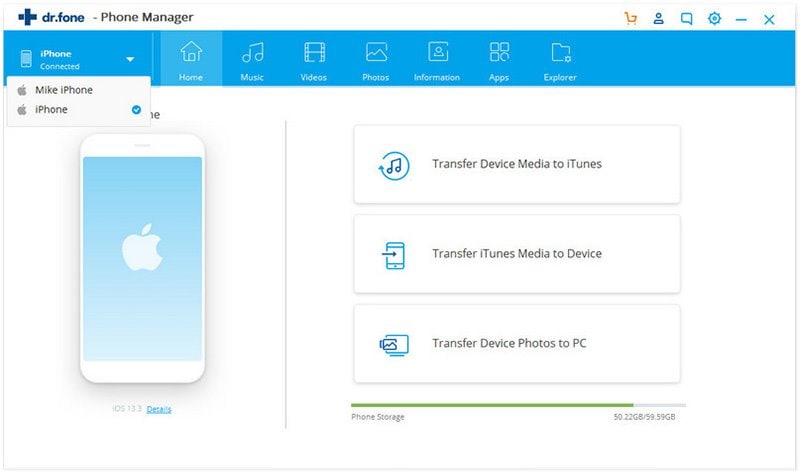
You need to download and install the platform on your desktop. Following the installation, launch the platform and select "Phone Manager" from the list of different tools on the home window.
Step 2 Connect iPhone
Connect your iPhone with the desktop and establish a prompt connection under the toolkit. Select the "Photos" tab from the toolbar on the top of the window.
Step 3 Select Photos and Export
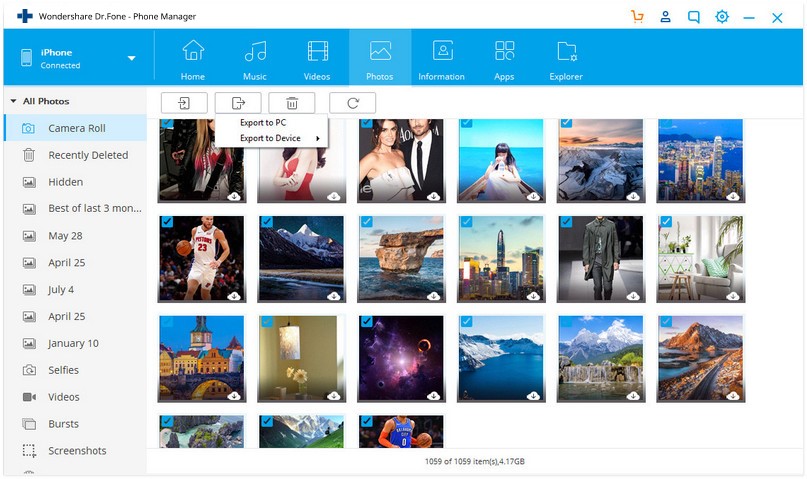
In the list of photos that appear on the front of your screen, you need to select the desired set and tap on "Export" to select the option of executing export across your PC. The files are exported across the local directory that is selected in the next window.
Step 3 Add to iCloud
Once you are done exporting, you can now easily add the complete folder across iCloud account for keeping a backup of your images.
Part 3. How to Upload Photos to iCloud from Windows PC
If you are an iPhone user and want to discover the method of how to transfer photos to iCloud from a Windows PC, you are advised to follow these simple steps to develop an understanding of the dynamics that are involved.
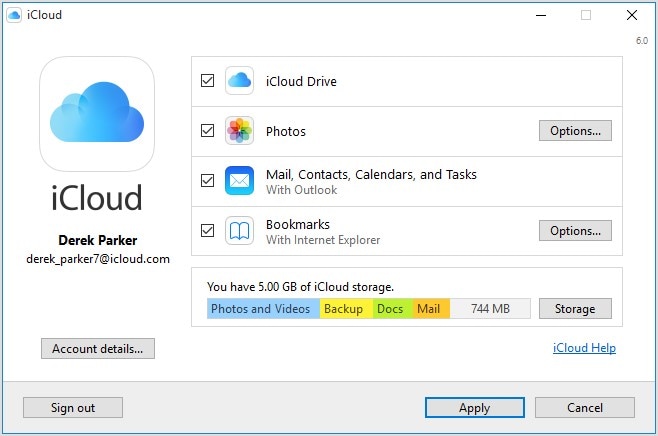
Step 1 You can consider using the iCloud Library within your PC for such cases. Initially, download the platform on your Windows and launch it. Sign yourselves up with the available Apple ID and figure out the appropriate features that you wish to consume. Tap "Apply" to conclude selection.
Step 2 To upload the photos to the iCloud Library from your PC, you need to open the File Explorer and navigate to "Favorites," where you'd find "iCloud Photos" under it.
Step 3 Tap on "Upload Photos" and select the photos on the next screen, and finally select "Open" to conclude.
Part 4. How to Transfer Photos to iCloud from Google Drive
Cloud services can also be quite optimal in the procedure. Google Drive offers you in uploading all your photos from cloud storage onto the dedicated storage of your iOS device. For this, you need to understand how to transfer photos from iPhone to iCloud through a Mac.
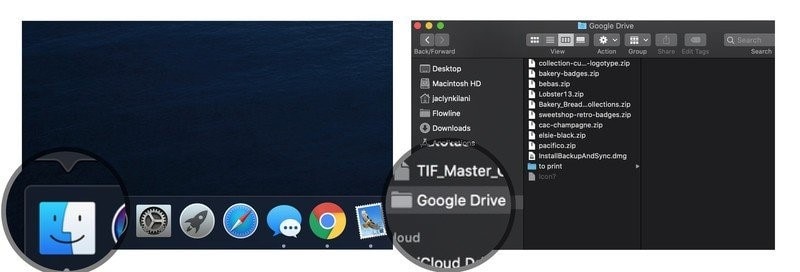
Step 1 Open up "Finder" from the bottom menu and tap on "Google Drive" in the sidebar that protrudes.
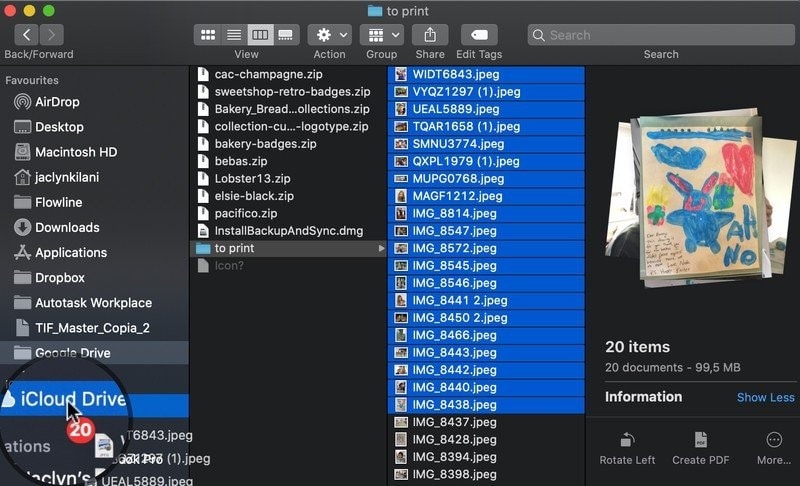
Step 2 Select all files and folders that you wish to move into the iCloud.
Step 3 With the sidebar of the Finder window opened, drag and drop all the files onto the folder, they will be automatically transferred.
Part 5. What About Transferring Dropbox Photos to iCloud
You can also consider transferring your files from storage like Dropbox into iCloud when you consider removing them from the existing cloud storage. To perform this action, follow the steps:
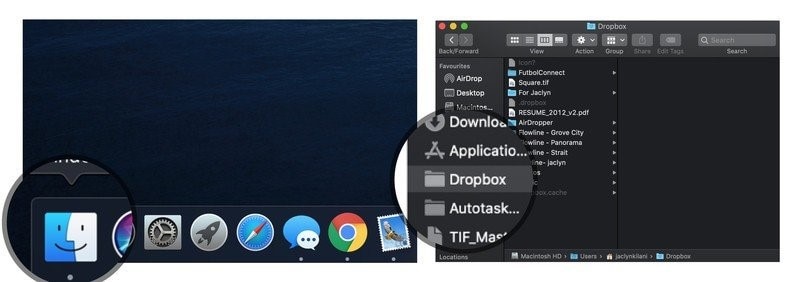
Step 1 Open "Finder" on Mac's dock and select "Dropbox" in the list.
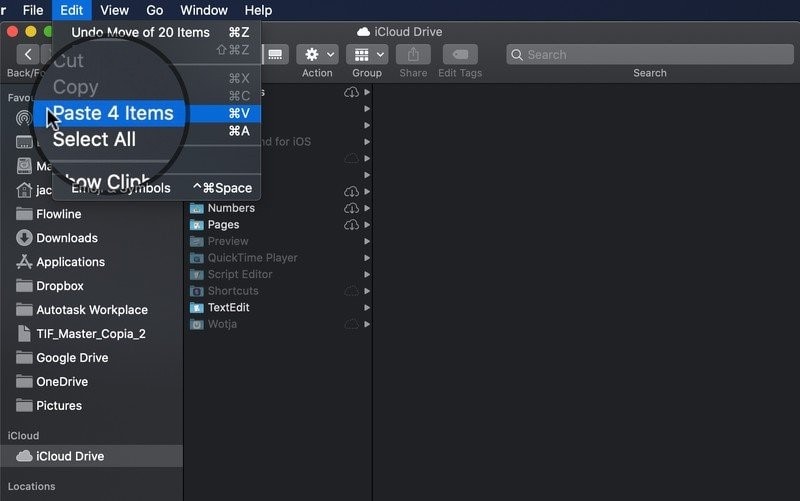
Step 2 Select all the files and folders that you wish to copy, and tap "Edit" in the top menu bar to copy them.
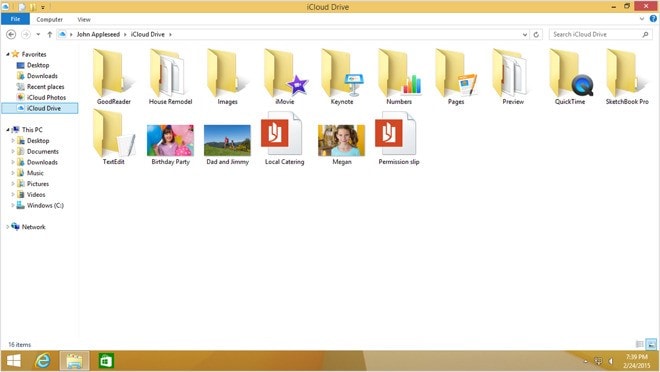
Step 3 Open the "iCloud Drive" from the sidebar and tap "Edit' in the top menu bar to paste them into the new folder.
Conclusion
This article has featured a variety of methods that typically allows you to transfer all associated photos from your iPhone to the iCloud.




Elva
staff Editor