
Have you been working on the recovery environment command prompt lately? Is the following command showing an error during operation?
dism.exe /image:C: /cleanup-image /revertpendingactions
Does running this command always return you with Error 50? To confirm, the following message may appear across your window:
Error 50: DISM does not support servicing Windows PE with the /Online option
Before we come to this discussion on how you can resolve this, let's get to know about DISM. This represents a command line tool used for servicing a Windows image or a virtual hard disk. Known as the Deployment Image Servicing and Management, it is a considerable part of the Windows system. While it can be used for Windows Preinstallation Environment, it also has other uses. You can find this across Windows Recovery Environment (RE) and Setup.
The command line is generally utilized to define the Windows OS's integrity. It helps repair damaged or modified system files, making it multi-functional. Having an error across it can be quite problematic and must be resolved. Before you get to this, you should know why it happens.
The primary reason for having Error 50 across the computer is the misconception of DISM. It perceives that the commands are operated across Windows PE, not on the actual system. This command only functions for a running Windows OS, which leads to the understanding of the error.
In this article
Part 1: Rescue Your Data From Crashed PC Quickly – Recoverit
Has Error 50 been causing multiple issues for your PC? If the problem leads to the magnitude of crashing the computer, it needs to be looked after. For this, you first need to be prepared to rescue your data from the crashed PC. Data holds importance, and under such circumstances, it can get lost. To avoid this, try using Wondershare Recoverit. This tool promises effective results, which involve recovering data from different scenarios.
If you seek to recover your data from the crashed PC, look across the steps ahead. Wondershare Recoverit makes it relatively easy for you to execute this task.
Recover over 1000 types of data types, like photos, videos, emails, files, audios, etc.
Recover data from numerous scenarios. Be it due to files being overwritten, a system crash, accidental formatting or virus attack, Recoverit is able to make a total recovery.
Recover from any storage device, such as Hard Drive, Desktop, USB Drive, SSD, SD card, recycle bin, etc.
Ensure 100% data safe and easy operations.
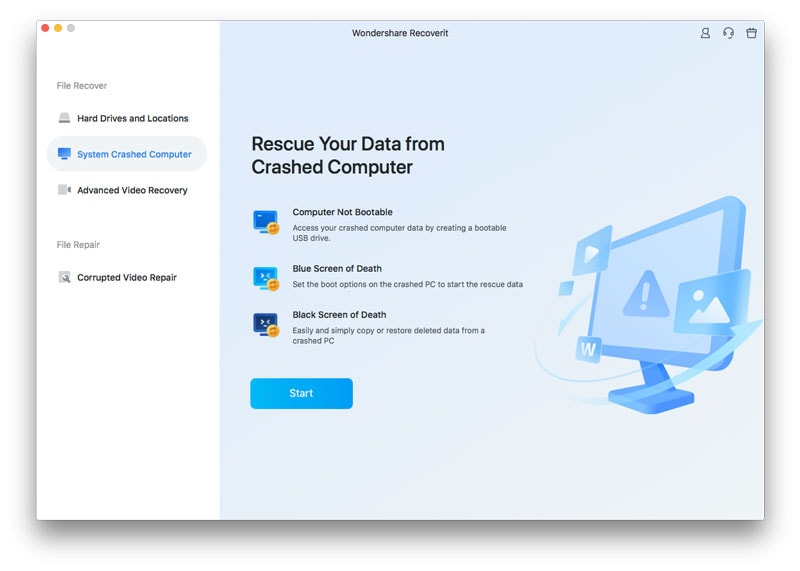
Step 1. Use System Crashed Computer Tool.
Start by downloading and installing Wondershare Recoverit on a working computer. Launch it and lead to the “System Crashed Computer” section. There, click on “Start” to initiate the process.
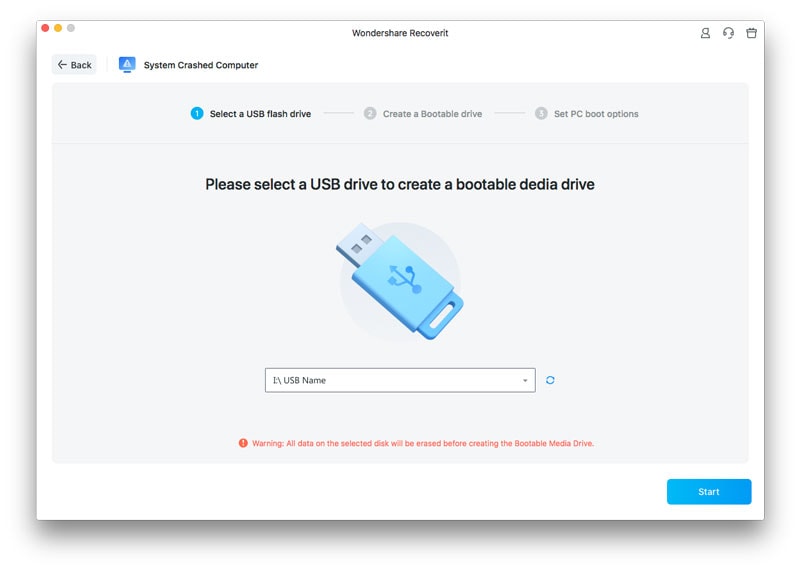
Step 2. Select the USB Drive.
You need to connect a blank USB to the computer. As it is connected, select it across the next window from the available options. Click "Start" to format and create a bootable USB drive.
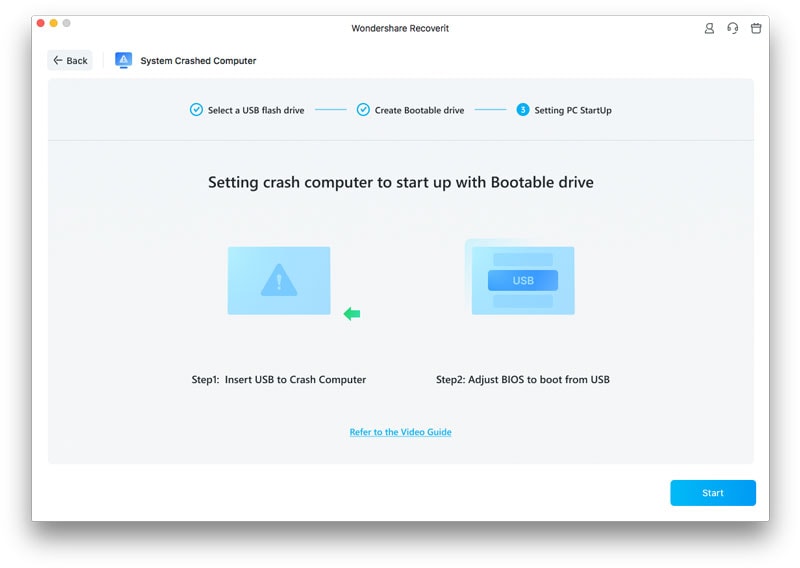
Step 3. Recover Data from Crashed PC.
Remove the USB from the computer and attach it to your crashed PC. While you adjust your BIOS settings to boot from the USB drive, your PC becomes bootable. Select "Hard Disk Copy" or "Data Recovery" to proceed to recovery.
Part 2: How to Fix Error 50 – Providing 5 Solutions
We will now look into Error 50 with some practical solutions. You will be able to figure out a way from the error "DISM Does Not Support Servicing Windows PE.”
Solution 1: Use Command Prompt
On encountering Error 50, there are different parameters that may malfunction. As the entire issue leads due to such parameters, you need to have it fixed. The best and the first way you should consider is to use the Command Prompt itself. Make use of the commands for resolving the “DISM Does Not Support Servicing Windows PE” error.
Step 1. Click on the “Search” icon on the taskbar and type “Command Prompt.”
Click on “Run as administrator” to open a new window. As the Windows RE window opens up, enter the following command:
wmic logicaldisk get name
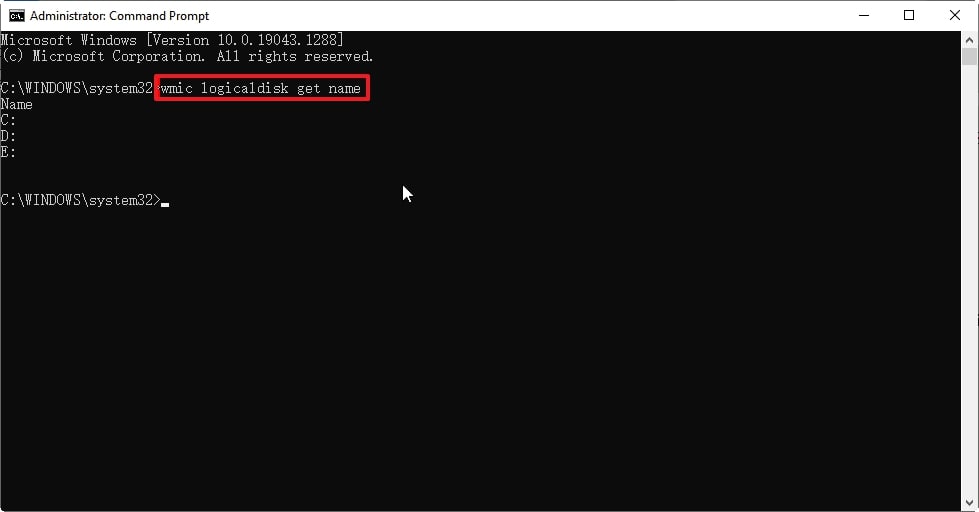
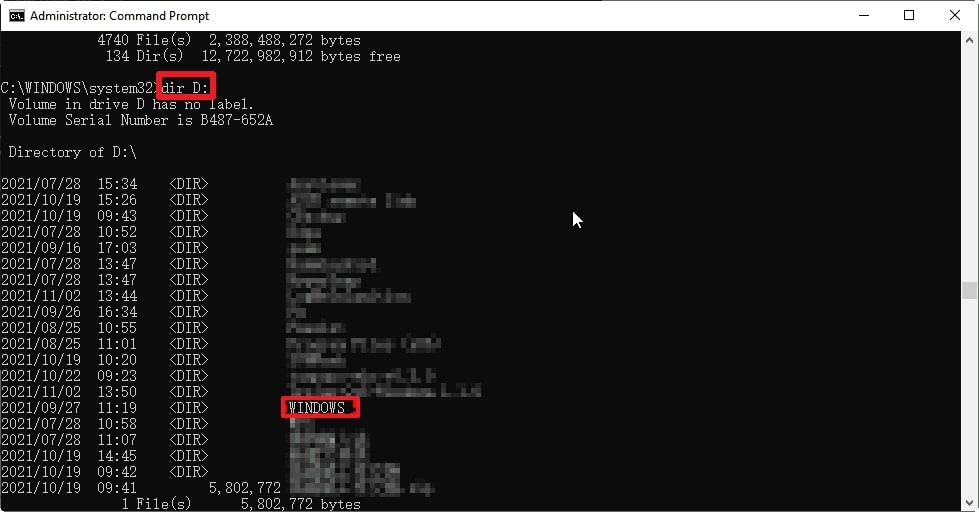
This lists out all available system partitions across the computer. Following this, use this command to find the system partition containing the Windows folder:
dir drive-letter: (Use Your Drive Letter in place of “drive-letter”)
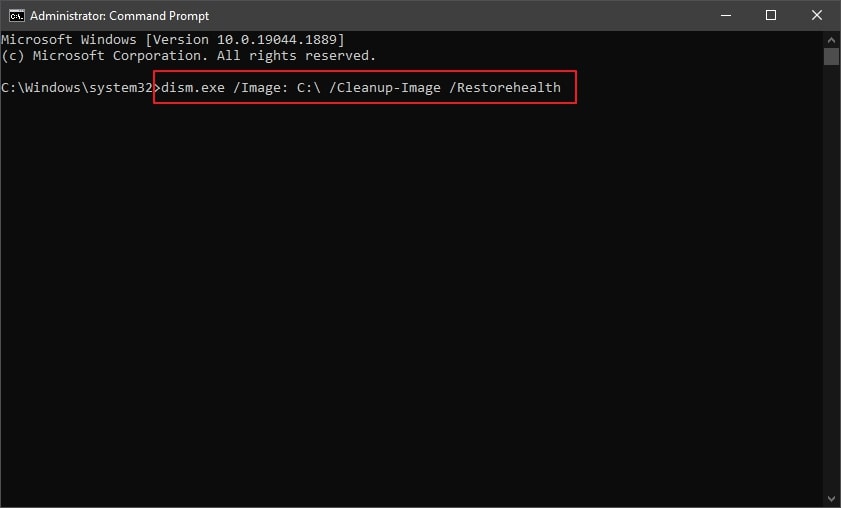
Step 2. As you locate the Windows folder, use this command to repair the offline Windows image:
dism.exe /Image: C:\ /Cleanup-Image /Restorehealth
If the “Error 0x800f081f” appears on the screen, a repair upgrade is required.
Step 3. To perform the repair and upgrade, you need to boot from the Windows installation disk.
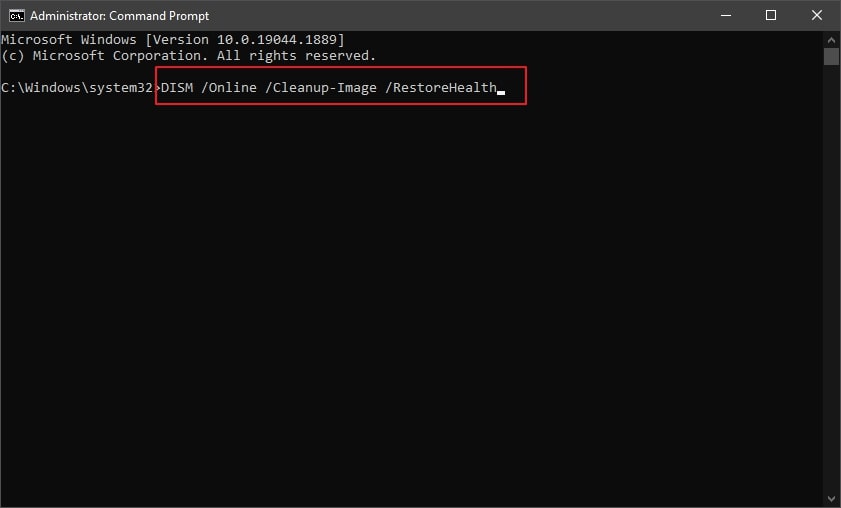
As you proceed with the Windows installation wizard, perform the repair and upgrade. This would repair the error displayed above. Restart your Windows in Safe Mode and open Command Prompt again across the device. Enter the following command:
DISM /Online /Cleanup-Image /RestoreHealth
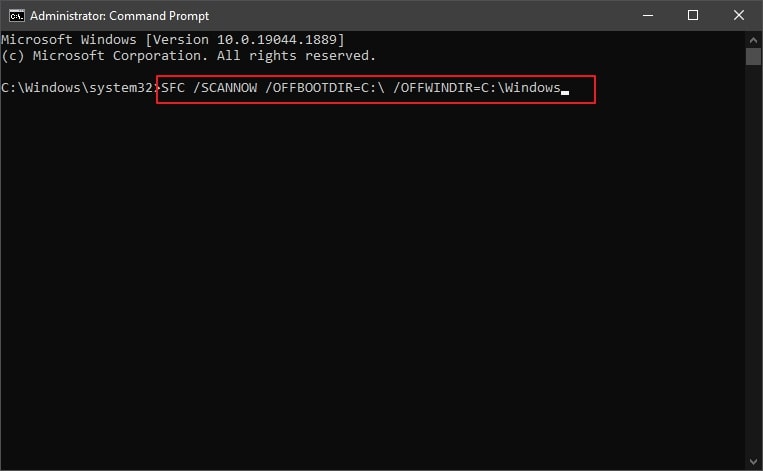
Step 4. Following this, use this command to complete the repairing process.
Remember to replace the drive letter with your corresponding drive:
SFC /SCANNOW /OFFBOOTDIR=C:\ /OFFWINDIR=C:\Windows
Solution 2: Refresh the DISM Software
Before going for other solutions, consider refreshing the DISM software itself. This might resolve all prevalent errors across your Windows system. Follow the steps to resolve the “DSIM Does Not Support Servicing Windows PE” error:
Step 1. Launch the Run program with the "Windows + R" shortcut keys.
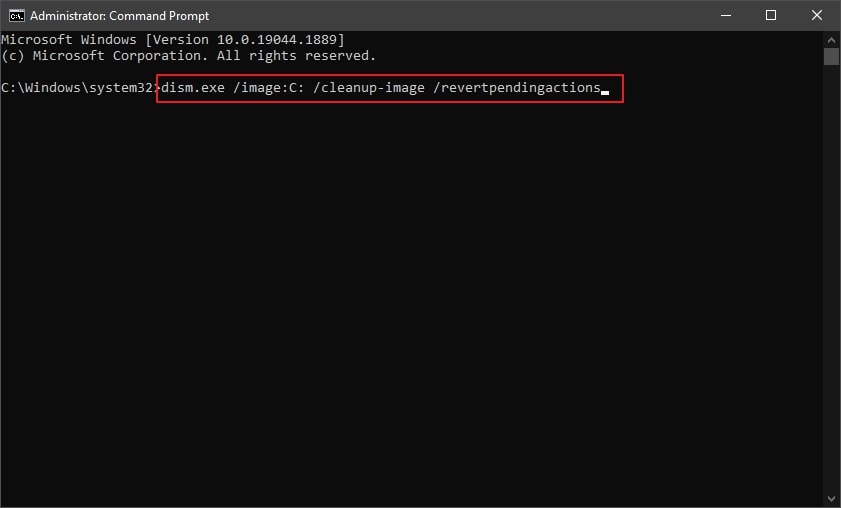
Type in "cmd" and use the "CTRL+SHIFT+ENTER" combination to run it as administrator. Now, add the following CMD command and execute it:
dism.exe /image:C: /cleanup-image /revertpendingactions
Step 2. Revert to the Run program and type in "msconfig."
You will be led into the "System Configuration" window. Lead across the "Boot" tab and locate the "Boot options" section. There, make sure that the "Safe boot" and "Minimal" options are checked. Click "OK" and restart your Windows to enter Safe Mode.

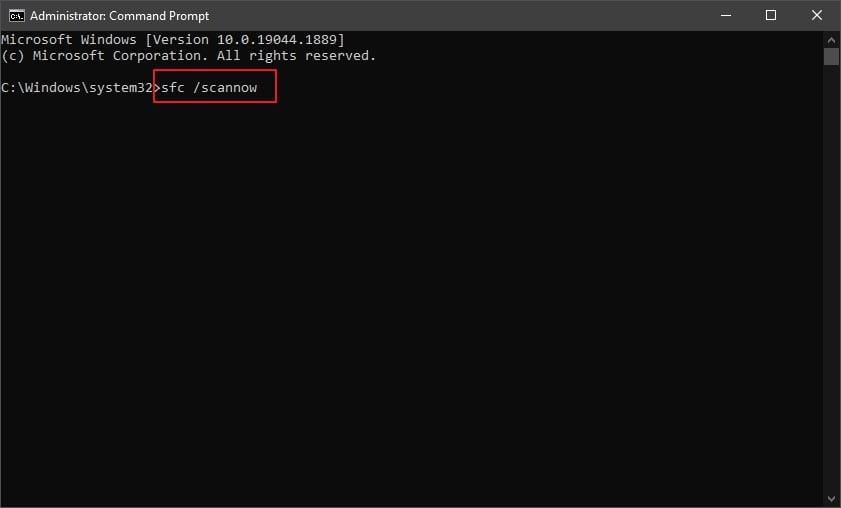
Step 3. When you enter the Safe Mode, launch Command Prompt as administrator again.
Type in the command as follows to restart the DISM software:
sfc /scannow
Solution 3: Delete the Associated Registry Key
Such errors can be caused due to misplaced Registry keys. If you want to avoid the “DSIM Does Not Support Servicing Windows PE,” look into resolving it. The perfect way to get rid of the Registry key is to delete it from the computer:
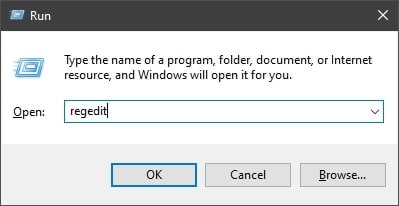
Step 1. Use the “Windows + S” key to open the Search tab.
Type in “Run” to launch the program. There, type “regedit” to launch the Registry Editor.
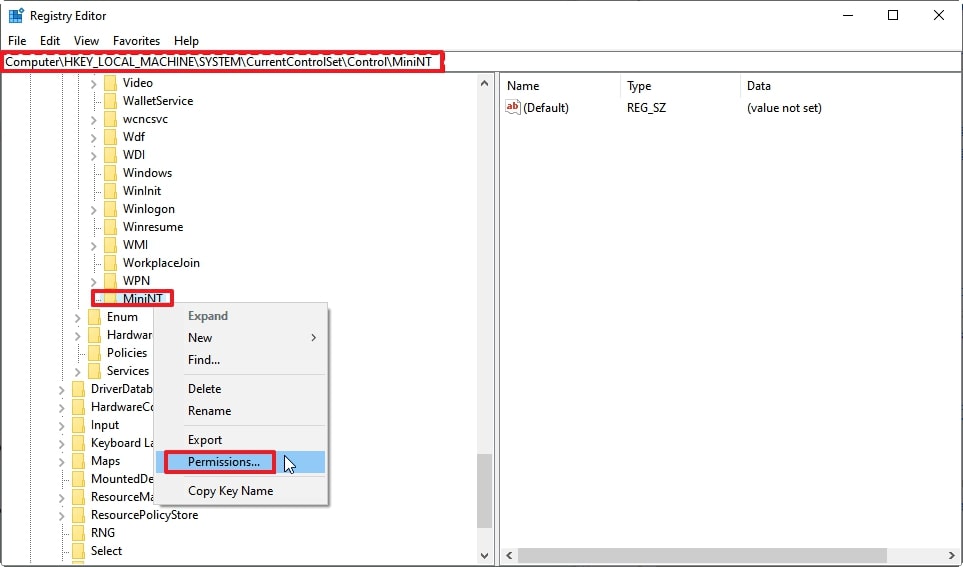
Step 2. Go across the following path across the top navigation bar:
Computer\HKEY_LOCAL_MACHINE\SYSTEM\CurrentControlSet\Control
As you lead into this path, find the “MiniNT” folder from the left panel. Right-click on it to select “Permissions” in the list of options.
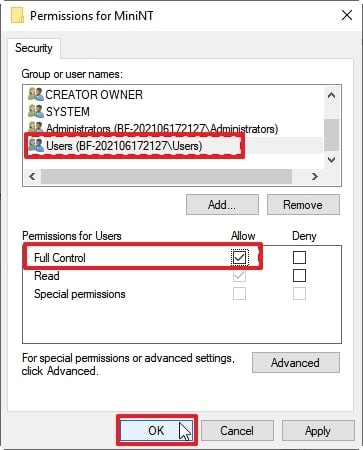
Step 3. Select your username under the “Group or user names:” section.
Following this, check the Allow box across the “Full Control” option. On setting these options, delete the MiniNT folder and restart your device.
Solution 4: Reset BIOS
All the data flow occurring between OS and external devices is covered by BIOS. Being such a main body of the OS, it needs to be reset under errors such as Error 50. If you have been facing this issue and cannot resolve it with the above solutions, look across the steps:
Step 1. While you restart your computer, use the key specified by your computer manufacturer to enter BIOS.
It can vary between F1, F10, F2, F12, or DEL keys.
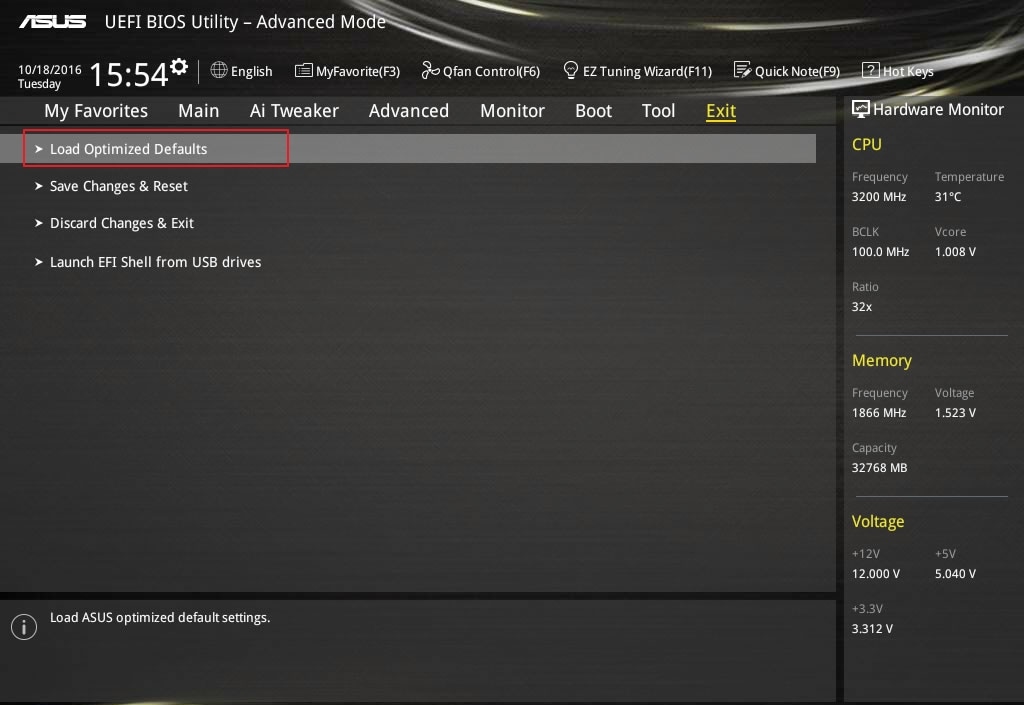
Step 2. Move across the "Exit" section and select "Load Optimized Defaults / Load Setup Defaults."
With the changes saved, the BIOS resets, and your device restarts automatically.
Solution 5: Create Another User Account
Still under the issue of DSIM does not support servicing Windows PE? The only thing left to try is to create another user account for yourselves. To perform this task, look ahead into the steps:
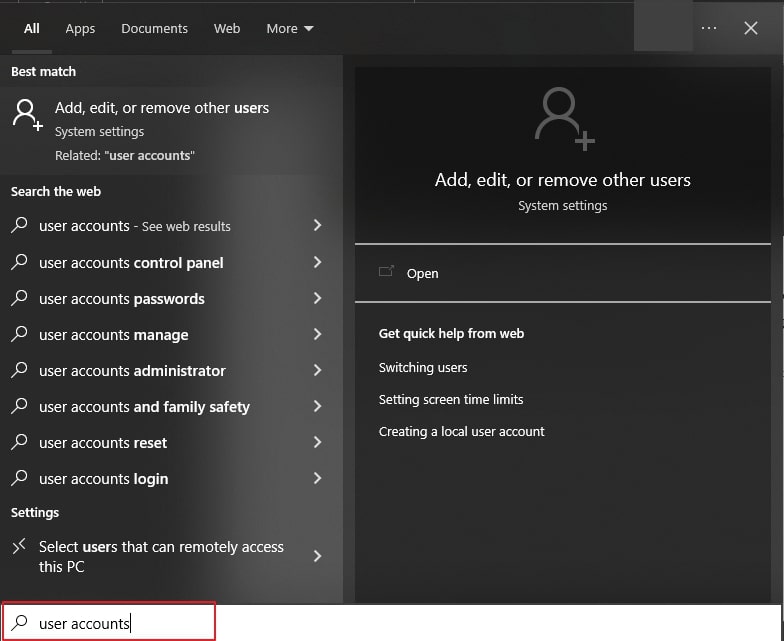
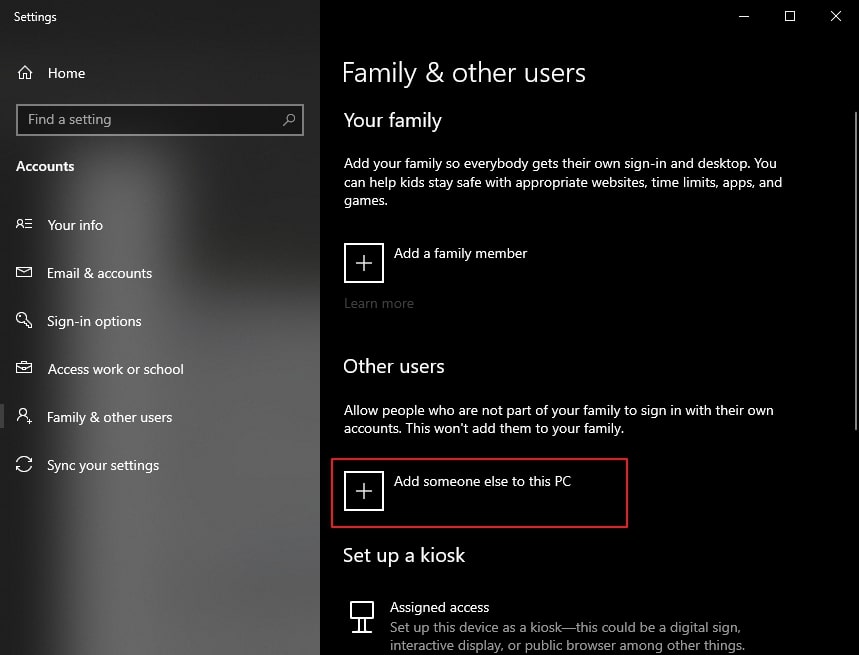
Step 1. Access the “Search” icon on the taskbar and type in “User Accounts.”
Now, hit the Enter key, and it will open up a window with the user account details of your PC.
Step 2. Across the new window, click on the “Add someone else to this PC” option under “Other users” to proceed.
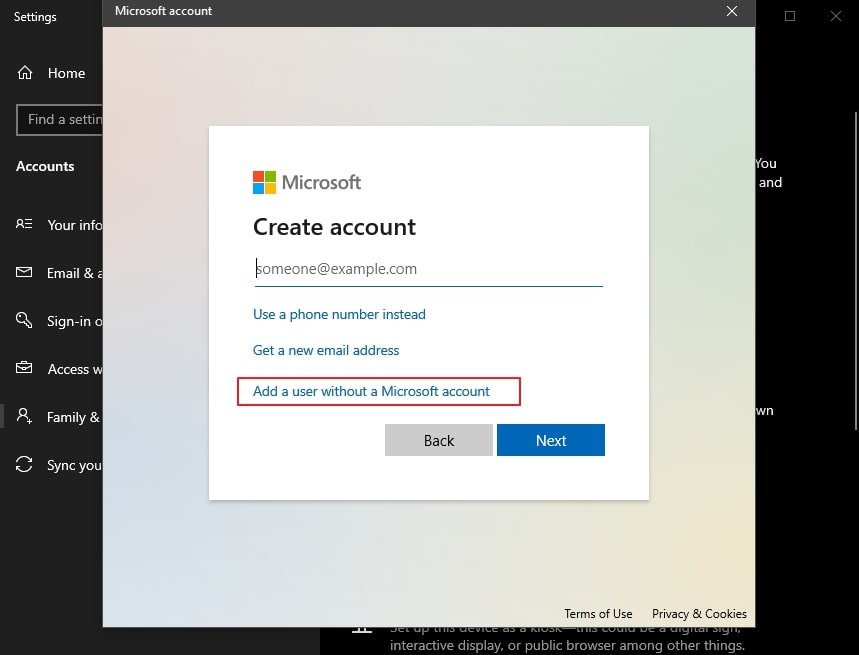
Step 3. On the next window, select the “I don’t have this person’s sign-in information.”
As it leads to a new screen, click on “Add a user without a Microsoft account.” Now, add in the user credentials and click on “Next” to make a new user account.
Part 3: How to Repair Crashed System – AOMEI Backupper Standard
Have you tried everything that has been provided to you above for Error 50? If you still have not gotten out of it, you need to try AOMEI Backupper Standard. Although you remember this tool as a backup tool, it can also recover Windows systems. You can find it holding compatibility for Windows 11/10/8.1/8/7/Vista/XP.
While you download this tool for free, understand how you can create a Windows PE bootable disk with it. Let’s look ahead into the steps of how you can repair your crashed system with AOMEI:
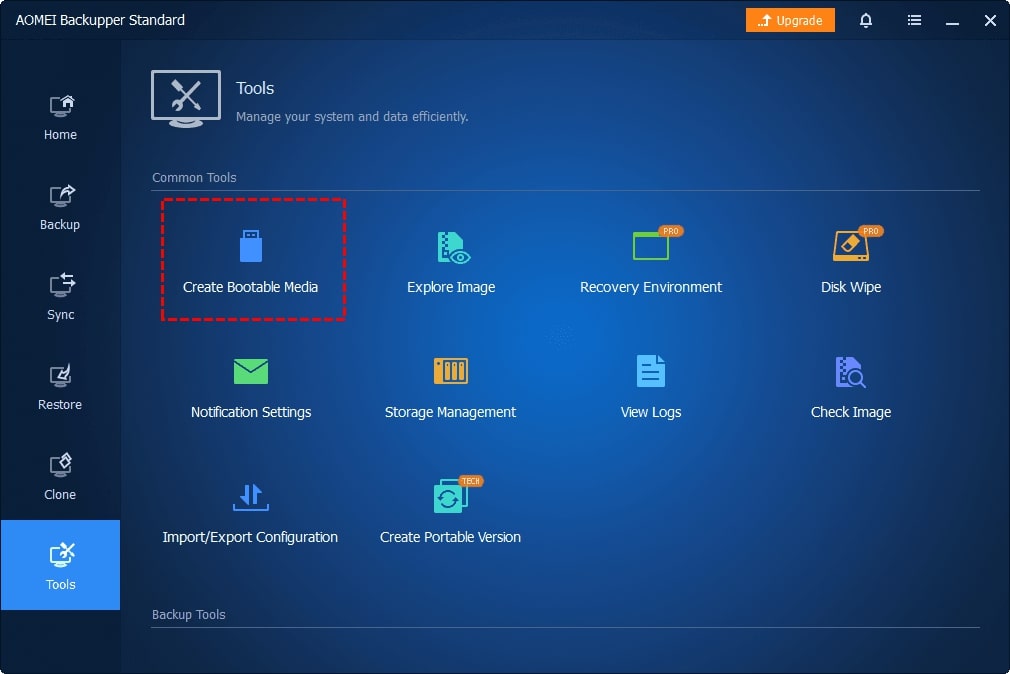
Step 1. Launch the tool across another Windows computer and lead to the “Tools” section.
Select “Create Bootable Media” from the options and proceed to choose the bootable disc type.
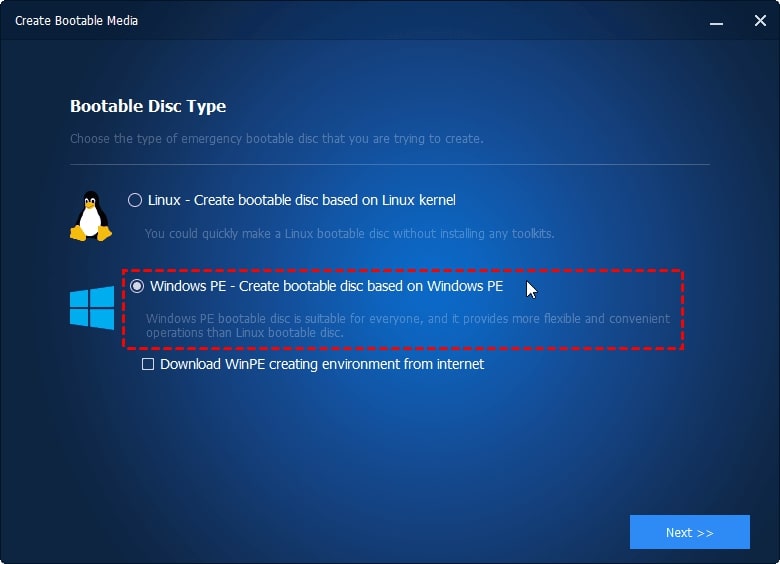
Step 2. From the available options, select "Windows PE" and tap "Next."
Then you have to specify the storage media for creating a bootable disk and click "Next." This would successfully create bootable media for your crashed computer.
Step 3. Insert the bootable media across the crashed computer and boot it with the drive.
The computer starts and automatically launches AOMEI Backupper on it.
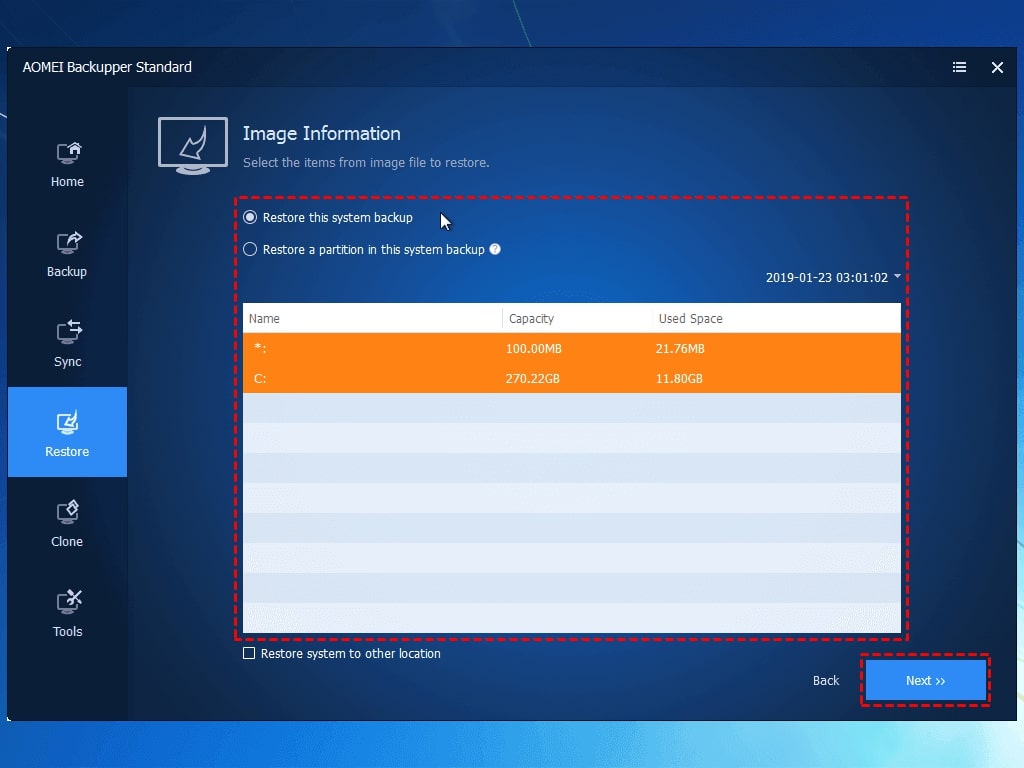
Step 4. Select “Restore” from the left panel and click “Select Task.”
You need to find the system backup that was created and select the option “Restore this system backup.” Click “Next” to proceed to the operation. Next, click “Start Restore” and let it repair the crashed system.
Video Tutorial – How to Fix Error 50?
Conclusion
Has it been comprehensive for you to resolve Error 50? With the error "DISM Does Not Support Servicing Windows PE,” things were quite challenging. Look across all the provided details and figure out how you can recover your crashed system.