Next to images and videos, music is another important media for all Smartphone holders. When you are migrating from Android to iPhone, you want to make sure that you have your favorite tunes in the new device too.
Despite the fact that you are moving to a new operating system, you can still move music from Android to iPhone using a few simple methods.
In this article, you will get to learn about 5 methods to sync music from Android to iPhone, so you can listen to your tunes on the iPhone just like you did on the Android device.
Method 1. How to transfer music from Android to iPhone via iTunes
iTunes is a popular method of transferring music from one iPhone to another. Many people do not know it yet, but transferring music from Android to iPhone can also be done using iTunes. iTunes is a tool that has the library stored on the computer and all you have to do is sync the music from the Android device to iTunes, and then to iPhone. Here is how you go about it.
Step 1. Move music from the Android device to the computer
-
Connect your Android device to your computer and let it be recognized by Windows Explorer. Now look for the folder that is labeled “Music”. If you are using a Mac computer, you will have to install “Android File Transfer” an app that allows the Mac to find music on the Android device.
-
Now create a new folder on your computer and then select the music that you want to transfer, before dragging it into the folder.
-
Now disconnect the Android device from the computer and then connect the iPhone device.
-
Go ahead and open iTunes on the computer, access the “Library” and select “Music”.
-
Now go back to the new folder that you created in the computer and then select all the songs that you put there and drag them into iTunes.
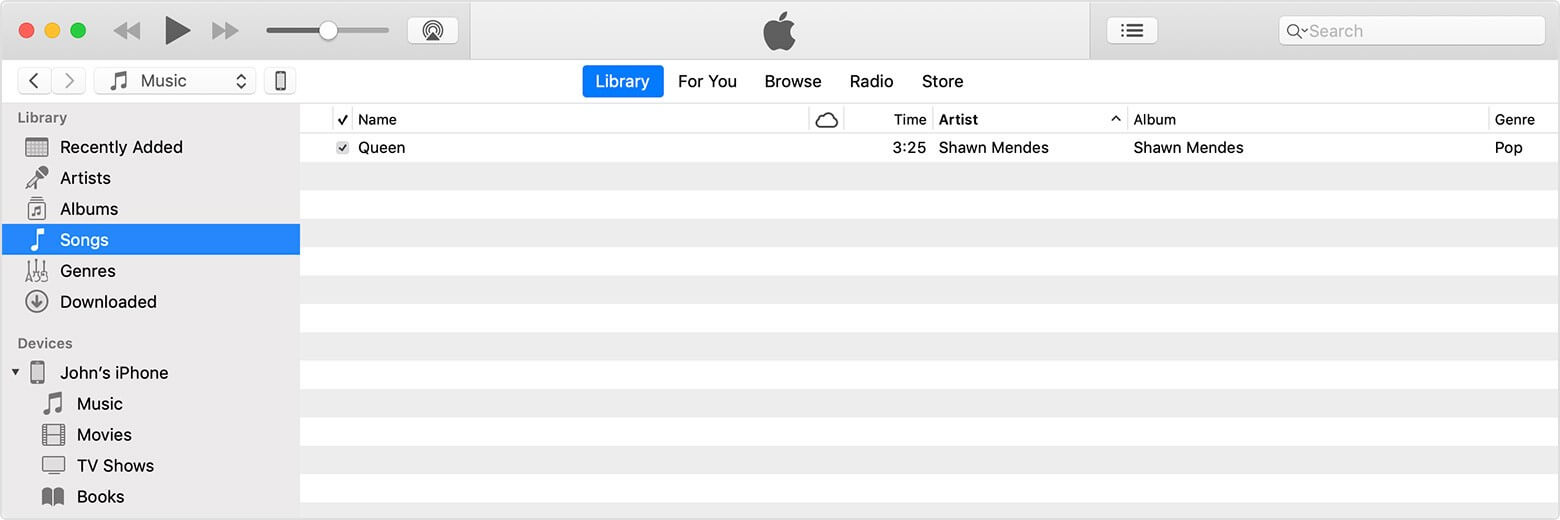
Step 2. Sync iTunes music to your iPhone
-
In iTunes, select the iPhone that you are using, and then choose “Music”. Go ahead and sync the music in the Library to your iPhone. You can opt to sync the full library, including older songs, or simply select the songs that you added from the Android device.
-
Once done, click on “Sync” and then wait for the music to be transferred.
Now you will be able to see your music on your new iPhone device.
Method 2. How to transfer music from Android to iPhone without WiFi
Yippee! You now have a new iPhone and are very excited about it. You have been using Android for so long and the prospect of using an iPhone is really enthralling.
However, you wonder how to send music from Android to iPhone. Your music is very special to you since you have collected it over several years.
You can easily perform this task using a handy tool called dr.fone - Phone Transfer (iOS&Android). This is a data management tool that allows you to send any type of data from one device to another, with a simple click, irrespective of what operating system you are using on the devices.
This guide will help you know how to get music from Android to iPhone safely and quickly.
Features of dr.fone - Phone Transfer (iOS&Android)
-
Full iOS and Android support: It does not matter which Android version or device model you have been using, or the iPhone model or iOS version your new iPhone is using. This tool works with all operating system versions and device models.
-
Better control of data transferred: dr.fone - Phone Transfer (iOS&Android) gives you full control over the data that you are transferring. For this tutorial, you will be focused on the “Music” category.
-
Full Data safety: You do not have to worry about ruining the music that you transfer. dr.fone - Phone Transfer (iOS&Android) gives you 100% safety over the data that you transfer.
-
Easy to use: if you are not tech-savvy, you do not have to worry. dr.fone - Phone Transfer (iOS&Android) has an intuitive interface that you can easily follow.
3,990,885 people have downloaded it
Step-by-step guide to transfer data from Android to iPhone using dr.fone - Phone Transfer (iOS&Android)
It is crucial that you know how to move music from Android to iPhone is a very fast and safe way.
With dr.fone - Phone Transfer (iOS&Android), you can easily accomplish this without having to use a WiFi network. The accuracy of the tool ensures that the quality of your music is conserved. Here is how you go about with this important task.
Step 1. Run dr.fone - Phone Transfer (iOS&Android) (iOS & Android) and connect the devices
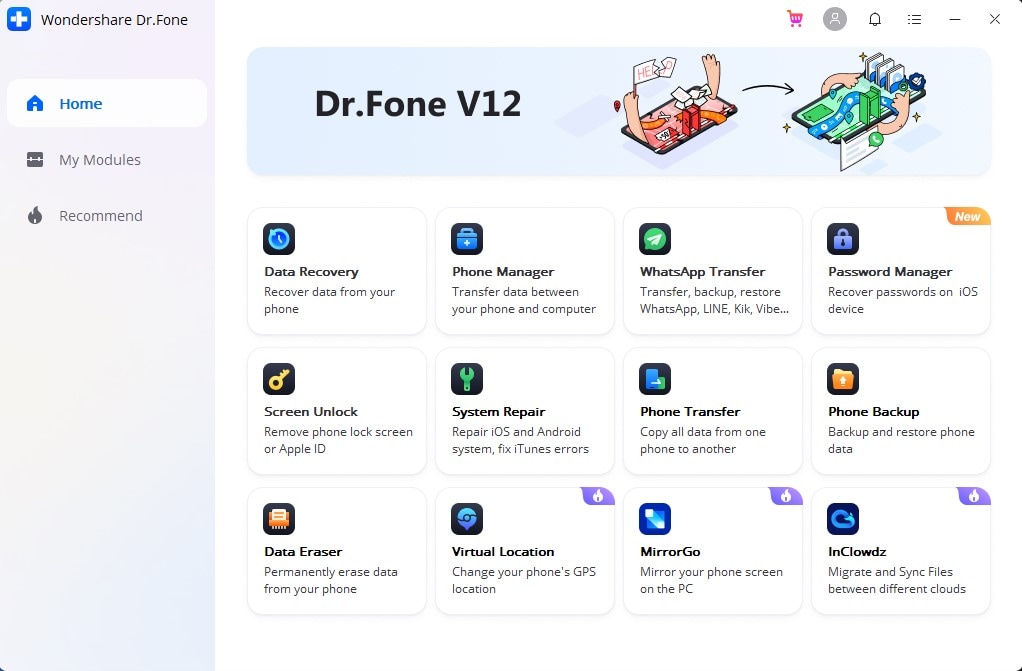
Access the Accredited dr.fone - Phone Transfer (iOS&Android) download page. Download and install the app, and then launch it. When you get to the home screen, go to the “Phone Transfer” tab and activate the module.
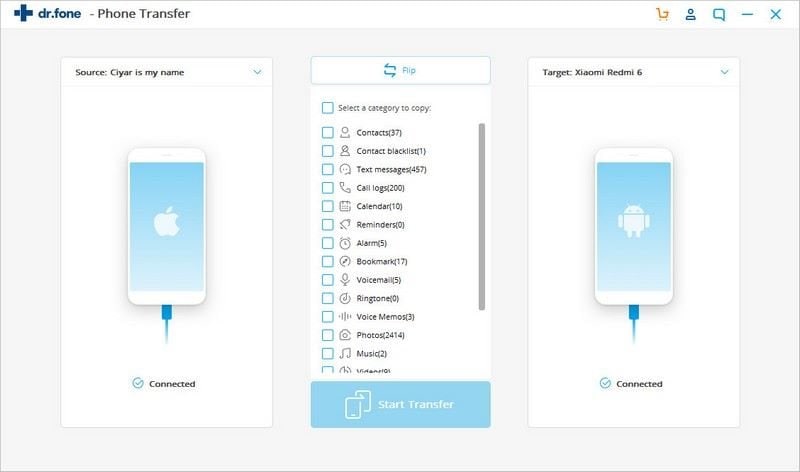
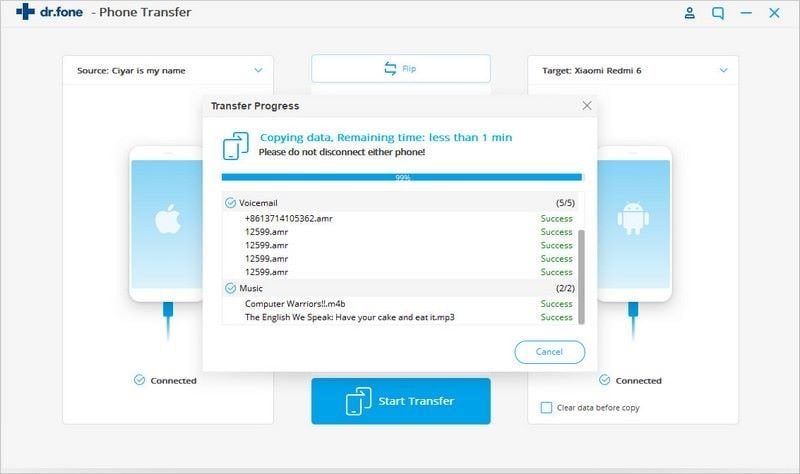
Using the original USB cables that came with the devices, connect your Android phone and the iPhone to your computer. Wait for dr.fone - Phone Transfer (iOS&Android) to recognize them and list them on the Switch screen.
Before you do anything else, make sure that the order of the devices is correct. The Android device should be listed as the source device and the iPhone as the destination or target device.
If the devices are not listed in this order, do not scratch your head in confusion. Simply go to the “Flip” button, located at the top of the middle column in the Switch screen and click on it. Immediately, the order of the devices will be switched and they will now be listed correctly.
Now you can go ahead and move music from Android to iPhone.
Step 2. Choose the kind of data to be transferred
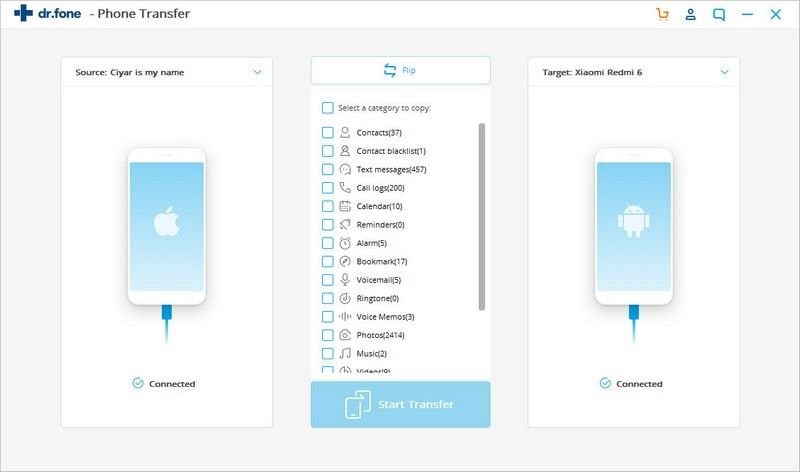
The kind of control that dr.fone - Phone Transfer (iOS&Android) afford you when you are transferring data is now apparent. You will see a full list of the types of data that you can move from the Android device to the iPhone. The data sets include Call Logs, Calendar Entries, SMS Messages, Contacts, Music, Video, Photos and others. In this particular instance, you are only interested in the music category. Make sure that all others have been deselected and then go ahead and click on “Start Transfer”.
Step 3. Finish Transferring data from Android device to iPhone
Just like that, you will have started to move music from android to iPhone with a simple click of a button and not having to use the WiFi network. Depending on how large your music library on the Android device is, you should wait patiently for the full process to be completed.
NOTE: If you don’t want to corrupt your precious music library, make sure that the two devices stay connected to the computer at all times during the transfer.
When the process is completed successfully, you will get a notification from dr.fone - Phone Transfer (iOS&Android). You may now start listening to your beloved tunes on your new iPhone.
Method 3. How to move music from Android to iPhone using Google Music
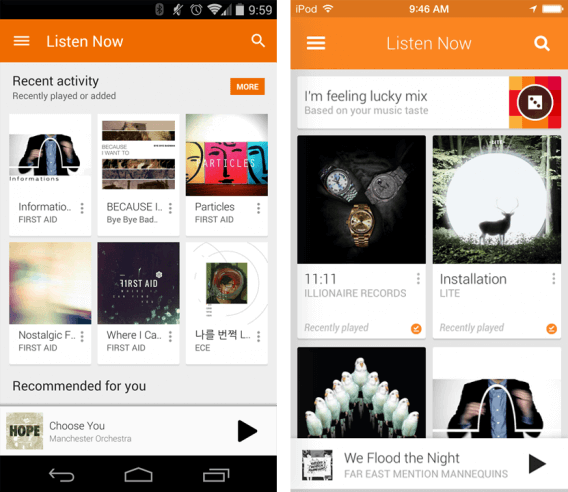
Google Music has a new manager that allows you to transfer music from Android phone to iPhone. This manager works much like the iCloud tool. Here is how you go about using Google play to manage music between Android and iPhone.
Step 1. Sync your music from Android Device to Google Music
-
Go to the “Settings” menu on your Android device
-
Now go to “Accounts” and then select Google.
-
If you do not have a Google account, then you should create it now. If you have one, then move on to the next step.
-
Now scroll down the list of accounts that you have on your Android device and select “Google Play Music”
-
Now launch the Google Play Music application, click on the hamburger icon, and then select “Sync”>
This will now sync your music to your Google Play account.
Step 2. Sync the Google play music to the new iPhone
-
Swipe up or Press the Home button to set up the new iPhone.
-
When you get to “Apps & Data”, choose “Accounts”.
-
Now choose Google and then sign in using the Details that you used on the Android device.
-
Once you are logged in, click on the Hamburger icon on Google Play Music, and then choose the “Sync” option.
-
Wait for some time as the music that is in your Google Music account is sent to your iPhone.
This is a nouvelle method of syncing your music from Android to iPhone that is somewhat similar to how you do it on iCloud.
Method 4. How to get music from Android to iPhone using Amazon Music
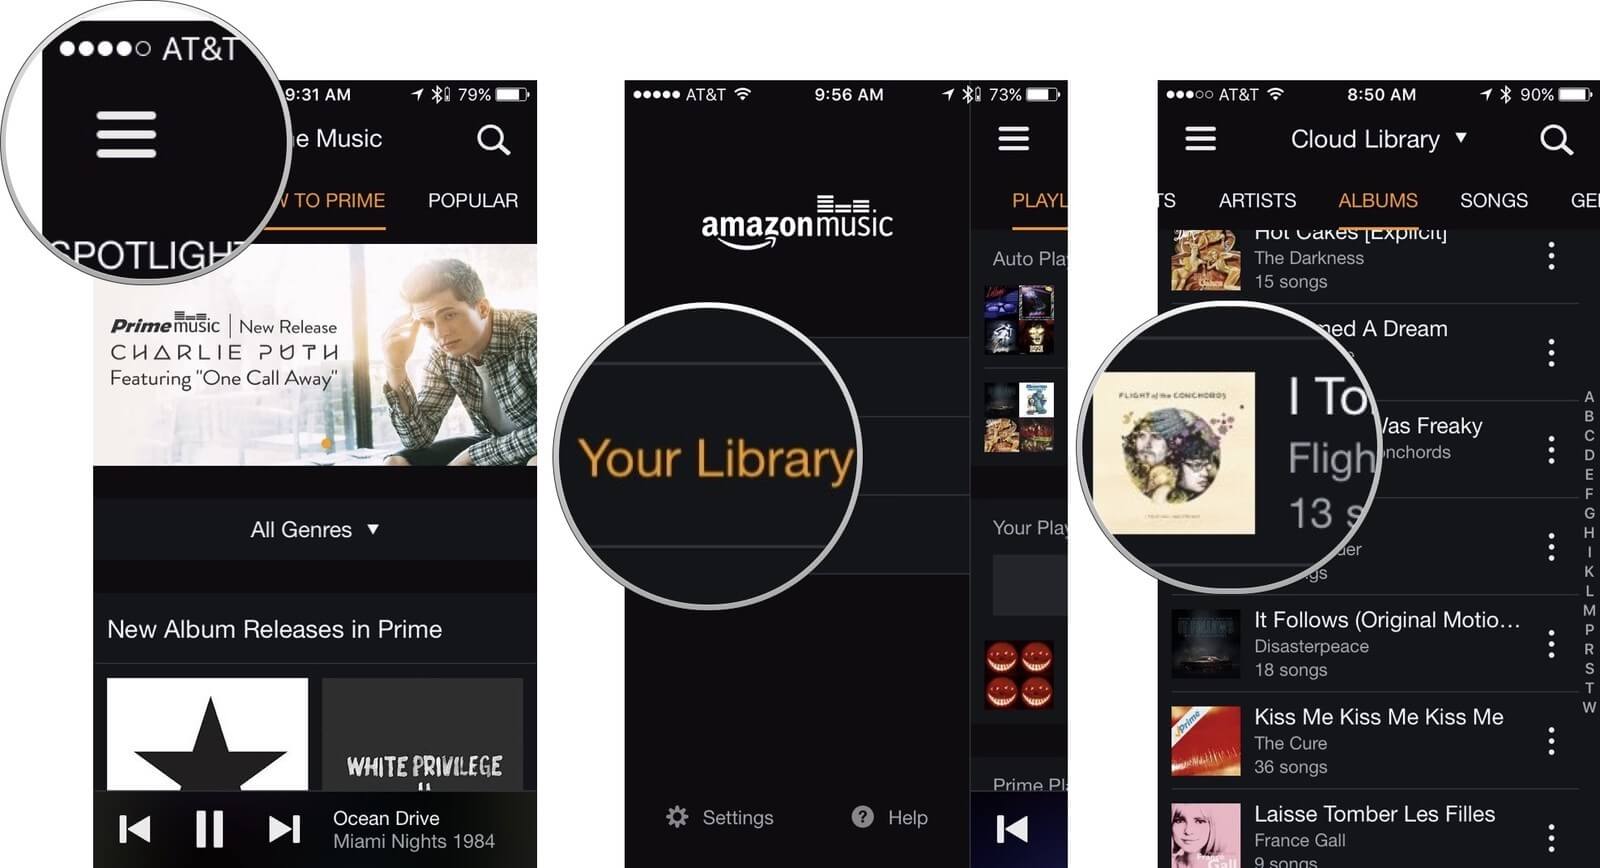
You may also use the Amazon Music app to transfer music from Android to iPhone. It works in a similar way to Google Play Music. Here is how you go about it.
Step 1. Upload music to your Amazon music account
All music that you buy or upload to your Amazon account will be placed in the “My Music” folder.
-
Go to “Settings” and then choose “Accounts”. Scroll down until you find the “Amazon Music” option and select it.
-
Now open the Amazon Music application and then select the songs that you would like to upload. This can be a single song, an album, or songs by a particular artist. Click on the three vertical dots to access “More Options” and then choose “Upload”.
Step 2. Download Music from Amazon Music to iPhone
-
Swipe upwards or press the Home button to set up your iPhone device. Follow the onscreen prompts until you get to the “Apps & Data” option.
-
Now create an “Amazon Music” account using the same credentials that you used on the Android device.
-
Log into the count and go to the music library.
-
Select the songs that you want in the same manner that you did above.
-
Go to “More Options” by clicking on the three vertical dots next to your selection.
-
Then click “Download”.
Wait for a few minutes and the music you selected will be transferred to the iPhone.
Method 5. How to send music from Android to iPhone with Google Drive
Google Drive is another free method that you can use to transfer music from Android to iPhone. The beauty of this method is that it is simple, and all your files will be kept indefinitely in case you need to access them some time in the future. Here is how you go about the transfer.
Step 1. Upload your music from Android to Google drive
-
Launch the Google Drive application on your android device and then log into your account using your Google ID and password.
-
Create a new folder, where you will upload the selected music from your android device.
-
Now tap on the “Add” button. It is marked as a (+) plus sign.
-
Now click on “Upload”.
-
You will get a new screen which will allow you to select the music that you want to upload from the Android device.
Wait for a while as the music is uploaded to the new folder your created.
Step 2. Download Music from Google Drive to your iPhone
-
Launch the Google Drive app and then log in using the Google ID and password you used in the step above.
-
Access the new folder that has the uploaded music.
-
Select the music that you want to download.
-
Finally tap on the “Download” button, and all your music will be sent to the iPhone.
In conclusion
As you can see, there are several ways in which you can transfer music from Android to iPhone. However, for ease and safety, get dr.fone - Phone Transfer (iOS&Android) now and never have to worry about the management of your music between your devices.




Elva
staff Editor