If you use Outlook with Microsoft Exchange Server, then you should know that Outlook stores all its contacts, appointments, messages, notes, tasks, and journal entries in a mailbox located on the server. The file on your hard disk is an offline Data File (OST) and contains a copy of your account mailbox. It provides you with quick access to data even when you are working offline, and it's always synchronized with the mail server. At times, you may accidentally delete very important emails from an OST file and you can always restore them from the "Deleted Items" folder. But what if your deleted emails bypassed the "Deleted Items" folder? Or, you accidentally emptied the folder? In this case, the process involved in how to recover email from OST files can be very tricky and challenging.
Part 1: 2 Ways on How to Recover Emails from OST Files
Method 1: Using Remo- Convert OST to PST Software
You can get back the deleted emails from the OST file as long as you have installed a third-party program known as Remo- Convert OST to PST software. This application converts OST files to Outlook PST files, which you can use to access all the deleted emails or other Outlook attributes that may have been deleted or lost. The software also helps fix the "Outlook. ost cannot be accessed" problem and repairs corrupted/ inaccessible OST files.
Step-By-Step Guide on How to Recover Emails from OST Files With Remo-Convert OST to PST Software
Step 1. Go to https://www.remosoftware.com and download Remo-Convert OST to PST Software. Install the program on your computer and launch it.
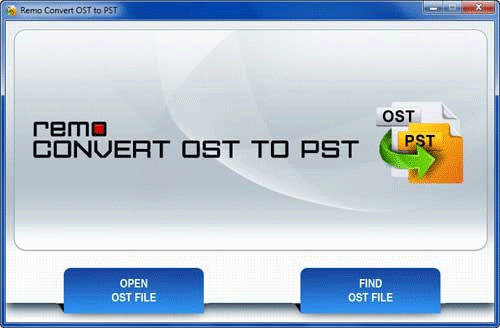
Step 2. On the main screen select the "Open OST File" option, that's if the exact location of the OST file is known. If that isn't the case, you can use the "Find OST File" option.
Step 3. In the next window, provide your preferred destination path where the converted file can be saved.
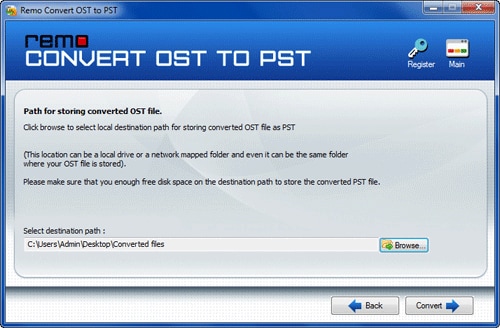
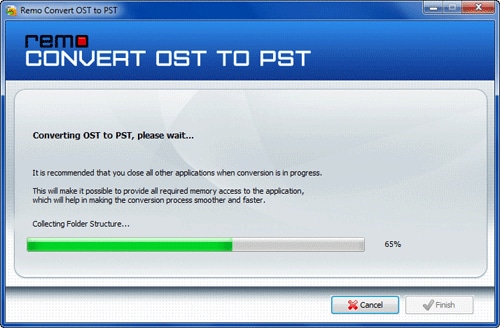
Step 4. Click on the "Convert" tab, and then the program will start the conversion process.
Step 5. After completion, a notification will show you that the OST file conversion is completed.
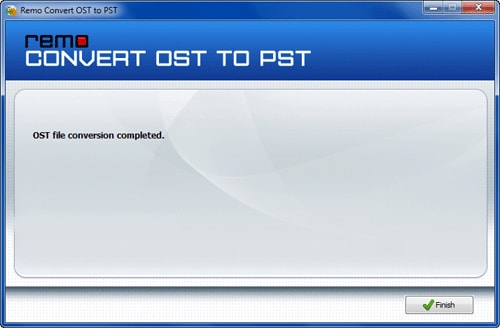
You'll now have a PST file that contains all your Outlook items that were saved in the OST file. If you can import this PST file into your Outlook, you'll be able to access all Outlook attributes successfully.
Method 2: Using PST Walker Software
If you have problems opening an OST file or you are getting an error message when synchronizing the offline folder file (OST) with your mailbox on Microsoft Exchange Server, PST Walker can help you retrieve the contents of the OST file. Also, if you no longer have access to the computer that was originally used to create an OST file, you can use PST Walker to open it even without the corresponding Exchange mailbox or profile on the server. The software helps you convert these files to more common Microsoft Outlook Message formats (.msg files) which can then be opened with Microsoft Outlook as well as with another compatible mail client.
Step-By-Step Guide on How to Recover Emails from OST Files With PST Walker Software
Step 1. Close Microsoft Outlook and other programs that may use your mailbox.
Step 2. Go to http://www.pstwalker.com/download.html, download PST Walker Software, install and run it. Then click "Open" or select File> Open menu.

Step 3. Select the OST file you want to open and preview all the items including contacts, messages, appointments, notes, etc.
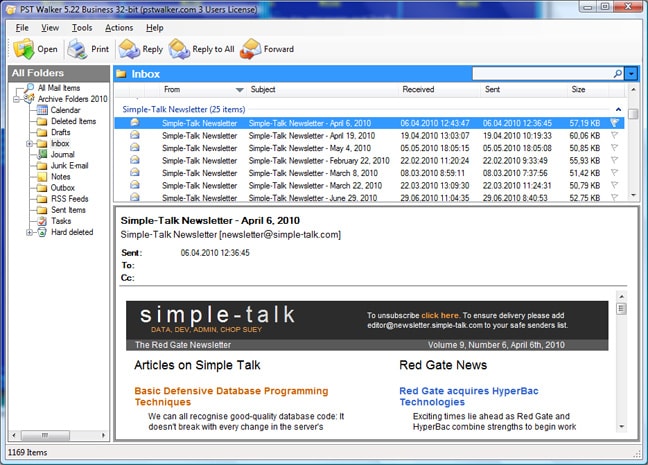
Step 4. Use "Export" under "File" menu to convert .ost file to .msg or .eml files.
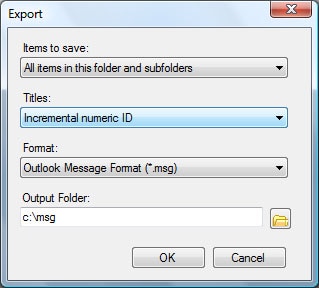
It is just as simple as that. Note that PST Walker will convert even password-protected or encrypted OST files.
Part 2: The Simplest Way to Recover Emails on Mac and Windows
Recoverit for Mac (or Recoverit for Windows) is the best software for recovering emails both on Mac and Windows PC. The safe and affordable data recovery software lets you recover emails in various formats, including EML, EMLX, PST, BX, MSG, EDB, BKL, BKS, BMC, etc. It also supports the recovery of documents, archives, audios, videos, images, and other file types.
Most people like this software because it lets them preview data quality, which makes it easier to distinguish the valid and invalid files before recovery. It also allows users to find target files with ease using the filters and folder trees. Generally, Recoverit (IS) supports HFS+, HFSX, FAT 16, FAT 32, exFAT, and NTFS file systems and can be installed almost on all Mac and Windows operating systems.
Why Choose Recoverit (IS) to Recover Emails on Mac and Windows
- Recovers most common file types from almost all devices including players, USB, hard drives, cameras, etc.
- It provides you with the easiest and fastest recovery of files lost due to different data loss scenarios.
- It's 100% safe since it scans your hard drives without destroying any data.
- Let you recover lost files in no time, and in original quality.
- Recover more than 1000 types of file types, like documents, audio, videos, graphics, emails, etc.

2,965,271 people have downloaded it
Note: You shouldn't install the program on the same drive from where you lost your emails or other file types. This is because your lost data can be overwritten, resulting in a permanent loss. Install it in other disks instead, or get another computer, use a USB flash drive to download the software, and then perform your recovery with the program is installed on the USB flash drive.
Step 1. Download and Install the Software.
Go to iSkysoft official website and download Recoverit to your Mac. Then drag the downloaded installation file to "Application" and follow the installation instructions.
Step 2. Run the Program & Select the File Types to Recover.
After installing Recoverit, double click its icon to launch it. You’ll then see its main interface, which includes the tabs for file types you may want to recover- "Photo", "Audio", "Video," "Email", "Document", and "Others". Choose "Email" or select the "All File Types" if you want to recover all file types and then click "Next".
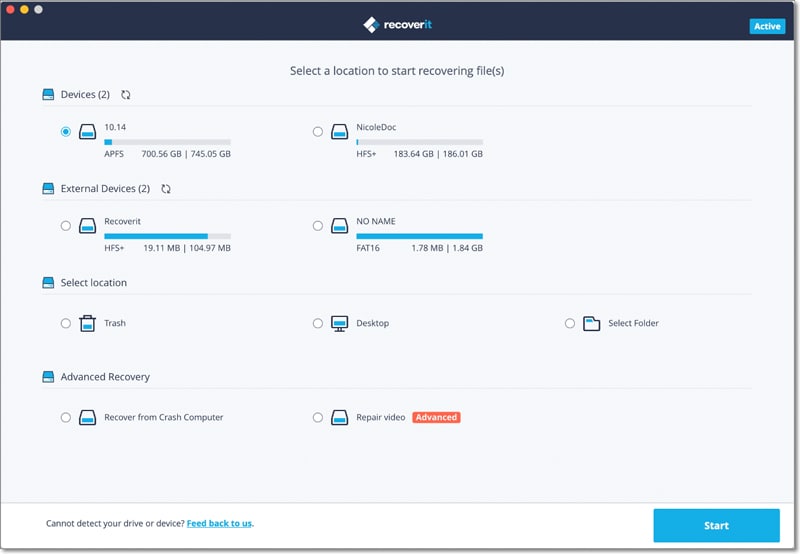
Step 3. Select the Target Location to Scan.
The next window shows locations to be scanned, and they are categorized into four parts- "Devices" / "Hard Disks", "Common Location", "External Removable Device", and "I Can't Find my Partition". Select your target location and then hit the "Start" button to begin scanning for the lost files.

Step 4. Use the Following 2 Ways to Scan & Recover Your Emails.
A. Quick Scan and Recovery
This option takes just a few seconds to complete the scanning process. When "Quick Scan" is finished, the found files are displayed in a new window.
- On the left side of this window, you'll have access to "Files View", which displays the scanned files by file types, and "Tree View" which shows the found files based on their exact locations. Click on the found item to preview your files.

- The "Search and Filter" features can be found at the top of the software’s window and help you find your wanted files faster and better. Moreover, the three little icons located at the upper right let you change the way the found files are displayed.

- When you find the data that you want, mark them and click the "Recover" button located at the lower corner of the window to save them.

B. Deep Scan and Recovery
There are 2 ways to trigger "Deep Scan" and Recovery.
- If the software hasn’t found any lost files with "Quick Scan" mode, a new window will pop up, suggesting that you use "Deep Scan" mode. You just need to click the "OK" button to enter the "Deep Scan" mode.
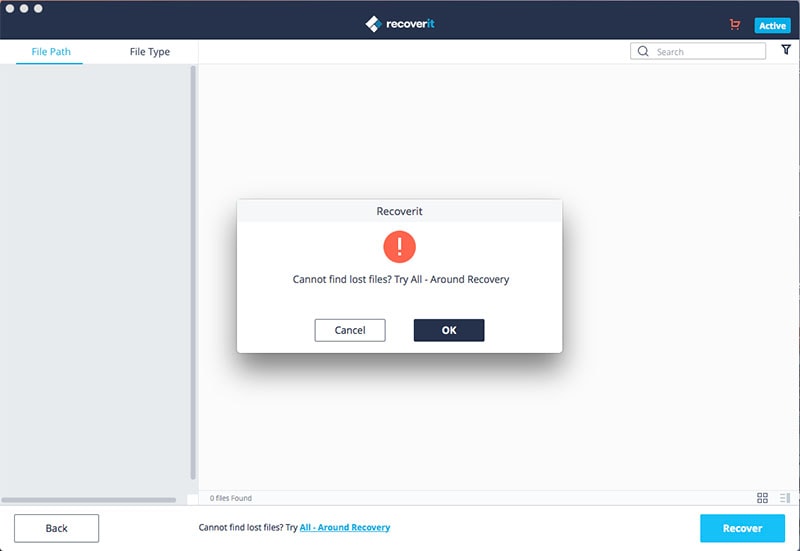
- If the "Quick Scan" doesn’t find lost files, an option "Can't find files, use Deep Scan" appears at the bottom of the software’s window. Use it to directly start the "Deep Scan" mode, which finds more lost data, but takes more time compared to the "Quick Scan" mode.
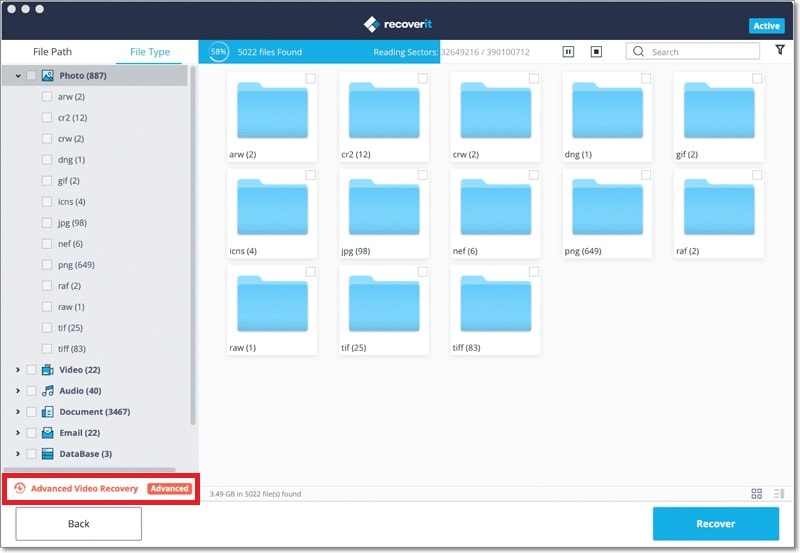
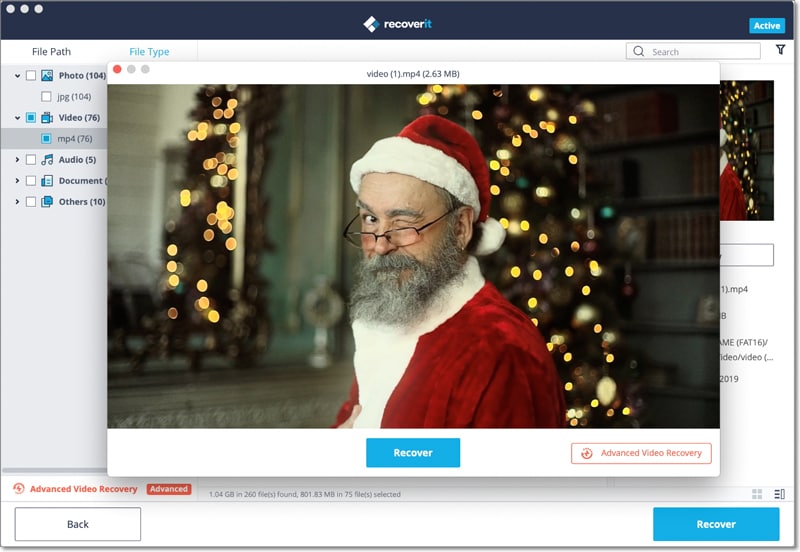
After the scanning process is completed, select the found data, Email, or any other file types you wanted to restore and hit the "Recover" button to retrieve them.




Elva
staff Editor