Free File Recovery
- Recover Files Free+
- Top Free File Recovery List+
-
- 7 Data Recovery Crack and Serial Keys
- Top 10 Free Data Recovery Software [2020]
- Best Free Partition Recovery Software 2020
- Top 5 Free SD Card Recovery Software 2020
- Top 5 Free Hard Disk Recovery Software
- Top 5 Alternatives to iCare Data Recovery for Windows
- 5 Best Image Recovery Software
- Top 5 Best Media Recovery Free Download Software
- The Best Easy Data Recovery Software
- Top 10 Free Data Recovery Software 2021
- Top 10 Data Recovery Software for PC
- Top 10 Free USB Recovery Softwares Review [2020]
- Top 8 Free Windows 10 Recovery Tool Reviews [2020]
- Top 5 Advanced Disk Recovery Alternatives
- Best Diskdigger Video Recovery Solutions
- Free File Recovery Reviews+
-
- Active File Recovery Review With Pros & Cons
- Easy Recovery Free Review
- iCare Data Recovery Review
- iCare Data Recovery for Mac Review
- Mac Free Any Data Recovery Review
- Kroll Ontrack Data Recovery Review
- PC Inspector File Recovery Alternative
- Recover My Files Review
- Wise Data Recovery Software Review
- FreeUndelete Review
- Gihosoft Free Android Recovery Review

• Filed to: Free File Recovery • Proven solutions
“I love using my Mac machine because of the outstanding features that it has. However, I have just lost all my data after my MacBook experiencing a crash and I’m now at the verge of losing my mind. How do I use Mac free any data recovery to salvage my data?”
It usually turns out that most Mac users don’t have an attachment with other operating systems like Android and Windows. As far as Mac OS has outstanding features, you probably need a fat pocket to keep to its continuous demands of maintenance. What happens when your MacBook suddenly crashes? Panic and anxiety follow suit. It even becomes extreme if you don’t have a premium version of any recovery software. Here is where Mac free any data recovery can stand in the gap. This recovery program has the potential to recover all of your lost data from your MacBook after a system crash. Furthermore, the installation process is simple, not requiring you to be a tech-savvy in order to go through.
Part 1. Mac Free Any Data Recovery Reviews
Retrieval of data is not an easy task. Besides having the best recovery tools in place, you still need to know which buttons to move to and where exactly to look in search of your lost data. What makes Any free data recovery software at the forefront is the fact that it is a free option aimed at Mac users. However, you can also upgrade to the full version for advanced features even though it carries a hefty price.
1.1 What is Mac Free Any Data Recovery
Perhaps, the message is still not yet home and you are wondering what exactly is Mac free any data recovery. This is a powerful tool that is able to salvage data lost in any scenario. You can use it to recover data ranging from videos, audio, document files, and much more. Furthermore, you can use this tool to retrieve data from both internal and external devices like CF cards, SD cards, USB flash, Camcorders, Music players among other devices.
What makes it a darling of many Mac users is that this free any photo recovery tool is compatible with most Mac operating systems such as El Captain, Mojave, Yosemite, Lion, Snow Leopard, just to mention a few.
1.2 How to Get Mac Free Any Data Recovery Free Download Full Version
There comes a time when you need to explore beyond the free version. This would also mean lots of advanced features to enable you to do way much more with free any data recovery.
Step 1 Download Mac free any data recovery software
The first step would require you to visit the software’s official download page and download. Next, search for the latest version as this tends to perform better.
Step 2 Upgrade
Wait for the page to open. Keenly check for an orange colored tab. This is where you need to do the upgrade from. Click on the ‘Upgrade’ button that is mounted on the orange tab.
Step 3 Payment
Once a new page opens up, you should notice two options. It is up to you to decide whether you want the option for ‘Home/Personal’ use or the ‘Commercial Licence’ option. The first option is meant for only 1 PC while the second option can cater for up to 10 computers. Once you settle on what you want, click on the ‘Add to Cart’ button.
Step 4 Receive your license
The payment page is the last step into getting any data recovery software full version. Once you are there, simply make the payment. This should take a few minutes before you automatically receive your license to your email.
1.3 The Advantages and Disadvantages of Mac Free Any Data Recovery
As a matter of fact, the good on Any free data recovery software outweighs the bad. It is out of these reasons that make it a long-searched for recovery tool.
Pros:
- You can use it to retrieve files without attaining any further knowledge. It has a simple interface which also includes explanations besides each option.
- The recovery process is fast, with only 3 steps.
- It is also an 100% working data recovery tool for Mac OS.
- It has efficient features which include recovery options, search mode and much more.
- The upgraded version lets you preview your data before doing a recovery.
Cons:
- The full version of this tool is way costly as compared to its peers. You will need to part with a large amount of cash.
- It is also not compatible with some operating systems like BlackBerry OS.
1.4 How to Recover Data with Mac Free Any Data Recovery
As long as you have downloaded the program, the recovery of your data becomes possible. You don’t actually need rocket science to do this. You only need to follow these steps to the latter.
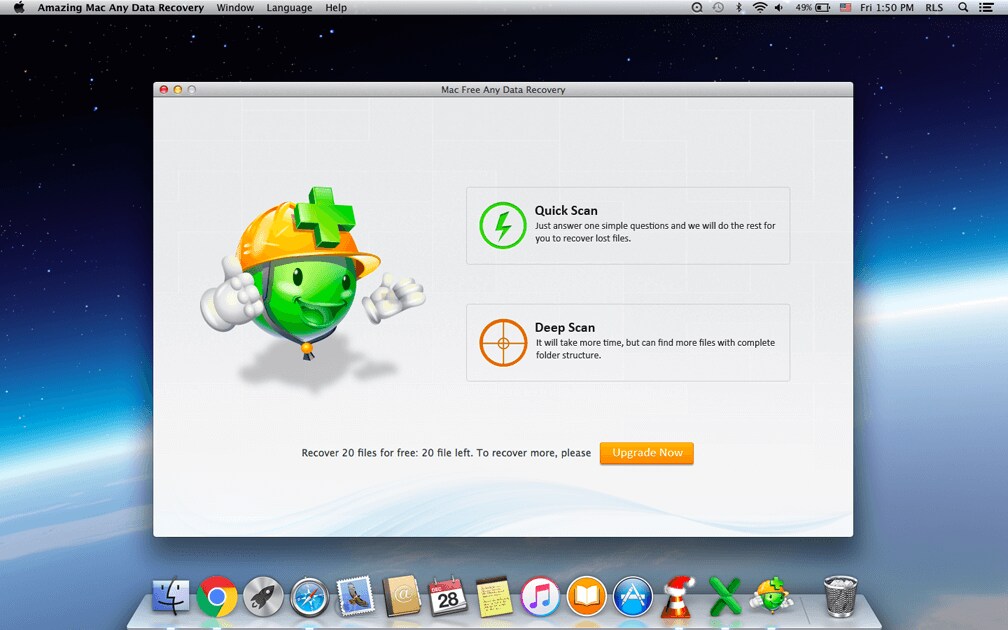
Step 1 Launch the program
Download, install and then launch free any data recovery software on your Mac computer. Next, select the recovery mode to use. This can be a deep scan or a quick scan mode.
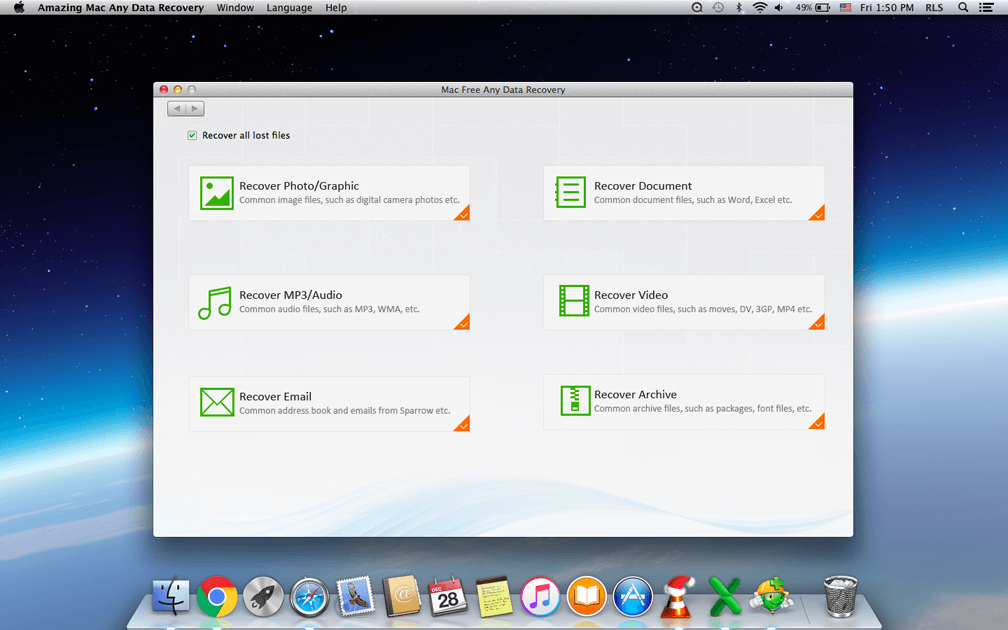
Step 2 Select file types to recover
This should depend on what you are trying to retrieve. Remember free any data recovery is able to salvage any type of data including photos, documents, videos, emails and much more. Select the data type and then click Next.
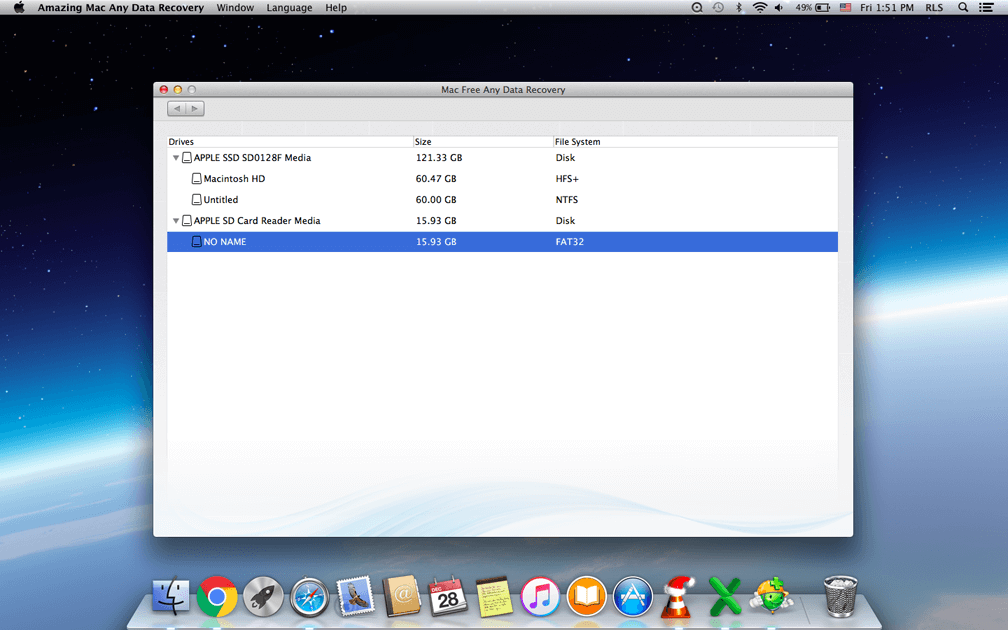
Step 3 Select location
This is the exact locality or the drive where your data got lost from. Select the correct location and move to the next step.
Step 4 Preview and Recover
Previewing the recoverable files on Mac will help you pick on the right files or data to recover. Check the boxes against all the files you need to retrieve. The system will go ahead and recover your files. Once you attain them, you can decide to save them on your computer or any other device of choice.

Part 2. The Best Alternative to Mac Free Any Data Recovery Software – Recoverit (IS)
Perhaps you may be wondering whether there are any alternative programs for MacBook data recovery. Yes! There are. Recoverit (IS) is the best alternative to help you recover your lost data on Mac. Besides, using this tool on your Mac, it also doubles up as a Windows and Android OS data recovery solution.
Recoverit (IS)
Why exactly is iSkysot Data Recovery referred to as a life-saver?
- This powerful tool will salvage data from any loss scenario like system error, device formatting, virus attack or lost partition cases among others.
- It is also equipped with the latest state-of-the-art technology to recover all data types. These include graphics, documents, videos, attachments and other 1000 types of files.
- Above all, it doesn’t matter from which device you’ve lost your files. Use it to recover data from both internal and external devices like laptops, camcorders, music players, micro SD cards, USB drives, hard drives, and many other devices.
- The recovery process is as simple as 1-2-3.
Follow these steps to recover data from Mac using Recoverit (IS)
Step 1 Launch Recoverit (IS)
Start by downloading and installing the software to your Mac computer.
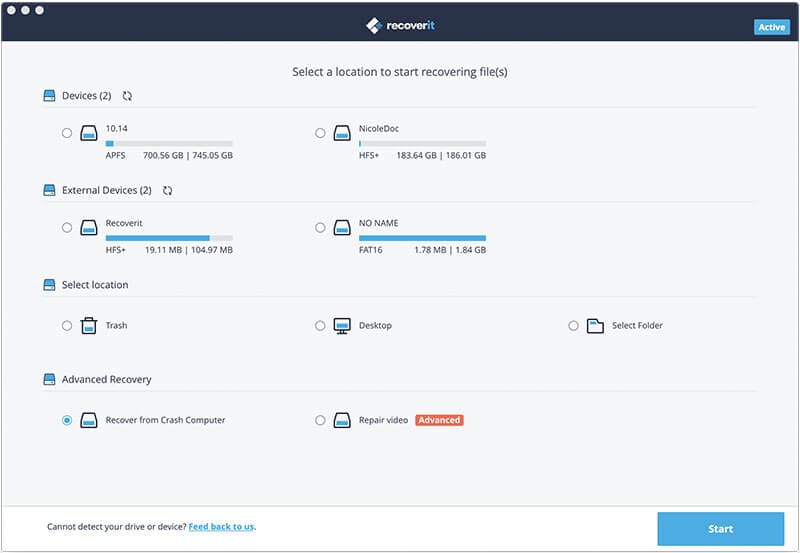
Step 2 Choose a disk to scan
Go to the home screen. From the list of disks, you need to choose one which harbors your lost data before clicking on the ’Next’ button.
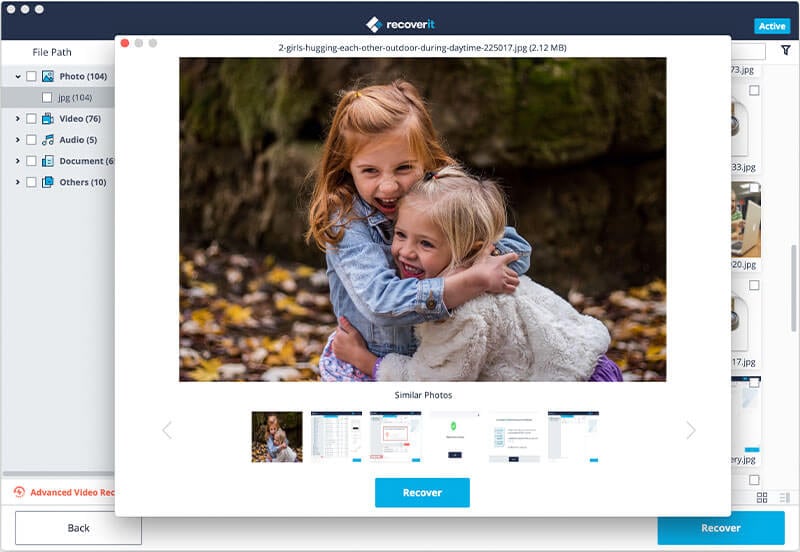
Step 3 Scan and Preview
Once the scanning process is complete, ensure you go through the recoverable list to pick on the specific data that you need to retrieve.

Step 4 Recover
This is the last step to achieving your lost data. Once you have selected all the data that need to be recovered, hit the ‘Recover’ button and save your data to your Mac computer.
The Bottom Line
As far as Any data recovery software free download is able to get your lost data, you may need additional features to do more with this tool. What happens if you can’t afford the hefty price of the full version? Don’t freak; you just need all-in-one software to be able to do a quick recovery for you. Recoverit (IS) has the ability to do a quick-scan as well as a deep-scan in just a matter of time. Now that you know about the recommended software, don’t keep the secret to yourself, tell a friend who may be in need.
Elva
staff Editor