How to Use Repairit (IS) - Video Repair on Mac
You can repair videos of various formats on Mac easily with the following steps, no matter how your videos were corrupted.
Step 1. Add corrupted videos.
After downloading Repairit, use the drag and drop feature to add the impaired video to the interface. All mainstream videos formats, including MOV, MP4, M4V, M2TS, MKV, MTS, 3GP, AVI and FLV are supported to be repaired by Repairit.
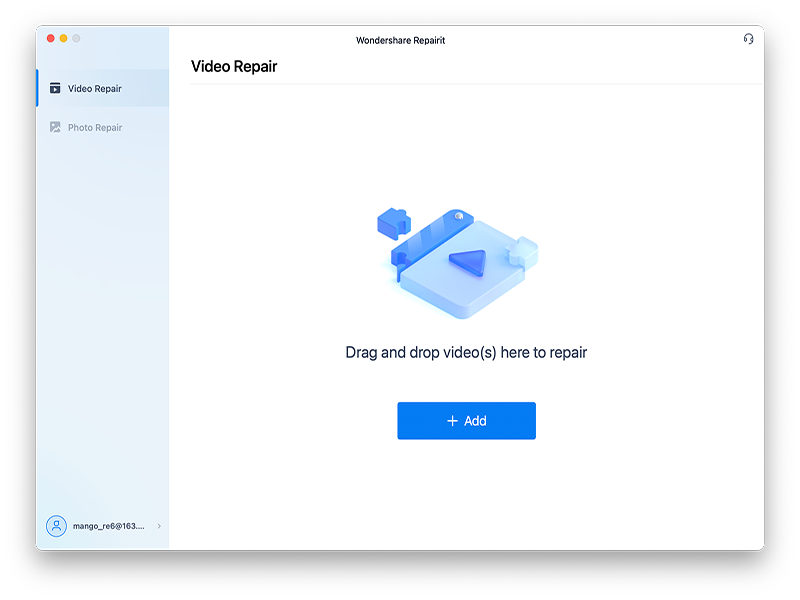
Then the detailed information, like Fideo Size, File Name, Video Watching Time, Video Resolution, Filming Equipment, and File Path of the videos will be shown on the interface.
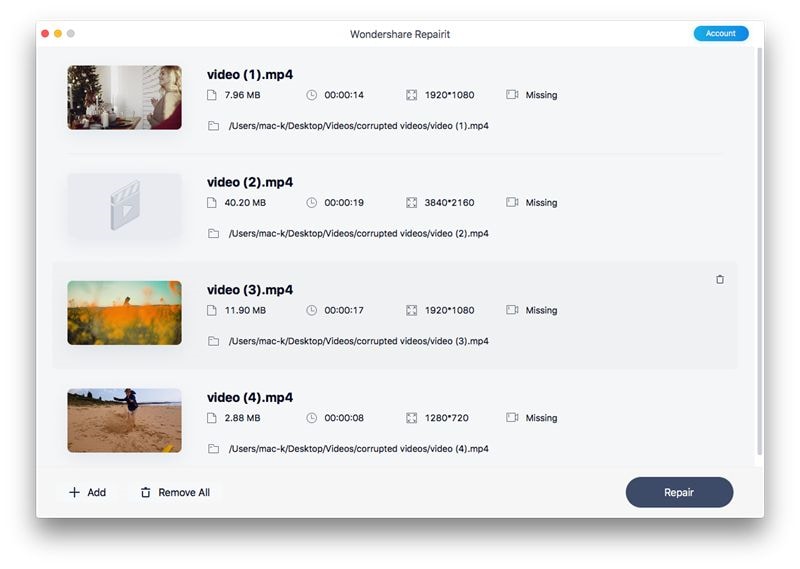
Step 2. Repair videos.
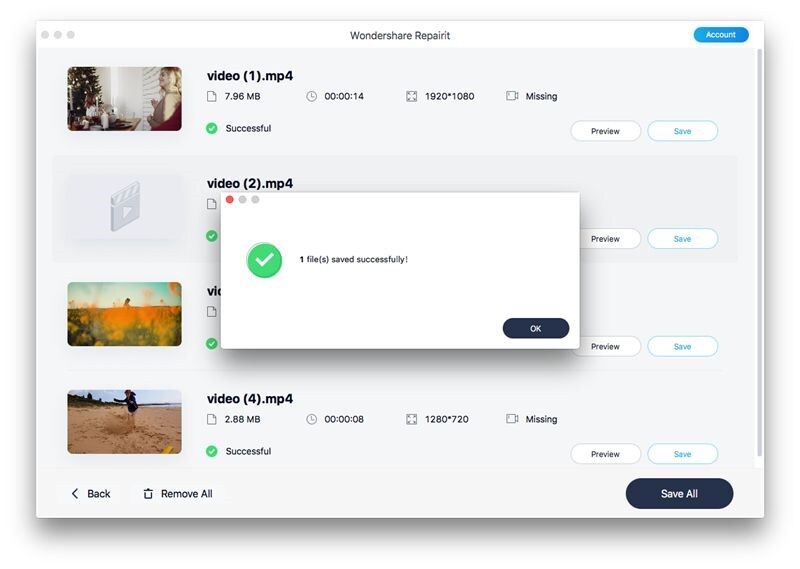
Click on the button of Repair, then a new window showing the repairing process is finished will pop up. Then you need to tap on OK to save and preview the output videos.
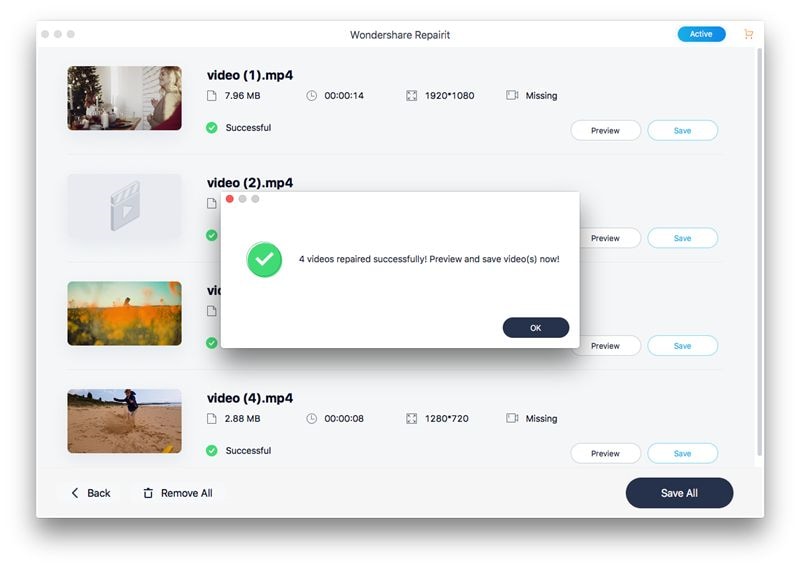
Step 3. Preview and save the repaired videos.
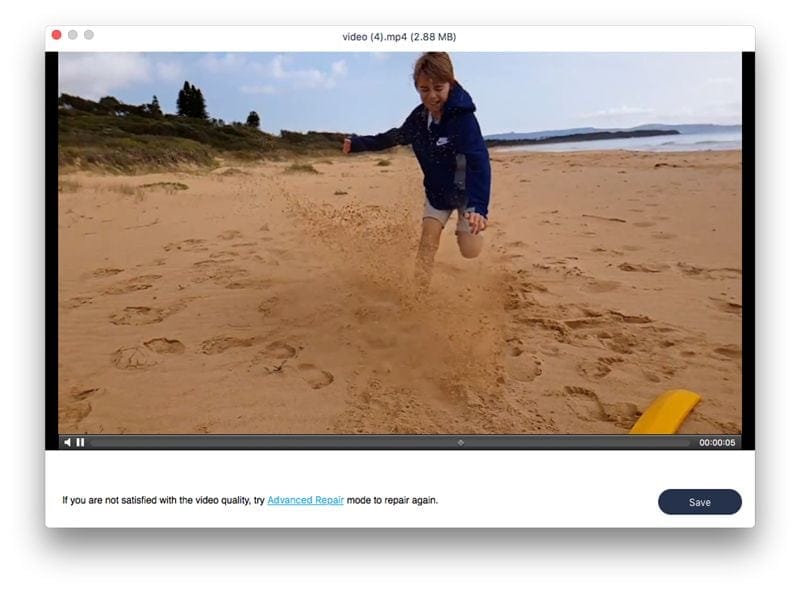
Click the "Preview" tab to see if you are satisfied with the repaired videos before saving it.
If the innovated videos are in your expectation, you can now click the "Save" button to select a local path. But what should be noticed is that the repaired videos should not be stored at the location the videos were lost.
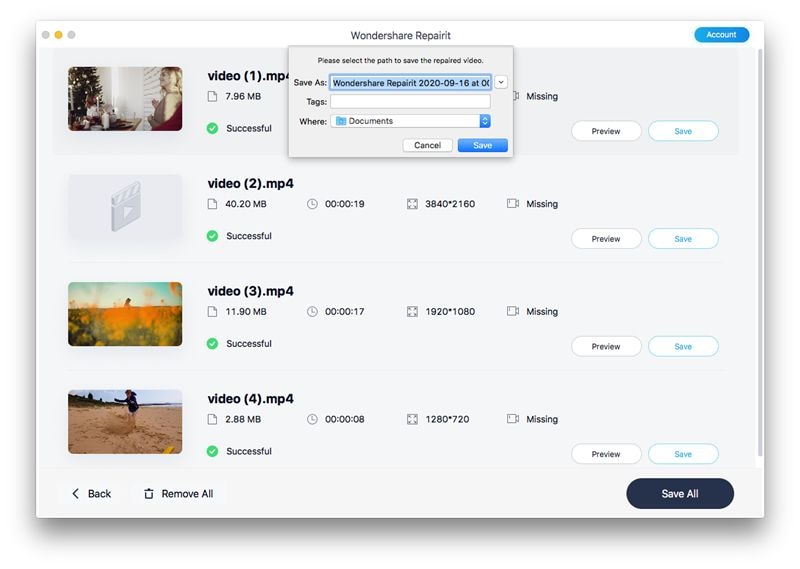
Wait for a few seconds to save the repaired video.
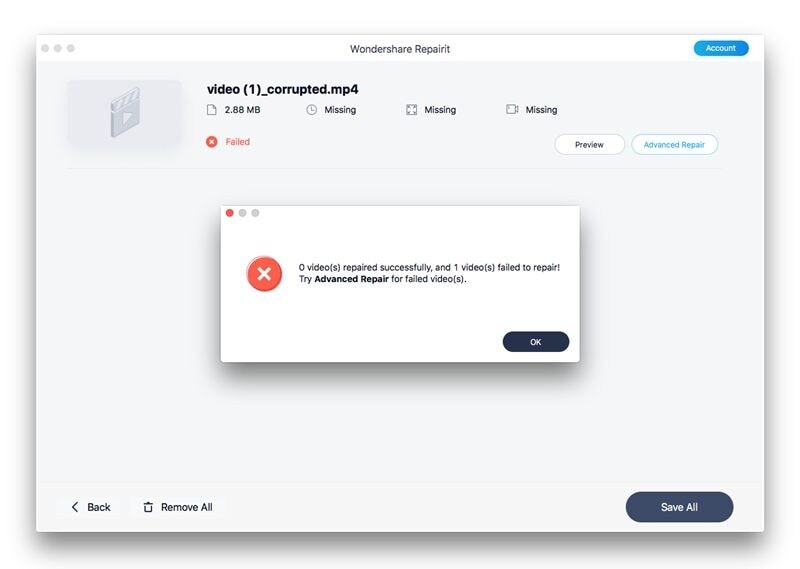
Step 4. Add sample videos to make advanced video repair.
If the video is severely damaged or you are not satisfied with the quality of the repaired video, you can choose Advanced Repair to make more a professional level video repairing.
Click the "Advanced Repair" button and choose a folder, select a sample video created by the same device and the same format as the corrupt video.
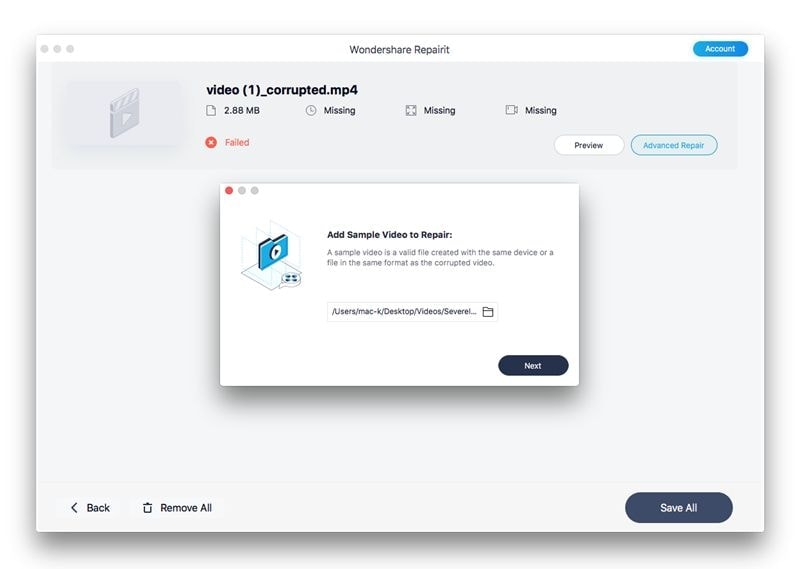
Then Repairit will automatically check if your sample video and corrupted video are available to Advanced Repair, then click the "Repair" button.

Then Repairit will take some time to make advanced repair process, after that, you will see a hint of repairing succefully appear, then click "Ok".
Step 5. Save Video.
After clicking the "Save" or "Save All" button, you need to choose a path to save the repaired video and rename it.