How to Use Repairit (IS) - Video Repair for Windows
This guideline shows you how you can use Repairit (IS) - Video Repair to repair corrupted videos on computer, you can repair videos of various formats easily with the following steps, no matter how your videos were damaged.
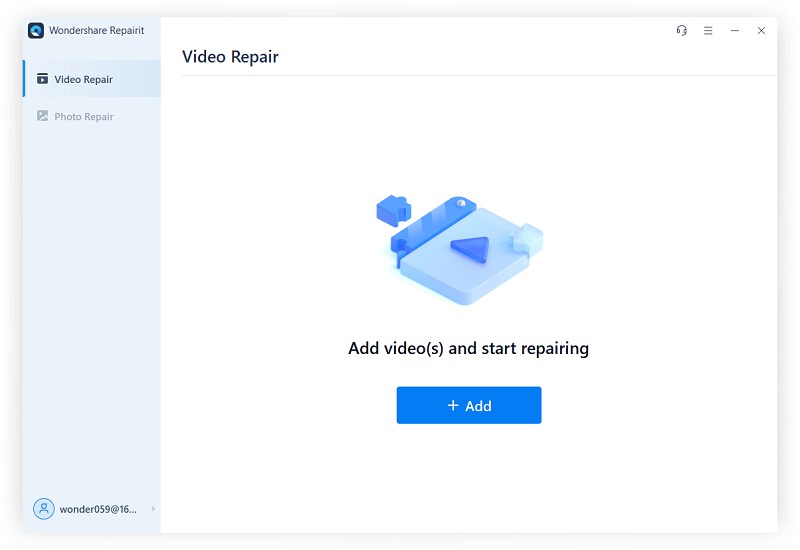
Step 1. Add or drag corrupted videos to Repairit.
Add or drag the corrpted video on the main interface of Repairit, Repairit supports to repair the mainstream videos formats, including MOV, MP4, M4V, M2TS, MKV, MTS, 3GP, AVI, FLV and supports to repair videos in bulk by 1- click.
After adding the videos, the information of all your videos will appear on the main interface, such as File Name, File Path, File Size, Video Watching Time, Video Resolution as well as Fileming Equipment.
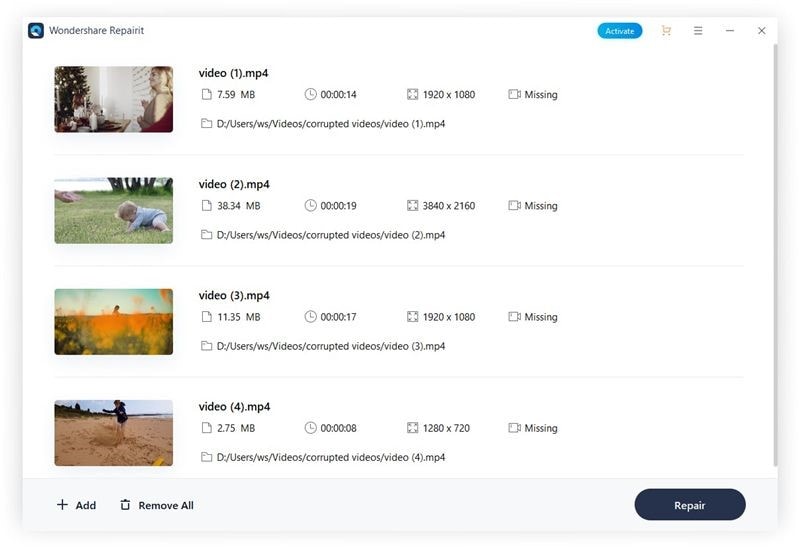
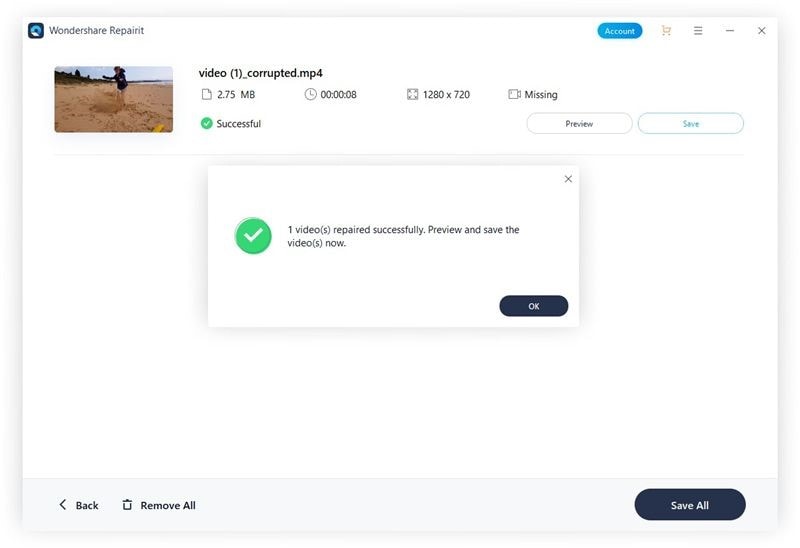
Step 2. Repair videos.
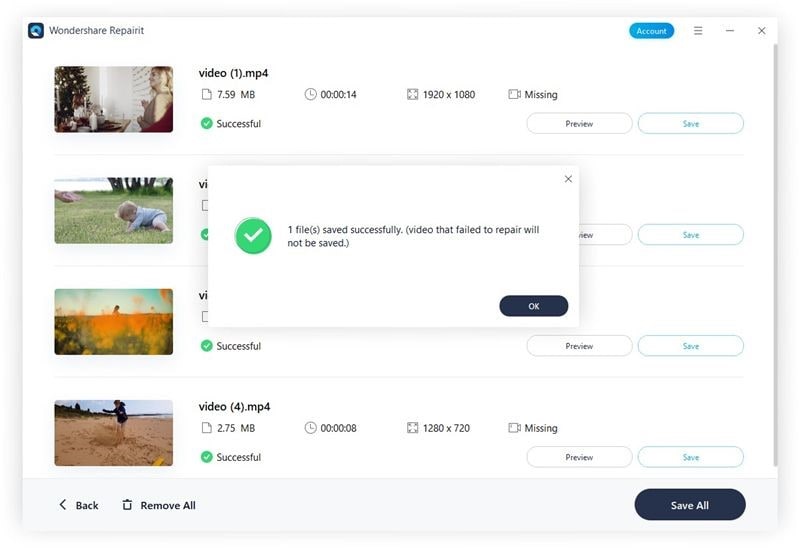
By clicking the "Repair" button, Repairit will start the video repairing process, after the process is finished, a window will appear to tell you to preview and save the repaired videos, then click "Ok".
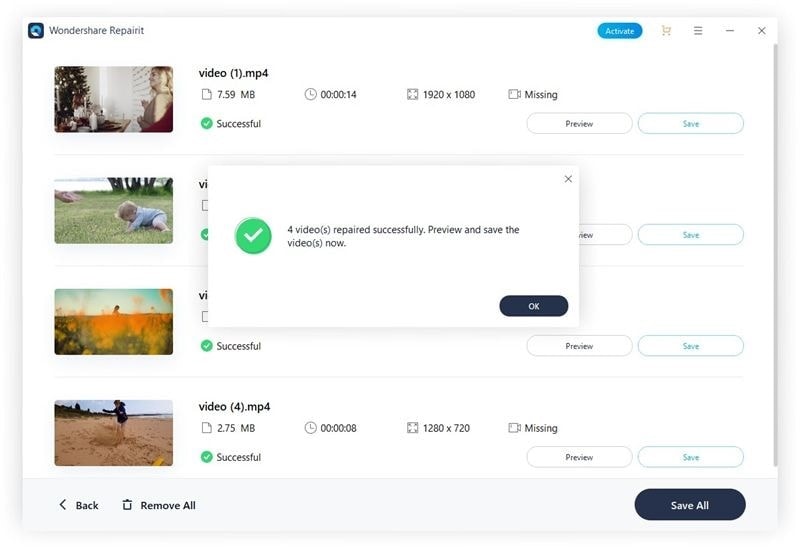
Step 3. Preview and save the repaired videos.
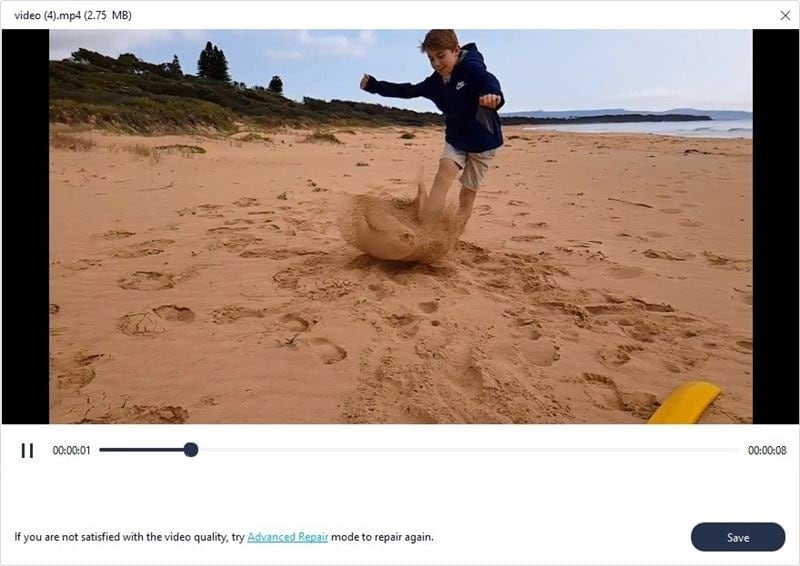
Click the "Preview" button, you can preview and check the video content and quality to ensure that the repaired videos are inact before saving it.
You can choose a path and click the "Save" button to save the repaired videos if they meets your expection, but lease do not save videos to the path where you lost them.

Wait for a few seconds to save the repaired video.
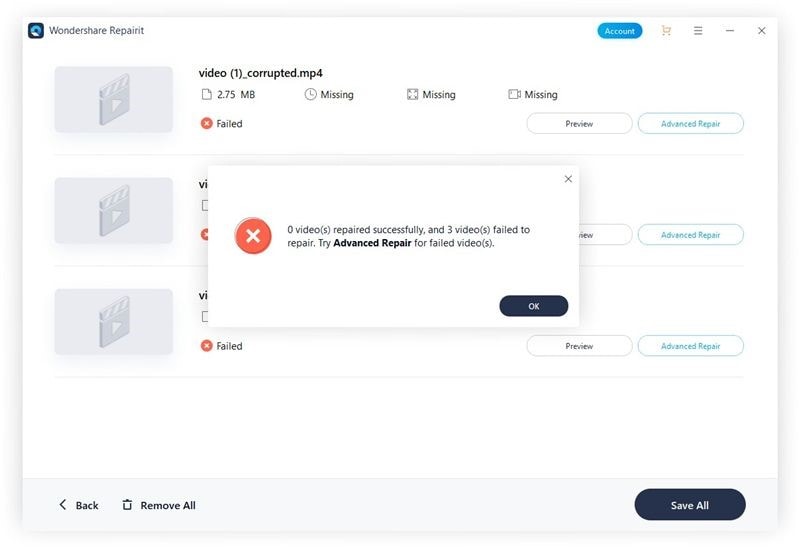
Step 4. Add sample videos to make advanced video repair.
If you are not satisfied with the quality of the repaired video or the video is severely damaged, you can choose Advanced Repair to make more a higher level video repairing.
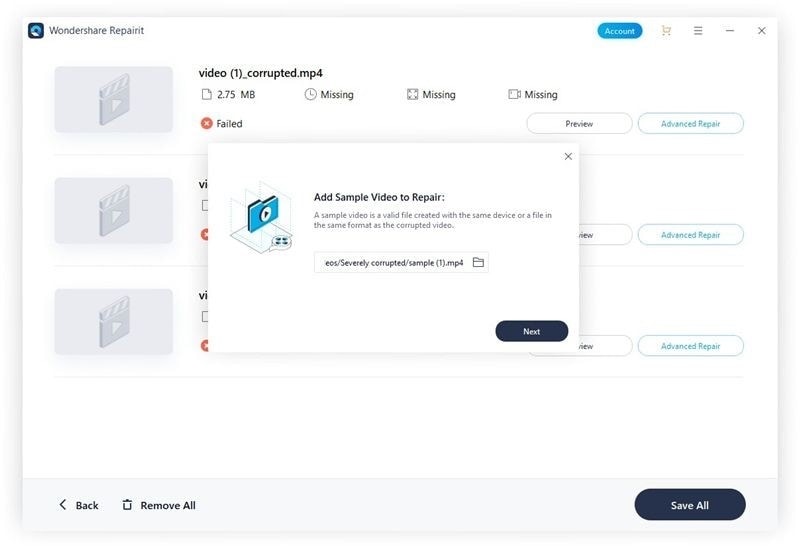
Click the "Advanced Repair" button of the target video and choose a folder, then select a sample video that is a valid file with the same device and the same format as the corrupted video.
Then Repairit will check if your corrupted video is available to Advanced Repair function, then click the "Repair" button.
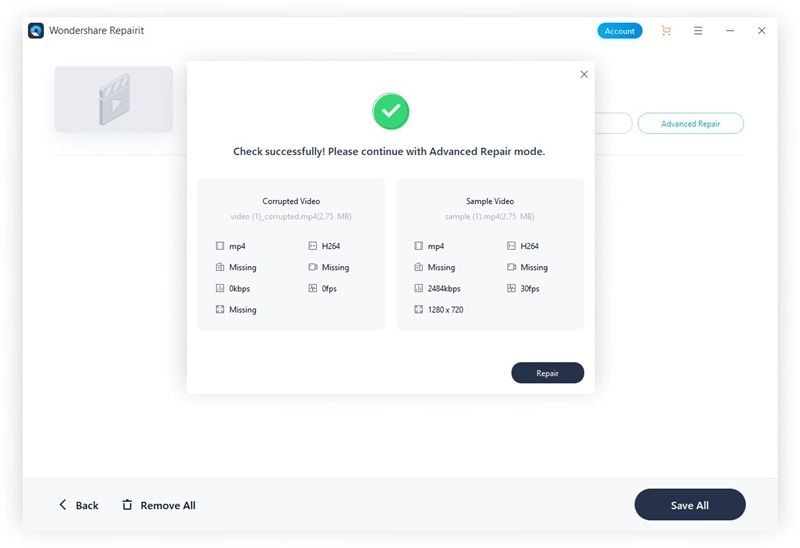
After clicking the "Repair" button, it will take some time to make advanced repair process, just wait paitently. When the repairing process finishes, you will see a hint appear on the window, then click "Ok".
Step 5. Save Video.
After clicking the "Save" button, you need to choose a path to save the repaired video, but please do not save the repaired video to the path where it is corrupted.
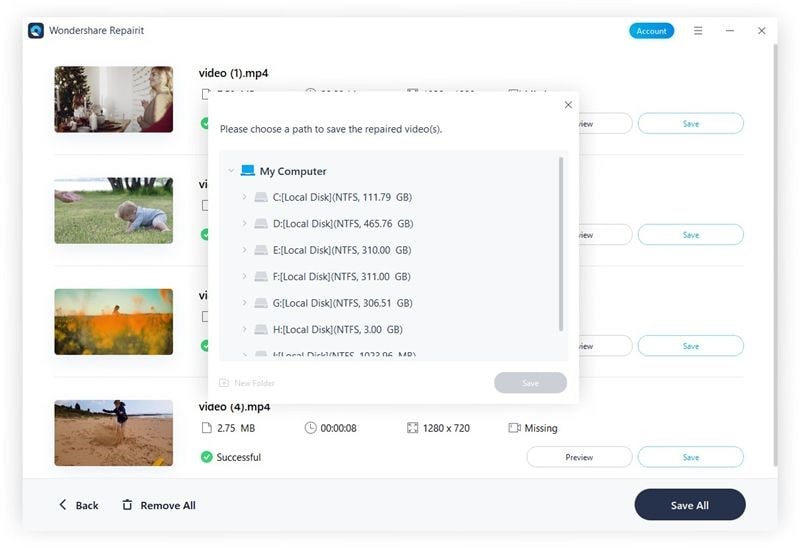
For example, choose F: Local Disk to save the repaired video. There are two choices, click the "Save All" button, then the repaired video will be saved in the F disk, or click the "New Folder" button first and the "Save All" button, the repaired video will be saved in the New Folder, and you can name the new folder as you need. It is convenient to find the repaired video on the disk with many files.